How to Measure an Existing Metal Building Walk Door
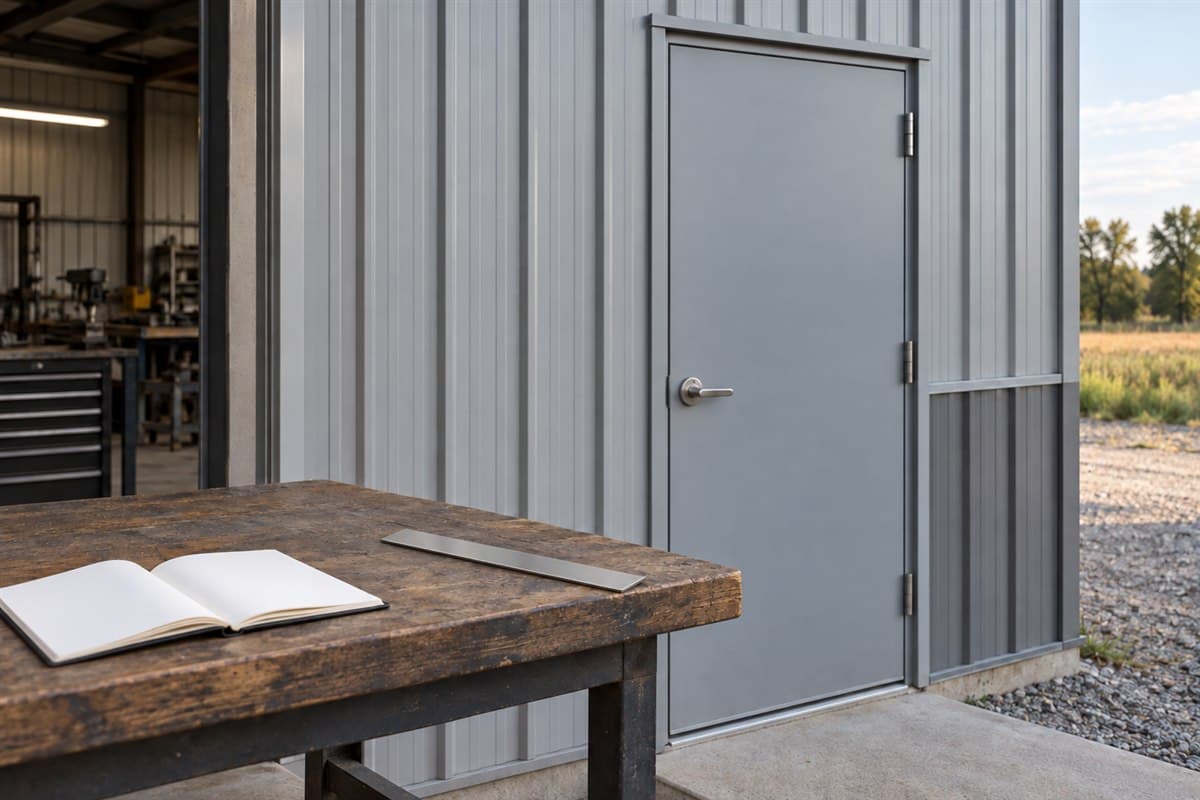
A door measurement needs named endpoints. The moving door, the space inside its frame, and the opening around that frame are different things. Keep them separate when preparing for a replacement.
A walk door is a pedestrian door. Its slab, also called the leaf, is the moving panel. This method helps you collect existing measurements without removing the frame or changing the wall opening.
Decide what the replacement would include
Write down whether you are investigating a slab replacement or a door with a new frame. If that is undecided, collect the visible information for both. Do not convert a slab reading into a wall-opening size by adding a guessed allowance.
Gather a tape measure, short ruler, pencil, notebook, phone, and a spirit level. A spirit level has a bubble that helps show whether a surface is upright or horizontal. Keep the doorway clear and arrange a time when it need not stay in use.
Leave the door attached. If it feels loose, drags badly, or will not operate normally, have a door installer inspect it before taking readings that require opening it. Keep fingers away from the hinge side.
Photograph any identification labels on the door and frame. Keep those images in the private measuring packet. Labels may record requirements that matter when choosing a replacement.
Separate the three measurement groups
- Record the slab. Measure its actual edge-to-edge width, top-to-bottom height, and accessible edge thickness. If the side edge is angled, photograph it and identify the wider face. Do not use the label size as a substitute for these readings.
- Record the frame opening. Find the surfaces named in the door maker's measuring guide. A rabbet is the recessed frame area accepting the closed door. Measure between the named rabbet surfaces, rather than between decorative trim edges.
- Repeat the opening readings. Take widths near the top, middle, and bottom. Take heights at the left, middle, and right. Keep every result, with its location, so the installer can see any variation.
- Record the outside frame separately. Measure accessible outer frame edges and label those endpoints. Do not confuse this measurement with the opening inside it.
- Record the wall opening only if exposed. A rough opening is the opening in the wall that receives the frame. If finishes hide its edges, write not visible. Do not remove the frame or cut the wall to obtain it.
- Photograph the floor junction. Include any threshold, the piece across the doorway floor. Note current floor coverings and planned changes.
These readings describe existing parts. The selected door's own instructions decide the required opening, clearances, and frame installation. Have the installer compare the readings with those instructions.
Complete the existing-opening measurement record
Keep the following sections on one page. Use an attached sketch for measurement endpoints.
| Record group | Fields to fill | Keep distinct from |
|---|---|---|
| Door identity | Location, label photos, slab or assembly search | A guessed model name |
| Slab | Actual width, height, thickness, measured face | Nominal label size |
| Inside frame | Widths and heights with endpoints and locations | Outside frame width |
| Outside frame | Visible overall width and height | Rough wall opening |
| Rough opening | Exposed readings or not visible | Added allowances |
| Floor junction | Threshold photo and floor-change notes | Assumed final floor level |
| Hinges | Photos and positions from the chosen reference point | Generic hinge locations |
| Latch area | Opening or fitting dimensions and reference point | Handle height guessed by eye |
| Condition | Dragging, visible damage, uneven gaps, or other observations | A diagnosis of the cause |
Nominal size is the designation used to identify an opening or door size. Actual slab dimensions can differ from that designation. Keep the label text and your physical readings on different lines.
Leave a comparison column beside the record for the candidate's drawing. Write unknown beside any measurement the candidate information does not resolve.
Include the fittings when keeping the frame
For a slab replacement, width and height are only part of the fit check. The new door's hinge and lock preparations must match the existing frame arrangement. Preparation means the holes or recesses made to receive fittings.
Photograph each hinge and its attachment area. Record accessible hinge dimensions. For frame hinge locations, identify the frame-head rabbet surface and measure to the top of each hinge. Keep the frame measurements separate from measurements taken from the slab top.
A strike is the frame fitting that receives the latch or bolt. Photograph it and record its location using the endpoints shown in the door maker's measuring guide. Do not substitute the center of the handle for the top of a strike cutout.
If the door has other equipment, include a photo and its identity if known. An installer can complete measurements requiring removal or specialist tools. Keep a list of those missing details rather than assuming a standard arrangement.
Record condition before choosing the replacement
Observe the gaps around the closed door and note where it rubs. Use the level only as an observation aid on accessible frame faces. Record what it shows without trying to adjust the frame.
An existing frame problem can affect a replacement door's operation. Ask the installer whether the frame is suitable to retain. A matching slab size does not settle that question.
Use How to Check Walk Door Handing and Swing for the opening direction. Use Door Slab vs Door Assembly: What Is Included? to establish what the candidate package contains.
Do not enlarge an opening to fit a door you have already selected. Your building's drawings or a building professional must resolve changes to the opening and its support. The door's instructions decide its fastening requirements.
Before finalizing a selection, compare the measurement record with the candidate drawing line by line. Every reading should say what was measured. Every hidden condition should remain visibly unresolved until the installer checks it.