Jamb Trim vs Head Trim: How to Tell Them Apart
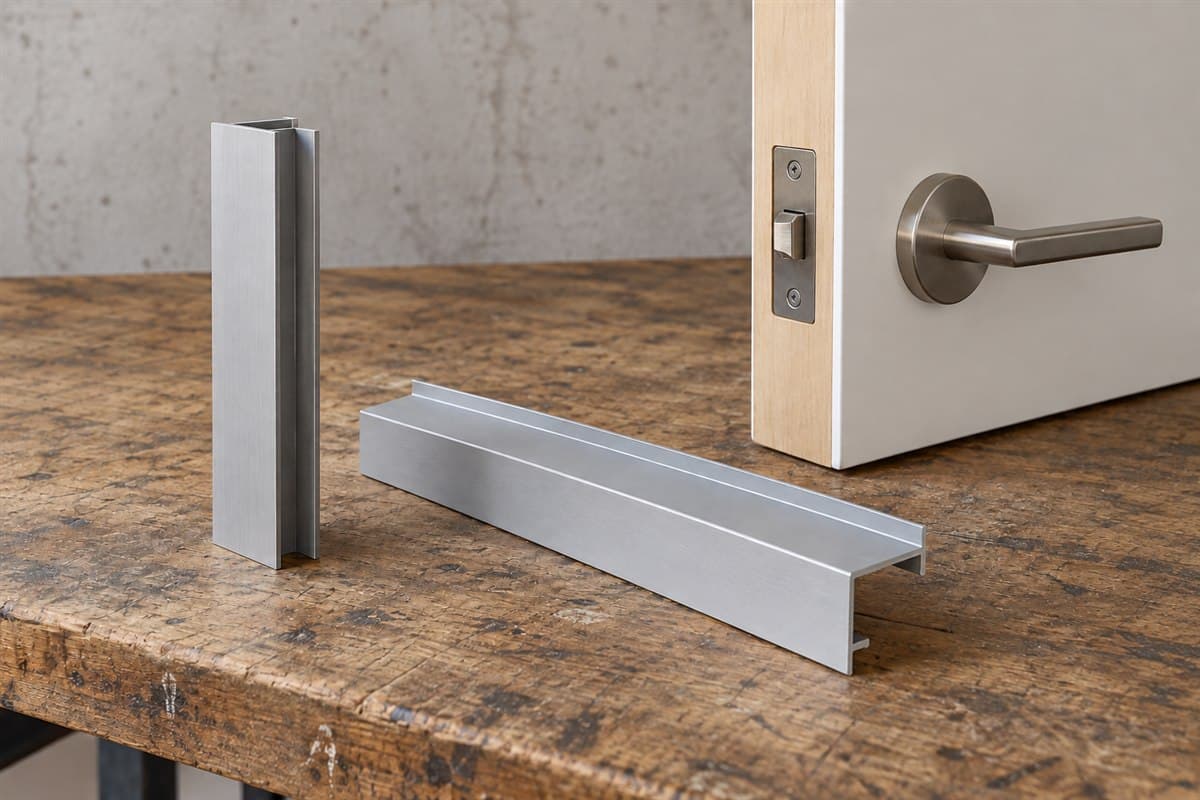
Jamb trim finishes the sides of a wall opening. Head trim finishes its top. Around a walk door, keep both separate from the door frame itself. Similar names can describe parts doing different jobs.
A jamb is a vertical frame member. The head is the frame's top horizontal member. Wall trim beside those members is a separate part to identify and compare. Start by finding the frame, then follow the panel edges around it.
Photograph the doorway as a set of separate parts
Bring a phone, notebook, tape measure, short ruler, and pencil. Wear gloves for loose metal samples. Keep the door and frame in place. Do not peel back attached trim to discover hidden layers.
Name your viewpoint, such as outside facing the door. Photograph the whole opening first. Then take separate pictures of the left side, right side, and top.
Add a close view where the door frame meets the wall panel. Include another view from an angle to show the depth of the junction. A straight-on image alone may hide the trim's bends.
If a side or top is too high to reach safely, collect a ground photo and have an installer take the measurement. Do not stand on loose stored materials to get closer.
Separate the roles before comparing shapes
Use this table to label the doorway. It distinguishes the part's location from the information still needed for selection.
| Part or feature | Role or location | What to record separately |
|---|---|---|
| Door slab | Moving door panel | Actual door size and fitting locations |
| Door frame jamb | Vertical frame member | Hinge side or latch side and frame shape |
| Door frame head | Top frame member | Frame information and visible condition |
| Wall jamb trim | Side finish beside the opening | End shape and relation to wall panel |
| Wall head trim | Top finish at the opening | End shape and relation to the top junction |
| Exterior flashing | Shaped material directing water at a junction | Actual wall and door detail |
| Door perimeter seal | Material around the door/frame gap | Door information and existing condition |
Flashing is material shaped and arranged to direct water at a junction. A decorative-looking cover does not by itself establish that the exterior junction is correctly flashed.
A perimeter seal is sealing material around the door edges. Keep it separate from foam used to match wall panel ribs. An unfamiliar strip should stay unidentified until you have its own information.
Measure each trim shape on its own page
- Identify a loose sample if available. Use an intact spare piece for the side trim and another for the top. Do not assume one shape does both jobs.
- Draw the side piece from its end. This drawing is its profile, meaning the shape across the piece. Include every bend and folded edge. Mark the room-facing or outdoor-facing side.
- Record each straight section. A leg is a section of the bent trim. Measure it with named endpoints. Record the units and any part hidden from inspection.
- Repeat for the top piece. Keep its sketch and readings separate. Note any difference in the bends, visible face, or position beside the panel.
- Measure the visible runs. Record left side, right side, and top lengths separately. These are observations of existing pieces, not final replacement cut lengths.
- Photograph the upper corners. Show how the top and side pieces meet without loosening them. Record any hidden relationship as unknown.
Number the sketches to match the photos. If the left and right sides differ, keep both records. Do not average their lengths or use one damaged piece as the model for the other.
Match the records to the actual junction details
Find the installation instructions for the wall panel and the selected door. Look for the doorway side and top details. A detail is a close drawing showing how the parts meet.
Compare what the drawing calls the frame with what it calls the wall trim. Then compare each trim profile with your end sketch. The relationship to the panel matters as much as the visible face.
For exterior work, the wall and door instructions need to agree on how water is directed at the junction. Ask the installer to resolve missing or conflicting information. Do not treat a bead of sealant as a substitute for understanding the hidden arrangement.
Your building's drawings or the panel maker's installation instructions decide fastening patterns and overlaps. The door's instructions decide its frame attachment requirements. Keep those requirements out of the existing-part measurement fields.
Ask a building professional about changes to the framed opening. Changing finish trim and changing the opening's supports are different tasks. Do not remove a support because the replacement trim appears to need more space.
Compare the two catalog candidates
Use Jamb trim for the side-trim candidate and Head or sill trim for the top-trim candidate. Compare their actual drawings with the separate shape records. Ask for a missing end drawing before choosing a length.
Keep product names, finishes, piece lengths, and counts on separate order lines. Write the doorway location beside each line. This makes it easier to distinguish the side pieces from the top piece later.
Use What trim pieces does a metal building wall need? for the general wall-trim list. This door-specific record adds the frame distinction and the two separate shape comparisons.
For a door replacement, pair it with How to Measure an Existing Metal Building Walk Door. For package contents, use Door Slab vs Door Assembly: What Is Included?.
Common mistakes include treating wall jamb trim as a frame member, assuming the top shares the side profile, and forgetting the exterior water junction. Finish with three location photos, separate shape sketches, and a question list for anything hidden.