How to Check Old Screw Holes in a Metal Roof
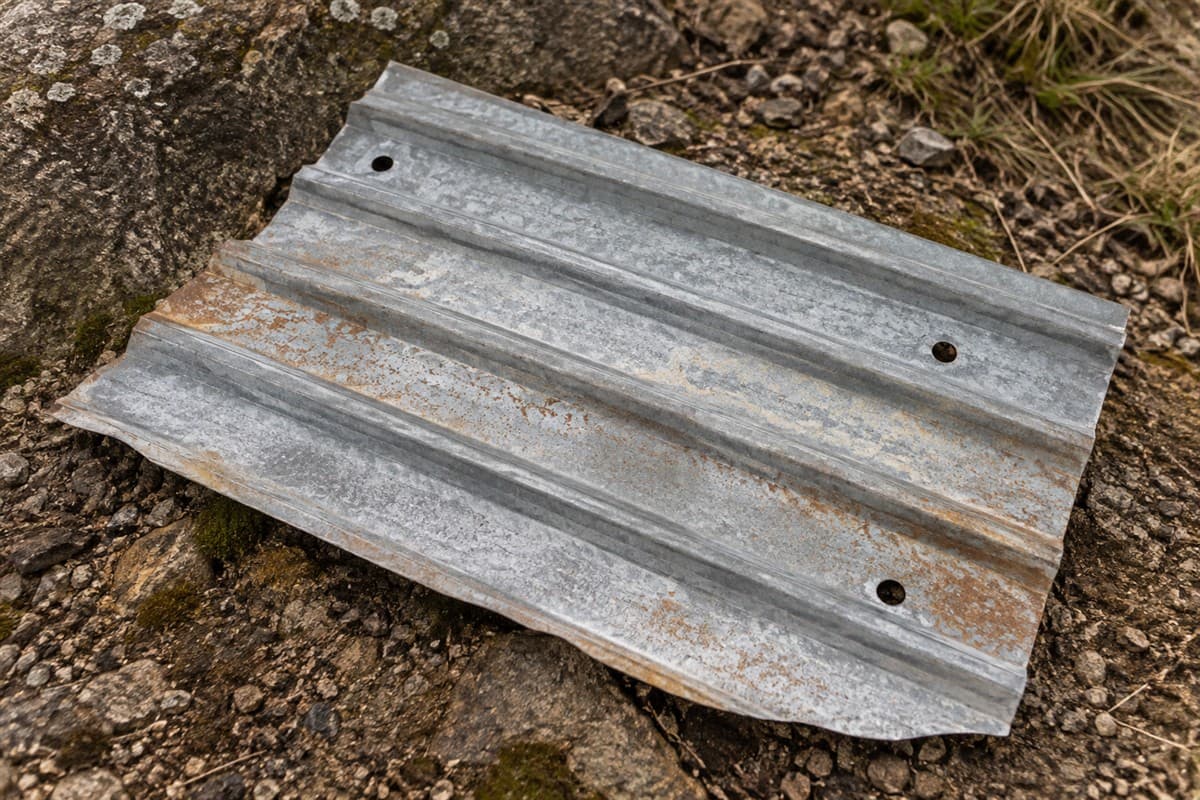
An empty hole needs a different next step depending on why it is there. It may be a missing roof fastener, a hole from a removed attachment, or damage in a reused sheet. First locate it and find out what lies beneath it.
Do not put an ordinary screw into every opening. A fastening screw needs the intended material beneath it. An unused hole may need a different repair, and torn or corroded metal needs assessment before you cover it.
Start with the hole's history
Gather old photos, spare panel pieces, repair notes, and any removed hardware. Ask whether the hole appeared after an attachment was taken off or after panels were moved. Leave unknown history marked unknown.
A panel fastener is a screw attaching the sheet to its support. A stitch screw joins thin sheets at an overlap or trim connection. Those roles are different even when the screw heads look alike.
Use Stitch Screws vs Panel Screws: Which Do You Need? if the nearby screw role is unclear. Do not copy a random neighboring screw until you know what connection it serves.
For roof inspection or repair, use suitable fall protection and hire a pro if you cannot work safely.
You can begin the record from inside the building, ground-level photos, or a detached panel. Have a roofer collect inaccessible views. Do not loosen surrounding screws just to improve a photo.
Give each hole a location you can find again
Sketch the roof section and name fixed features, such as the rear wall and door side. Give each opening a letter on your sketch. Keep the same letter on its photos and notes.
- Take a context photo. Show the panel and a nearby fixed feature. A close picture alone will not tell you where to return.
- Photograph the hole closely. Show its edge, surrounding finish, and nearby ribs, the raised ridges in the sheet.
- Describe the outline. Write round, stretched, torn, rust-edged, or unclear. Do not scrape or enlarge it to make that decision.
- Record its position. Note whether it sits in a flat area, on a rib, near an overlap, or beside another hole.
- Measure only when safely accessible. Measure the visible opening across both directions, without forcing a tool through it. Add units and the photo reference.
- Identify what is beneath it. Use a safe inside view or existing records. State wood support, metal support, another sheet, or unknown.
- Add the known history. List removed attachments and earlier work separately from what you can see today.
The measurements describe damage. They do not choose a repair-screw diameter, fastening pattern, or acceptable remaining metal thickness.
If the inside face is hidden, do not drill a test hole to find it. Send the visible record to a roofer. Knowing what you cannot see is part of choosing the next step.
Fill in the hole map and stop decisions
Use this table for each opening. Keep the observation and the next action in separate columns.
| Hole record | What to enter | Next decision |
|---|---|---|
| Location letter | Roof section, panel, and photo names | Can it be found again? |
| Current outline | Round, stretched, torn, or unclear | Is the metal sound enough for a fastener repair? |
| Surrounding surface | Intact, stained, cracked, or rusted | Does the panel need assessment? |
| Material beneath | Wood, metal, sheet, or unknown | Which connection did the hole serve? |
| Original role | Fastener, removed attachment, or unknown | Missing screw or unused-hole repair? |
| Nearby damage | Other holes, tears, or bent panel | Is this part of a larger damaged area? |
| Water observation | Visible drip, stain, or no observation | Keep symptom separate from cause |
| Stop reason | Unknown support, torn metal, or unresolved repair | Specific question for the roofer |
Do not describe a hole as safe merely because it is small. If metal is torn, heavily corroded, or damaged around several openings, stop the fastener replacement plan and get the panel assessed.
Handle a confirmed missing fastening screw
If the opening is a known fastening point with sound support, identify the original screw type and sealing washer. The sealing washer is the gasket beneath the screw head that seals against the sheet.
Use a new screw and washer of the correct original type where the hole and support still suit that fastener. Follow the panel maker's repair guidance. Drive the screw straight with the specified tool, then check the washer's seating against the instructions.
If the screw does not grip, stop driving it. Stripped means the hole no longer holds the screw's threads properly. Oversize repair screws exist, but the panel maker's guidance decides the type and size. Do not keep tightening or select a larger screw by guesswork.
Your building's drawings or the panel maker's instructions decide fastening patterns and driving torque. A repair must also address damaged support when that is the problem. A sealing washer alone cannot establish a sound fastening connection.
For the complete leaking-fastener sequence, use How to Fix Leaking Metal Roof Screws. This page's hole map helps establish whether that sequence applies.
Keep unused holes out of the fastener routine
An abandoned attachment hole or an opening with no known support needs the panel maker's repair method. Ask whether that location requires a specific unused-hole repair or panel replacement. Send the hole map instead of asking for a generic roof patch.
Do not treat joint-sealing tape as a stand-alone hole repair. Do not add new holes around an opening without the repair instructions. Those actions change the work you are trying to assess.
The listed Self-drilling roof screws with sealing washer, #12 x 1-1/2 in is a self-drilling screw candidate, pending confirmation. It is not identified as an oversize repair screw. If replacement sheet work is required, compare 26-gauge PBR panel or 26-gauge R-panel with the existing profile first.
You have finished the check when each hole has a known repair path or a specific unanswered question. Keep unconfirmed holes off the routine screw-replacement list.