Stitch Screws vs Panel Screws: Which Do You Need?
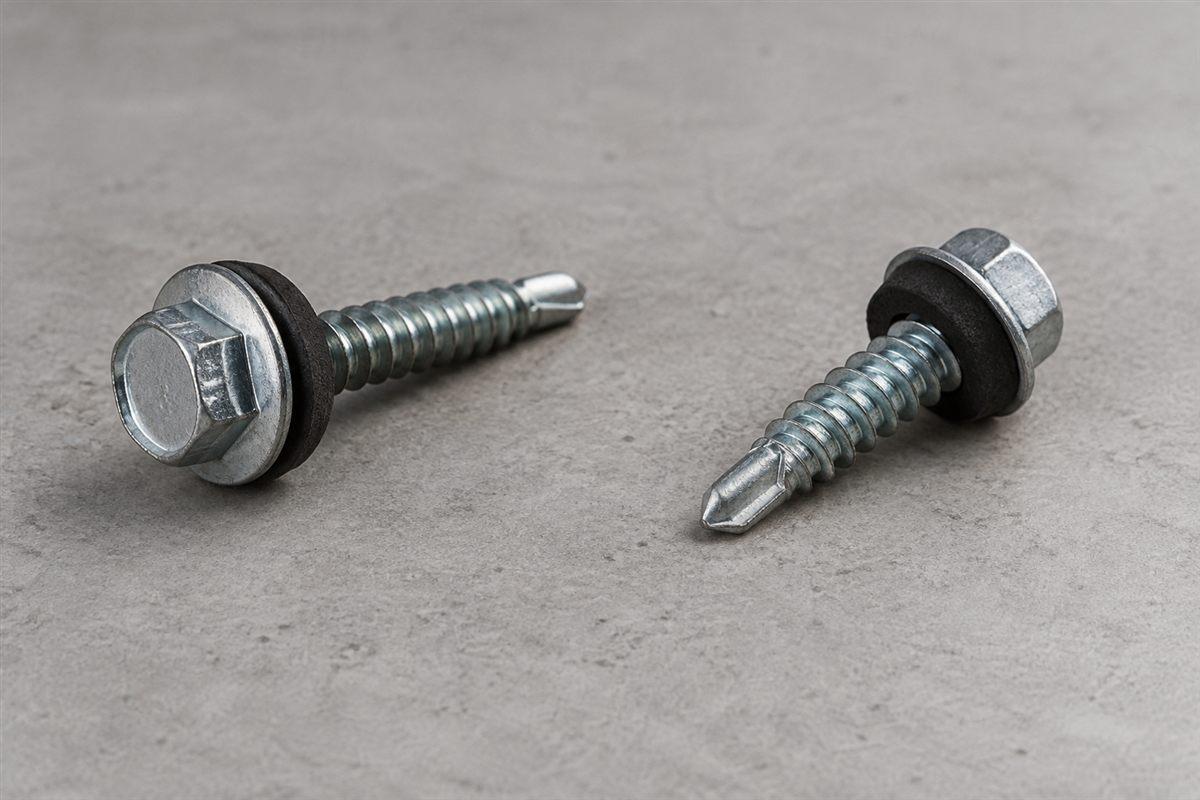
A stitch screw joins overlapping metal sheets. A panel screw fastens a sheet to the support behind it. To tell which job you have, look at what lies beneath the screw location, then compare the package's intended use.
Similar heads can hide different points, threads, and lengths. Keep the two roles separate when choosing parts. Sorting a mixed box by head color will not identify the right connection.
Follow the connection through its layers
A lap is where one piece overlaps another. A side lap runs along neighboring sheets' long edges. Trim is bent metal covering an edge or junction. Some trim connections also use sheet-to-sheet fasteners.
A support is the wood or steel behind the panel that holds it up. A purlin is a roof framing member supporting panels. From a safe interior position, look for these members beneath the roof sheets.
A panel-to-support screw passes through the panel and grips that support. A stitch screw joins the sheets at the named lap connection. Its job is different even if the head resembles a support screw.
Do not decide the role from a screw's length alone. First locate the joint. Then use the product information to identify the fastener made for that connection.
For roof work, use suitable fall protection and hire a roofer when safe inspection or installation is beyond your skills.
Find instructions even when the barn has no papers
Check spare-panel wrapping, old receipts, and stored repair materials for a panel name. Search the maker's website for that profile's installation guide. Downloads and technical pages are useful places to look.
Find the panel attachment drawing and side-lap drawing separately. A detail is a close-up drawing showing how parts meet. Follow each screw through the pictured layers.
If you have building drawings, compare their connection requirements too. If there are no records, physical observations can identify the support and panel shape. They cannot establish a new fastening pattern.
Use How to Match Old Metal Roof Panels when the panel itself is uncertain. Ask a roofer to help identify a hidden connection rather than removing sound screws to look inside it.
Make a fastener-role comparison card
This card gives each screw job its own place. Fill in the actual package designation and roof location beneath the table.
| Question | Stitch or lap screw | Panel-to-support screw |
|---|---|---|
| What does it join? | Overlapping sheets at the named joint | Panel and receiving support |
| What should I inspect? | Sheet edges and the lap | Material directly behind the panel |
| Which guide page helps? | Side-lap or relevant trim drawing | Panel attachment drawing |
| Which materials matter? | Joined sheet layers | Panel layers plus wood or steel support |
| What identifies the part? | Full label and stated sheet-to-sheet use | Full label and stated support use |
| Where does count come from? | Required joint fastening pattern | Required support fastening pattern |
| Which listed family is relevant? | Stitch-screw family | Roof-screw family if its type matches |
Write sheet-to-sheet or panel-to-support on each order line. Add the full screw designation, location, and source of the count. You should be able to read the line without looking at the sample.
Your building's drawings or the panel maker's installation instructions decide spacing, patterns, penetration, and driving torque. Wind or snow requirements also belong there. Never transfer a pattern from a photograph of another building.
Identify and label the parts in order
- Pick one connection. Name its location, such as a long panel seam or a row over a support. A seam is the line where neighboring sheets meet.
- Name the joined materials. Use a safe interior view and the panel guide. Note whether the connection ends in wood, steel, or overlapping sheets.
- Read the package's intended use. Look for sheet-to-sheet, lap, or the stated support material. Keep an unmarked loose screw separate until identified.
- Compare the full designation. Check diameter, thread, point, length, head, metal, coating, and washer. Diameter is the screw body's width. Threads are its spiral ridges. A coating is a protective surface layer.
- Make a separate list line. Write the role beside the part label. If the required type is missing from the listing, leave the selection open.
- Repeat for the other role. Use a fresh line so the first screw's size and count do not carry over by accident.
- Count after choosing. Use How to count screws and closures for a metal roof with the required fastening pattern for each role.
For screw-label meanings and point types, use How to Choose Metal Roofing Screws. That page handles the detailed part comparison after this role check.
Keep packages and samples together
Put a sample screw beside its labeled package on a table. Photograph them together. If you move parts into working containers, put the role and full designation on each container.
A ruler helps describe an existing sample. Use the screw drawing's length convention and record the units. A measured old screw does not prove the required length for a different connection.
A driver is the tool attachment fitting the screw head. A matching driver only proves tool fit. It does not show that the screw belongs at that joint.
Avoid mixing both roles in one container marked roof screws. Keep the list nearby while working so the connection decides which container you reach for.
Compare the relevant product family
Stitch screws (lap screws) for panel side laps and trim is the listed lap-screw family. Self-drilling roof screws with sealing washer, #12 x 1-1/2 in contains self-drilling roof screws with sealing washers. Compare the needed type and product information before choosing either.
The short family name does not establish every point, washer, or support application. Missing details need an answer before you treat a candidate as the selected part.
Replacement work adds the condition of the existing hole. A correct connection role does not make a stripped hole sound. Use How to Fix Leaking Metal Roof Screws when the screw spins, leaks, or has a damaged washer.
The finished card should distinguish the two jobs clearly. Keep their part labels and counts separate through the final list check, using How to Check a Metal Building Parts List when needed.