How to Fix Leaking Metal Roof Screws
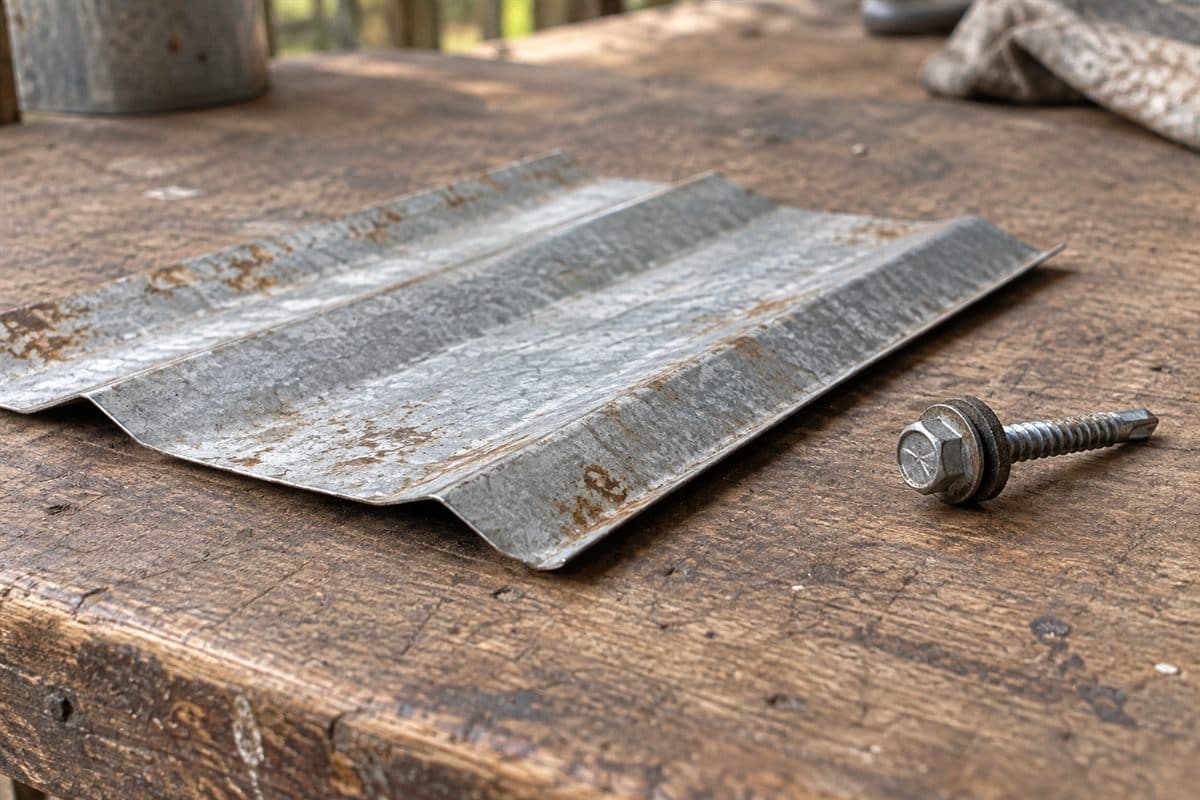
A leaking roof screw may need a new screw and sealing washer. First find the entry point. Then remove the suspect screw, inspect the washer and hole, and choose the replacement from what you find.
If washer damage is the only problem, use a new screw and washer of the same correct type. If the hole is stripped or enlarged, a same-size replacement may not grip or seal. That needs a separate repair choice.
For roof work, use suitable fall protection and hire a roofer if safe access or the repair is beyond your skills.
Find the leak before turning a screw
Start inside during rain if you can observe safely. Photograph the drip, nearby supports, and the underside of the roof. Keep away from wet electrical equipment. Mark the location on a simple sketch of the barn.
Water can travel before it drips. The screw nearest a stain is a starting point for inspection, not proof of the entry point. Look for a wet trail and compare it with the outside roof location.
On an exposed-fastener roof, screw heads are visible on the sheets. A sealing washer is the ring beneath the head that seals the hole. Look for raised heads, cracked washers, or washers squeezed out of shape.
Also look for rust around the hole, tears in the metal, and nearby leaking joints. A lap is where sheets overlap. If water seems to enter at that joint, changing a neighboring screw may miss the problem.
Mark the suspect screw on your sketch. Take a close photo and a wider photo showing its location. Avoid removing a row of screws to hunt for one leak.
Recognize washer trouble
An under-driven screw has not seated the washer properly. You may see a gap or a washer that barely contacts the sheet.
An over-driven screw has been tightened too far. The washer may look flattened, split, cut, or squeezed beyond its normal shape. The panel around it may also be distorted.
A seated washer should contact the sheet evenly without crushing. Compare with the replacement screw's seating picture. Do not treat every visible washer edge as a defect; washer shapes differ.
If the washer is cracked or misshapen, fit a new screw-and-washer assembly rather than tightening the damaged seal. A loose head also needs a grip check. Tightening cannot restore threads that no longer hold.
Gather the replacement and simple tools
Bring the correct screw-and-washer assembly, a screw gun with the matching driver, gloves, a camera, and finish-safe cleaning materials. A driver is the attachment that fits the screw head.
Read old packaging or compare a spare screw with the product information. How to Choose Metal Roofing Screws explains labels and points. Note whether the screw enters wood or steel. A wood-grip point and a drill point are different types.
Find the panel maker's installation guide through its website downloads or technical pages. Old receipts and spare-panel wrapping may identify the maker. If you cannot identify the roof, take your photos and screw sample to a roofer for help.
The Self-drilling roof screws with sealing washer, #12 x 1-1/2 in listing covers self-drilling screws with sealing washers. Compare the actual type before choosing it. The listing alone does not establish the right repair for a damaged hole.
Replace a screw when the hole is sound
- Remove the suspect screw. Fit the driver fully over the head and reverse the tool. Remove one screw at a time. Keep the old screw and washer for comparison.
- Inspect the washer and metal. Look for cracks, cuts, rust, and a stretched or torn panel hole. Inspect the contact area where the washer sat. Photograph anything unusual.
- Check the receiving support. This is the wood or metal the screw grips. If you find decay, serious rust, or uncertain support condition, stop and call a roofer. Do not try to hide it with a bigger washer.
- Clean the contact area. Remove loose dirt and debris using materials suitable for the panel finish. Let the area dry. Avoid gouging the coating or enlarging the hole.
- Fit the new screw and washer. Use the same correct type for washer-only damage when the hole and support remain sound. Keep the screw square to the sheet. Seat the washer evenly using the product's instructions.
- Check the grip and washer. Stop if the screw spins without tightening or the washer will not seat. Do not keep driving. Move to the damaged-hole check below.
Driving torque and any fastening pattern come from your building's drawings or the panel maker's installation instructions. Do not add an extra turn after the washer is seated just for reassurance.
Deal with a stripped or enlarged hole
A stripped hole has lost the material needed for the screw threads to grip. A screw that spins without tightening is a warning. An enlarged panel hole may also extend beyond the washer's sealing area.
Oversize repair screws exist for some damaged fastener holes. They are not a cure for every leak. The panel maker's repair guidance decides the size and type for the actual support and hole. Do not choose one by guessing how much bigger looks right.
If the panel hole is torn, the support is damaged, or no suitable repair is clear, call a roofer. Do not shift the screw nearby and leave the old hole open. Smearing sealant over the head does not restore grip.
Keep a screw-hole and washer observation record
Use this record for the repair you are making. It helps you avoid confusing nearby screws or losing the details after cleanup.
| Field | What to record |
|---|---|
| Leak location | Interior photo and roof sketch |
| Suspect screw | Close photo and wider location photo |
| Washer | Gap, cracking, flattening, or even contact |
| Panel hole | Round, enlarged, torn, rusted, or unclear |
| Support | Wood or steel and any visible damage |
| Replacement | Full screw label and washer type |
| Repair choice | Same-type replacement or separate hole repair |
| Result | Finished photo and observation during later rain |
Check the original interior spot during later rain. A dry observation is useful, but one dry spell does not prove every leak is gone. If water continues, inspect the nearby joint and trim rather than tightening the new screw repeatedly.