How to Choose Base Trim for an Interior Metal Wall
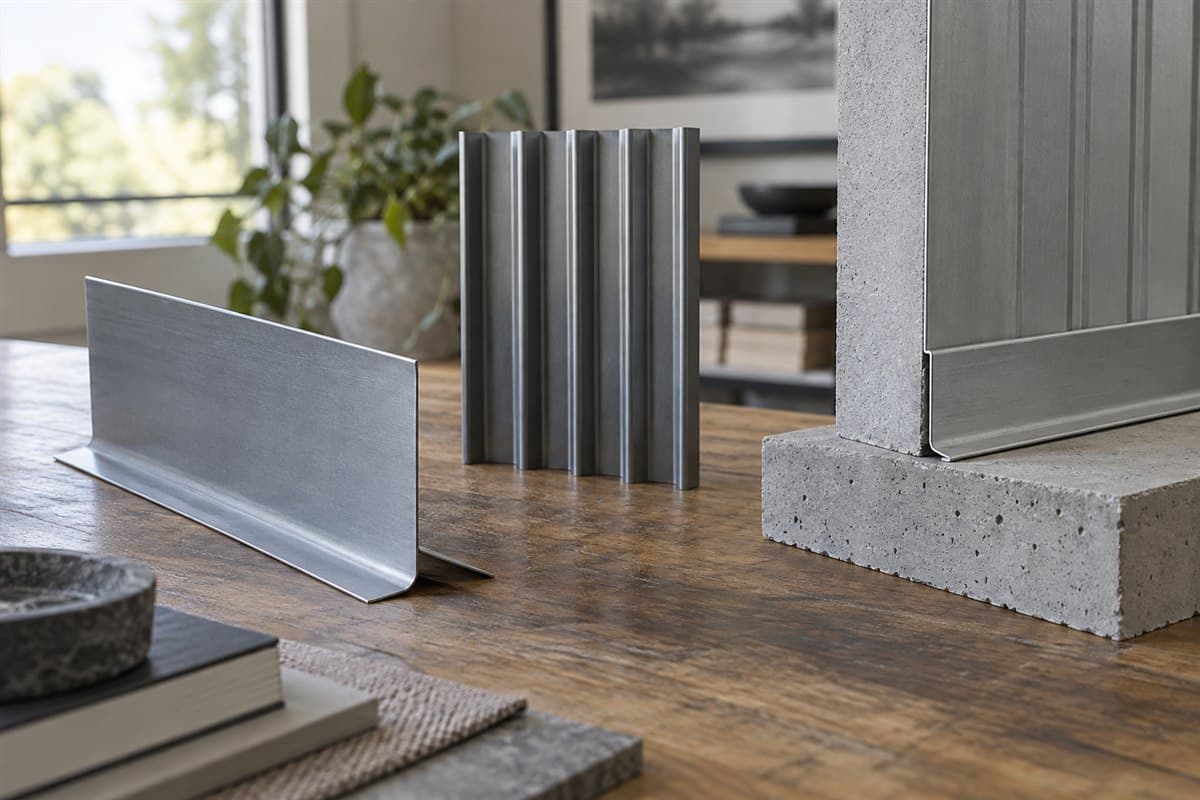
Look along the floor edge before selecting the trim at the bottom of an interior metal wall. The wall may meet concrete, a raised base, another finish, or a doorway. Record each change separately.
Base trim is a shaped finishing piece at the lower panel edge. Choosing it starts with the actual floor and panel junction. This worksheet helps you compare a candidate without guessing hidden bends or required gaps.
Clear a viewing path along the bottom
Bring a flashlight, tape measure, short ruler, pencil, phone, and notebook. Move loose stored items only if you can do so safely. Leave attached cabinets, equipment, and existing trim in place.
Take a wide photo of the wall from inside the room. Then photograph the bottom edge at corners, doorways, and changes in floor level. Name each wall and each change on the sketch.
Wear gloves when handling a spare trim sample. Work from an intact loose piece if one is available. Do not pull sound trim from the wall just to inspect its end.
If a bench hides the junction, record the visible sections and the hidden section separately. Write not inspected beside the hidden area. That is more useful than a single measurement suggesting the whole run was checked.
Inspect the edge in sections
- Identify the floor surface. Write concrete, floor covering, raised base, or unknown. Include any planned change to the finished floor.
- Find the panel's lower edge. Note whether it is visible, covered, or still proposed. Photograph the point where the sheet stops.
- Draw the junction from the side. Show the floor, panel face, ribs, and visible trim. A panel's raised ridges are called ribs. Mark which surface faces the room.
- Measure the accessible shape. Record exposed trim sections and visible offsets. An offset is the difference in position between two surfaces. Write the endpoints for every reading.
- Measure the run. Go from one named change to the next. Stop at a doorway rather than treating its opening as a continuous wall edge.
- Record the condition. Photograph stains, damp areas, damaged metal, and floor cracks. Describe what you can see instead of assigning a cause from appearance.
Measure the existing visible gap if you can reach it safely. Label it existing gap, with the location. Do not use that reading as the required gap for new work.
Repeat the observation at changes in the floor. A measurement near one corner should not stand in for an uninspected wall section.
Complete the floor-edge worksheet
Copy these prompts for each distinct section. Give the section a name that matches its photos.
Section: Wall name, starting landmark, ending landmark, and photo numbers.
Floor now: Material, visible steps or slopes, and any area hidden from inspection.
Floor later: Proposed floor covering or other change, if any.
Panel bottom: Existing position or proposed stop line; rib direction and end sketch.
Current trim: Present or absent; visible legs, folded edges, and finish direction.
Shape readings: Each measured feature, its endpoints, and units; hidden features marked unknown.
Run length: The measured section only; doorways and separate pieces listed apart.
Condition notes: Dry, visibly damp, stained, damaged, or not inspected; observations tied to photos.
Candidate: Exact base trim name and end drawing, or missing shape information.
Before fitting: Moisture question, floor change, hidden junction, or instruction still to resolve.
This is a condition and shape record. It does not establish a floor clearance or a moisture treatment.
For a hypothetical wall with a raised concrete strip, draw that strip beside the panel. Do not write flat floor just because most of the room is flat. The drawing lets the installer compare the candidate with the actual lower edge.
Read the trim shape from its end
Ask for the candidate's end drawing. A leg is a section of the bent trim. A hem is an edge folded back on itself. Mark each leg and hem on your sketch.
Compare the visible face, the folds, and the surfaces that meet the panel and base. Keep finish selection separate from shape selection. Photograph both sides of an existing loose sample if its orientation is unclear.
Use Base trim as the catalog candidate to examine. Do not assume it matches every interior floor junction. If the actual drawing is missing, ask for it before selecting lengths and counts.
A similarly named piece in another panel system can have a different shape. Compare the full end view, rather than relying on a distant photo of the bottom wall line.
Resolve dampness before hiding the edge
Do not cover a visibly wet area to make the wall look finished. Photograph it, note when you saw it, and have its cause checked. A stain alone does not identify the source.
If the new work changes insulation or moisture layers, have those layers reviewed for the building and climate. A vapor retarder slows water vapor passing through a wall. Adding one is a wall decision, not a base trim decision.
Ask the installer about the actual materials contacting the metal. Panel finish instructions may restrict contact with certain construction materials. Do not copy a general separation treatment from a different product's guide.
Base trim selection does not establish moisture or pest performance. Keep any special requirements as separate questions requiring evidence for the proposed construction.
Set the order of work at the lower edge
Find the base detail in the exact panel's wall instructions. Determine whether the trim goes in before the panel and what the junction requires. Settle planned floor changes before finalizing that detail.
Your building's drawings or the panel maker's installation instructions decide fastening patterns, overlaps, and support spacing. Take required gaps and material separations from the instructions for this junction, rather than the old visible gap.
Use How to Plan Interior Metal Wall Panel Trim to join the section worksheet to the room map. Avoid missing a doorway break, copying one floor reading everywhere, or choosing trim before resolving a wet edge. Each section should end with a confirmed candidate or a clear question.