How to Choose Trim Where a Metal Wall Meets a Ceiling
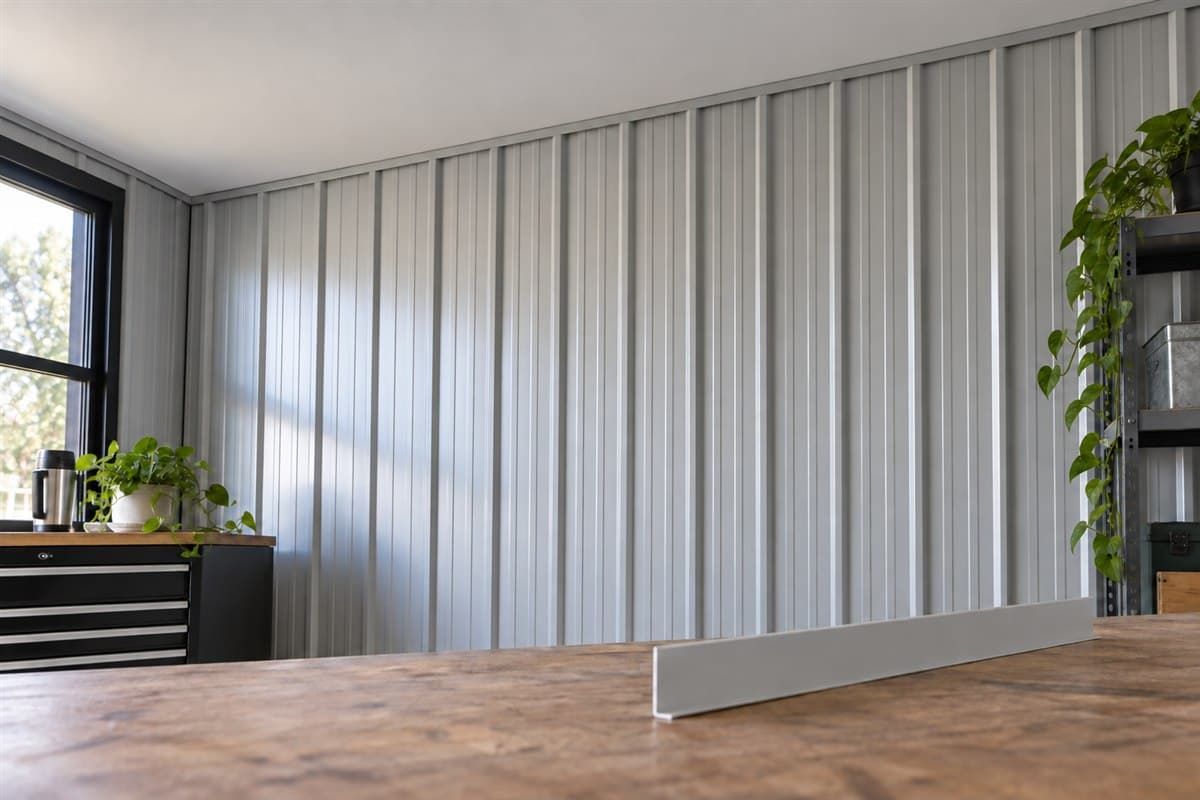
The top of a metal wall may meet a ceiling, stop below it, or follow a slope. Draw that actual junction before choosing the trim. A corner-looking piece is only a candidate until its shape matches the two finishes.
This job concerns a wall beside an existing ceiling. You can inspect the visible junction and prepare a trim comparison. Keep the ceiling's support and finish decisions separate from the new wall edge.
Start with a room view and a closer view
Bring a phone, notebook, pencil, tape measure, and a short straight ruler. Use gloves when handling loose metal samples. Work from the floor wherever possible. Hire an installer for measurements you cannot reach safely.
Take a wide photograph showing the wall and ceiling together. Then photograph the junction from below and from an angle. Include a nearby door or corner in one view so its location is clear.
Name the ceiling material if you know it. If you do not, describe what you see and photograph it. Do not remove a ceiling piece to identify its backing.
Look for old finish instructions or leftover packaging. For the proposed wall panel, find the exact product's wall installation guide. Keep both sets of information together when they are available.
Sort the junction before measuring it
- Identify the wall's top boundary. Mark where the new metal is supposed to stop. If that position is still undecided, write proposed on the sketch.
- Describe the ceiling edge. Note whether it is flat, sloping, stepped, or interrupted. Draw each change as a separate section.
- Show the panel shape. A panel's profile is its end shape. Raised ridges are ribs. Sketch how those ribs approach the ceiling boundary.
- Record what is already in place. Photograph existing trim and visible gaps. Note whether the piece covers the wall face or appears to disappear behind it.
- Locate nearby access. Show removable ceiling pieces, service covers, vents, and other features that the proposed trim must not obstruct.
- Choose the measurements you can actually take. Measure the visible run and accessible changes in position. Label hidden dimensions unknown.
Measure a straight run from a named corner to the next change. If the top edge slopes, record that fact alongside the reading. Do not turn the room's horizontal width into the trim's sloping length.
A visible gap measurement describes the existing junction. It does not establish the space required for the new work.
Write a wall-ceiling junction card
Use a separate card for each different condition. Copy these fields into a notebook and fill them beside your photographs.
Location: Wall name, nearby landmark, and photo numbers.
Wall finish: Existing or proposed panel name, profile drawing, and rib direction.
Ceiling finish: Material if known, flat or sloped appearance, and whether it remains in place.
Top-line shape: Straight, sloping, stepped, or interrupted; sketch the change.
Measured run: Start, finish, units, and whether the reading follows a slope.
End shape: Sketch of both finishes and any visible trim; mark the room-facing side.
Access boundary: Name any cover, vent, or ceiling section that must remain usable.
Candidate trim: Product name and actual end drawing, or unanswered shape question.
Fitting sequence: Part before panel, part after panel, or still unknown from the wall instructions.
Next question: The exact missing answer and who will supply it.
These fields form one coordination card. They help the installer see the junction without needing to interpret an isolated close-up.
Compare a candidate's bends with the card
Ask for a drawing showing the trim's end. Compare each leg, meaning a section of the bent shape, with the surfaces in your sketch. Note any folded edge and which face has the visible finish.
Inside corner trim may be worth examining where two finishes meet inward. Use Inside corner trim as a shape candidate, rather than a promised wall-top match.
A trim name used elsewhere in the room may describe a different part. Compare the complete outline instead of choosing by that name alone. If the product drawing leaves a bend unclear, ask for a better view.
You can compare a short loose sample at a bench. Do not wedge it into the ceiling junction to test it. Keep the sample free while checking shape, finish direction, and panel contact.
If no listed piece matches, keep the junction card unresolved. Do not assume a special bend service exists or force a stocked shape to imitate one.
Settle the fitting order and hidden questions
Find the wall panel's edge detail and identify whether trim must go behind the panel. Record that order before cutting any sheet. If the existing ceiling prevents that sequence, ask the installer to resolve the junction first.
Your building's drawings or the panel maker's installation instructions decide fastening patterns, supports, spans, and overlaps. Do not borrow those requirements from a room photo.
If the ceiling contains a special fire or sound treatment, ask the person managing that construction how the new wall edge should meet it. Do not cover an unidentified junction and assume the treatment remains complete.
Have uncertain insulation and moisture layers reviewed before enclosing them. A vapor retarder slows water vapor passing through the wall. Its placement needs attention to the whole wall and climate, rather than the trim's appearance.
Finish with a junction someone else can understand
Use How to Plan Interior Metal Wall Panel Trim to place the completed card on the room's edge map. Keep flat and sloped sections separate on the parts list.
Common mistakes include measuring only the room width, omitting a step in the ceiling, and selecting trim before checking its fitting order. Another is forgetting a ceiling section that needs later access.
Your final card should show the top boundary, both finishes, the measured run, and the unresolved questions. With those details, you can compare a real trim shape before committing to the wall lengths.