How to Plan Interior Metal Wall Panel Trim
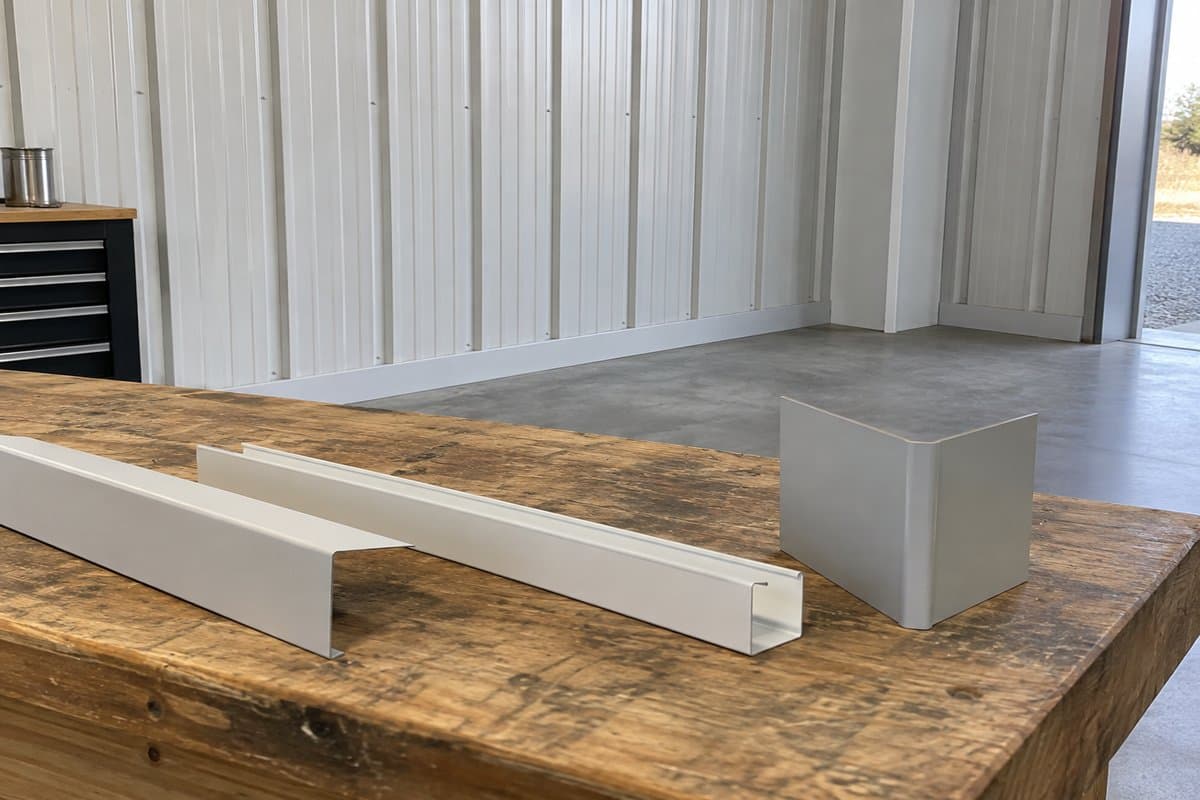
Walk around the room and follow the edges where the new metal will stop. Those boundaries give you the trim list. Start with a drawing of the room, rather than a handful of trim names.
Trim is a shaped finishing piece at an edge or junction. Here, the task is to match each boundary with a possible trim shape. You can make that map before cutting panels or disturbing the existing wall.
Give each wall a name
Bring a notebook, tape measure, pencil, and phone. Sketch one wall per page. Use names such as entry wall, window wall, and bench wall. Match those names to your photographs.
Draw the planned panel area as a simple rectangle or outline. Leave uncovered areas visible on the page. Mark cabinets, pipes, outlets, switches, and equipment covers in their present locations.
Write existing beside finishes that will stay. Write proposed beside the new metal. This keeps a plan for new work separate from a record of what is already there.
No building papers? Start with what you can see. Do not remove wall sheets or equipment covers to complete the sketch. Put hidden or unknown beside any boundary you cannot inspect safely.
Follow the boundary all the way around
- Trace the bottom edge. Note where panels meet the floor, a raised base, or another wall finish. Break the line at each doorway. Photograph changes in floor height and any wet or damaged areas.
- Trace the first vertical end. Decide whether it stops at an opening, meets another finish, or enters a corner. Draw that condition beside the wall sketch.
- Follow the top edge. Show whether the wall stops below the ceiling or meets it. Record slopes and changes without inventing a trim bend to suit them.
- Trace the opposite vertical end. Label this end separately. Do not assume it matches the first one.
- Circle every opening. Give doors, windows, and access covers their own identifiers. Draw the side edges and top edge as separate pieces.
- Mark the boundaries that must stay accessible. Shade these areas on paper. Ask the electrician or other relevant trade to establish the space needed for operation and maintenance.
The map is complete when every panel boundary has a label. You should be able to point to a line and explain what happens there.
Build a room-specific edge map
Use these map marks on your sketches. They organize observations rather than specify how to install trim.
| Map mark | Meaning on your drawing | Note to write beside it |
|---|---|---|
| B | Bottom of the panel area | Floor material and visible edge shape |
| I | Inward corner, where walls meet into the room corner | Both wall faces and corner photo |
| O | Outward corner, such as a projecting wall end | Faces being covered and end photo |
| T | Top boundary | Ceiling type or uncovered space above |
| J | Side of an opening | Opening name and side being viewed |
| H | Top of an opening | Opening name and nearby obstructions |
| S | Service-access boundary | Equipment name and trade to consult |
| F | Change to another finish | Both materials and their relative positions |
Add a little end-view sketch beside each unusual boundary. An end view shows the shape across a piece instead of along its length. That view helps explain why two similarly named trims may differ.
Measure each visible run from a named start to a named finish. Record the units. These measurements describe the edge you found. Keep them separate from final cut lengths, joint allowances, and overlaps.
If a cabinet hides part of the wall, split the record into visible sections. Do not write a single measurement that suggests you inspected the hidden part.
Compare shapes before assigning products
An inward corner can lead you to Inside corner trim. A projecting corner can lead you to Outside corner trim. Compare the actual end drawings with your corner sketch before choosing either.
At the floor boundary, examine Base trim as a candidate. At an opening, Jamb trim covers the side-trim search and Head or sill trim covers the top-trim search. These names tell you where to start looking. They do not establish the required bends or fit.
For each candidate, record its exact name, end shape, finish, and listed length. A leg is one section of a bent trim shape. Compare each leg and any folded edge with the junction you drew.
Do not choose a top-wall piece merely because it resembles a door-head piece. Use How to Choose Trim Where a Metal Wall Meets a Ceiling when that boundary needs closer attention.
Decide the fitting order before cutting
Read the wall instructions for the exact panel. Find the relevant edge details and note which trim pieces go behind the sheet. Other pieces may cover its face. The actual detail decides that order.
Write the order next to each map mark before buying or cutting. If the instructions do not show your condition, send the sketch and photos for help. Ask a concrete question: which part receives the panel edge, and which part covers it afterward?
Your building's drawings or the panel maker's installation instructions decide support spacing, fastening patterns, and overlaps. The edge map supplies locations and observations, rather than those requirements.
Keep equipment access separate from fastening decisions. Electrical working space must remain usable. Let an electrician review the mapped area before trim or panels narrow it.
Turn the map into separate order lines
List every confirmed trim shape by its map marks and wall names. Keep different shapes on different lines, even if they share a finish. Add unresolved edges to a question list instead of choosing the nearest-looking piece.
Use What trim pieces does a metal building wall need? for the general wall-trim reference. This map adds the interior boundaries and service areas specific to your room.
Common misses include a short return beside a door, a change in floor level, and an uncovered wall end. Follow the boundary once more before finishing the list. Every edge should now have a candidate or a clear next question.