How to Cut Metal Roofing Without Damaging the Finish
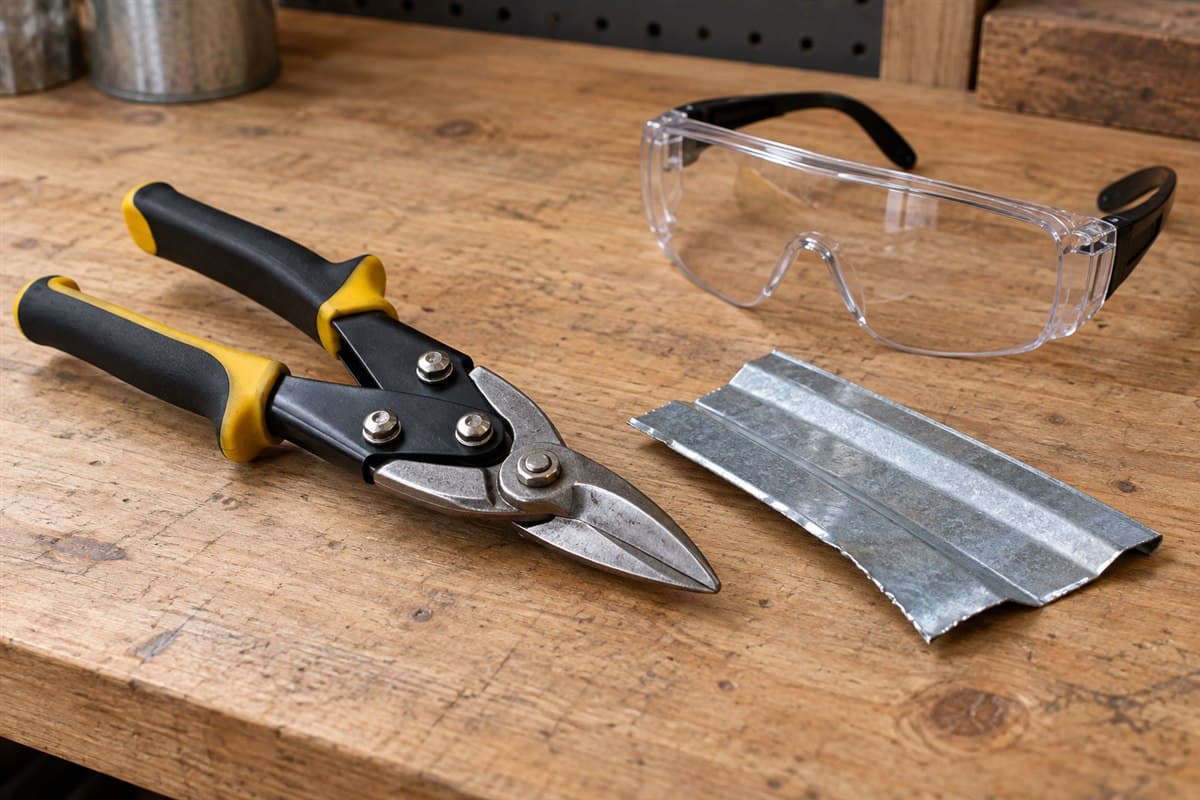
Cut a detached sheet in a clean work area, using a tool permitted by its installation guide. Mark the cut carefully, support both pieces, and remove metal chips before moving the panel. Do not cut above other sheets.
Tin snips and powered shear-type tools are options in metal-panel cutting instructions. The exact tool still needs to suit the sheet's metal, thickness, and shape. A tool that fits flat sheet may be awkward across raised ribs.
Keep cutting at ground level; use fall protection for later roof work and hire a roofer if safe access is beyond your skills.
Pick the tool before marking a sheet
Tin snips are hand tools that cut sheet metal. Power shears use powered cutting blades. A nibbler removes small pieces of metal as it advances. Each tool handles waste differently, so read its instructions as well as the panel guide.
Check the tool's stated material and thickness limits. Check whether it handles your panel's raised ribs. Find the directions for straight cuts, curved cuts, and keeping hands away from the cutting head.
Do not choose a grinder or abrasive saw just because one is available. Heat and hot debris can damage panel coatings. Do not reverse an ordinary saw blade based on an old tip. Use only a cutting method permitted by the panel guide and the tool instructions.
For a short cut with snips, check whether the pair cuts straight or curves left or right. Use the tool's own markings. Do not infer its cutting direction from handle color alone.
Set up a clean cutting station
Gather a tape measure, straightedge, suitable marking pencil, the chosen cutter, gloves, eye protection, and a soft brush. A straightedge is a straight strip or ruler used to guide your mark. Add any protection required by the powered tool's instructions.
Use clean padded supports suited to the sheet. Position them so the retained panel and offcut stay controlled during the cut. The offcut is the piece you remove. Do not leave a long scrap hanging where it can pull or bend the sheet.
Keep cords and tool hoses out of the cutting path. Remove nearby panel stacks from the debris zone. Place a container nearby for sharp scraps. Make sure the tool is disconnected from power before adjustments or blade changes.
Try the tool on a spare piece of the same material first. That lets you see its waste path and how it crosses ribs. Do not use the finished panel as your first tool practice.
Make the cut in a controlled sequence
- Confirm the required shape. Identify which end or edge needs trimming. For a roof-edge or opening cut, use the actual installation detail. Take overlaps and any safety-related dimensions from the building drawings or panel maker's instructions.
- Identify the face and orientation. Know which surface faces outside and which long edge laps over its neighbor. Mark that information on a separate job card.
- Measure from a known end. Check the retained piece's length at both long edges. Join the marks with a straightedge for a straight cut. Confirm the waste is on the intended side.
- Support the two pieces. Set the sheet on the clean supports. Follow the cutter's holding or clamping method without crushing the ribs. Keep hands clear of the scrap path.
- Cut along the marked line. For snips, make controlled bites within their capacity. Keep the scrap away from the finished face. For a powered cutter, follow its feed and handling instructions.
- Pause if the sheet distorts or the tool binds. Stop and disconnect a powered tool before clearing or adjusting it. Do not force a cutter through a rib it cannot handle.
- Check the edge and retained length. Look for tears, bent ribs, and missed portions of the cut. Use the permitted finishing method for sharp burrs, which are rough metal left on an edge.
- Remove chips and scrap. Brush away debris carefully without grinding it into the coating. Inspect both faces and the padded supports before moving the finished piece.
The cut shape may come from a roof detail, but the tool test belongs on a loose sample. Do not cut through an installed roof to find out what lies underneath.
Fill in the tool and debris card
Use one card for each cutting setup. It combines the tool check with cleanup responsibility.
| Entry | Write before cutting |
|---|---|
| Sheet identity | Panel name, material, and stated thickness or gauge |
| Cut task | Across ribs, along a flat area, or a shaped opening |
| Panel guide | Permitted cutting method and relevant page |
| Cutter instructions | Material capacity, rib handling, and holding method |
| Practice result | Spare piece cut cleanly, or another tool needed |
| Support plan | How the kept piece and scrap remain supported |
| Debris route | Where chips fall and where scrap goes |
| Final cleanup | Both faces, bench, tools, and nearby surfaces checked |
Do not treat an empty row as a minor detail. If you cannot establish tool capacity, use a different verified tool or have the sheet cut professionally.
Keep the new edge and finish in view
Metal chips can remain on a sheet after the obvious scraps are gone. They can rust and mark the surface. Finish cleaning before stacking or carrying the panel to its installation area.
Ask the panel maker whether the fresh cut edge needs any treatment. Do not assume every coating uses the same touch-up method. Do not spray a wide patch of paint to hide a rough cut.
Avoid stacking the finished piece on a dirty offcut. Keep its job card with it so you do not reverse the sheet later. If the cut damaged a lap edge, resolve that before installation rather than pulling it into place with screws.
Compare 26-gauge PBR panel or 26-gauge R-panel information only for the sheet you have identified. For length planning before cutting, use How to measure and order metal panels by length. Cutting should follow a settled panel layout, not replace one.