How to Decide Whether to Repair an Old Barn Roof
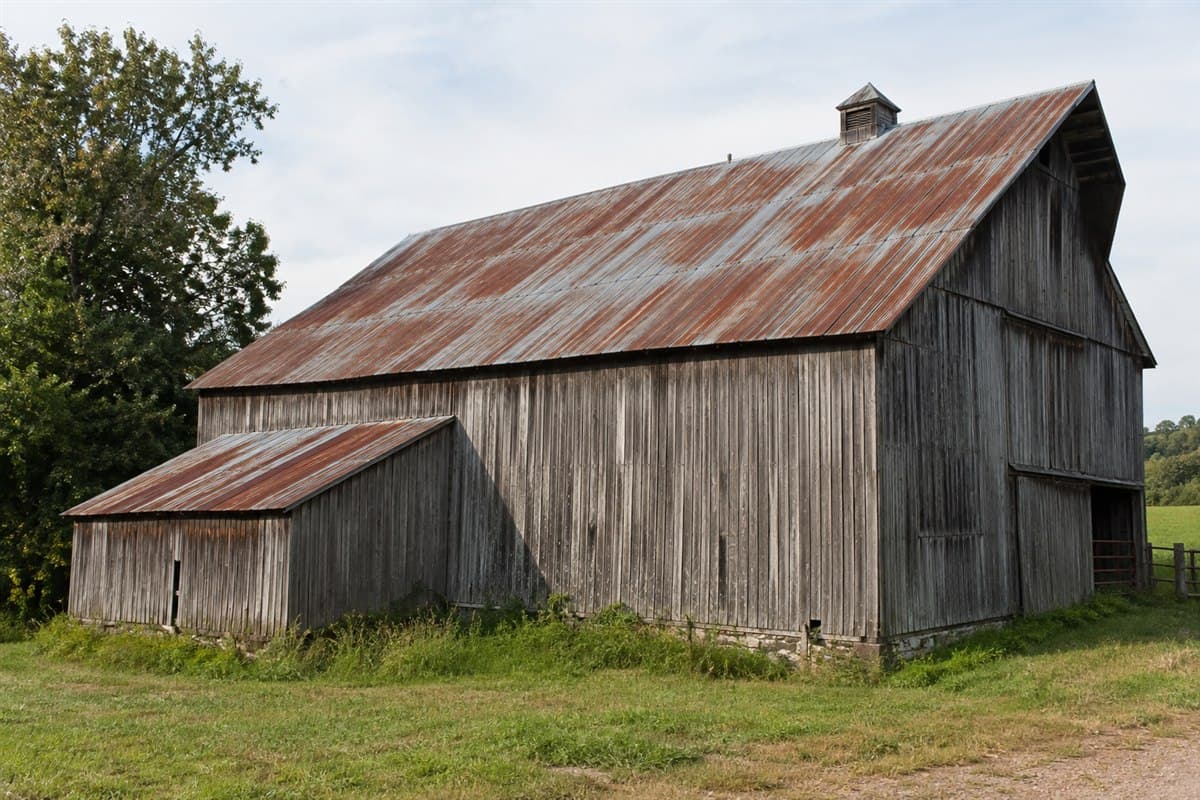
Start by finding out whether the trouble sits in one small area or across several roof sections. Then separate panel damage from problems beneath the panels. A roof that looks tired may need a focused repair. A tidy-looking roof may hide trouble underneath.
You can make that first sorting pass from the ground and inside the barn. Bring the record below to a roofer. It gives them specific places to inspect before discussing repair or replacement.
Use fall protection for roof work, and hire a roofer if safe access is beyond your skills.
Give every roof section its own name
A roof section is one separate sloping surface. Call them something easy to recognize, such as main roof facing the road and lower roof above the storage room. Keep those names on every photograph and note.
Gather a phone camera, notebook, flashlight, and old building papers. Binoculars can help you see the roof from the ground. Use a tape measure only where you can reach safely. This first pass does not require roof dimensions.
Look for old receipts, spare panel pieces, and wrapping with a panel name. Search that panel maker's website for its installation guide. If the identity is missing, begin with the panel's end shape and both long edges. The guide How to Match Old Metal Roof Panels explains that identification work.
Do not call every sheet PBR just because it has tall ribs. Ribs are the raised ridges in a panel. Similar-looking sheets can have different edge bends.
Walk through the evidence in this order
- Photograph the whole barn. Stand far enough back to include the roof outline and walls. Take a separate picture of each roof section. Label the pictures afterward rather than placing labels on the building.
- Mark the places where water appears inside. Sketch the room and locate each drip against a door, post, or other fixed feature. Write whether water appeared during rain or without rain. Do not assume the drip marks the entry point above.
- Look upward from a safe floor. Photograph staining, visible gaps, and any bent or decayed-looking supports. Do not climb onto stored equipment to reach them. Record what you see without testing a support's strength.
- Inspect visible roof edges from the ground. Note loose trim, bent sheets, open joints, and missing-looking parts. Trim is the folded metal finishing an edge. Keep unreadable areas marked unclear.
- Separate past repairs from fresh damage. Mark patches and previously changed sheets on your sketch. Add the repair dates if you know them. Write whether the same wet spot has returned.
- Ask for a closer inspection of the remaining areas. Give the roofer the named sections and photos. Ask them to examine panel joints, screw washers, roof edges, and the supports beneath the problem area.
A screw washer is the sealing ring beneath the screw head. A lap is a joint where sheets overlap. Those small parts deserve inspection before anyone treats the whole roof as the problem.
Make a roof-section card
Copy this card for each section. It is a sorting aid, not a condition certificate.
| Entry | What to write |
|---|---|
| Section name | A name that matches your whole-barn photo |
| Visible covering | Panel name if known; otherwise unknown |
| Trouble inside | Drip location, stain, date, and weather |
| Trouble outside | Hole, bent edge, loose trim, or unclear area |
| Spread | One spot, several separate spots, or most of the section |
| Earlier work | Changed sheets, patches, and whether trouble returned |
| Under the roof | Visible support damage, wet material, or blocked view |
| Close inspection needed | Specific places the roofer must examine |
| Next decision | Local repair, section replacement, or further inspection |
Finish the last row after the close inspection. Leave it blank during your ground survey. That keeps an observation from quietly becoming a repair decision.
For example, a hypothetical card might say: lower storage roof; wet spot beside rear post; loose-looking edge trim. The next action is to inspect that edge and the wet area beneath it. The card does not establish that new sheets are needed.
Use the findings to choose the next job
Ask whether the problem has a specific cause that a limited repair can address. A damaged screw seal calls for a different task than a hole through a sheet. A failing roof-to-wall joint is different again. Ask the roofer to name the cause and the part they intend to change.
If the trouble is limited to screws, read How to Fix Leaking Metal Roof Screws. It explains washer and hole checks. If a panel needs replacement, use How to Choose a Replacement Metal Roof Panel before selecting a sheet.
When damage appears across a section, ask what else must change with the panels. Include edge trim, joints around roof openings, and any hidden wet material. A section replacement should have clear start and end boundaries on your sketch.
Sagging, damaged framing, or uncertain supports need an engineer's assessment before roof work. An engineer checks the building structure. Do not remove sheets to find out whether they help hold the building steady. Metal building roof panels can be part of its bracing system.
If someone proposes keeping the old roof underneath, use Can You Put New Metal Panels Over an Old Metal Roof?. That is a separate decision about the complete roof assembly.
Build a parts list after the scope is clear
For a matching replacement, compare profile, edges, coating, length, and intended roof use. Profile means the sheet's shape when viewed from its cut end. Check the actual 26-gauge PBR panel information only if that is the identified candidate.
Foam closures fill the shaped gaps between a ribbed sheet and certain adjoining parts. Foam closure strips for PBR and R-panel is worth comparing when inspection shows closures need changing. Match their shape and location to the panel's instructions.
Use How to measure and order metal panels by length once you know which sections and sheets will change. Take fastening patterns, overlaps, spans, and load requirements from your building's drawings or the panel maker's installation instructions. If those are missing, have the roofer and engineer resolve them before ordering.
Avoid three shortcuts: treating every stain as an active leak, calling all discoloration a failed panel, and ordering the roof before checking its supports. Your finished section cards should explain what needs attention and what remains unknown. That is enough to make the next inspection useful.