How to Choose Metal Roofing Screws
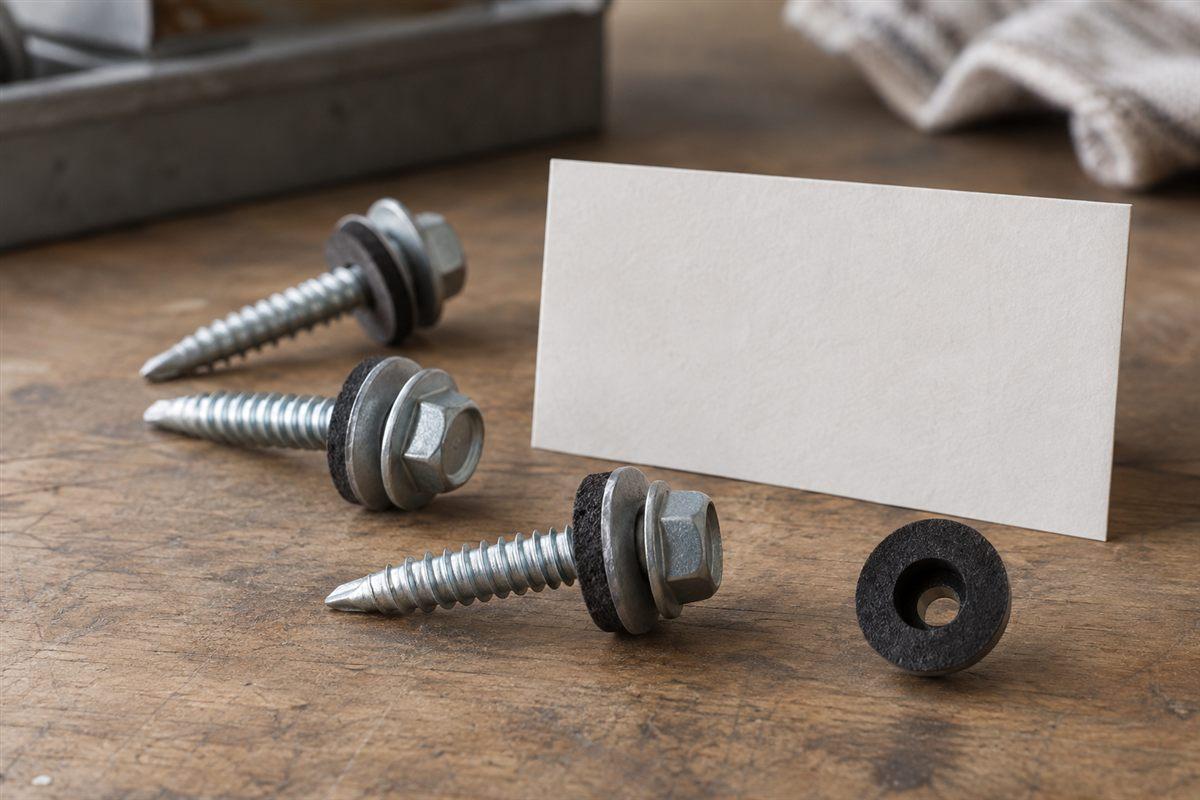
Start with what the screw must join. A screw fastening a panel to wood has a different job from one joining overlapping metal sheets. Identify the support material, read the screw label, and compare the point and washer before choosing a pack.
You can do much of this at a table. A package label, spare screw, and view from inside the barn often answer the first questions. An old roof with no drawings still gives you useful clues.
For roof work, use suitable fall protection and hire a roofer if you cannot inspect or work safely.
Look beneath the panel first
A support is the wood or metal behind the sheet that holds it up. The material a screw enters is sometimes called the substrate. Look from a safe interior position to identify it. Do not assume every metal barn has steel directly behind each roof screw.
A purlin is a roof framing member supporting the panels. Notice where it crosses beneath the sheets. Keep panel-to-support screws separate from screws at sheet edges.
A lap is where one sheet overlaps another. Screws joining those sheets are often called stitch or lap screws. Stitch Screws vs Panel Screws: Which Do You Need? explains the distinction.
For a replacement, save an old screw already removed during the repair. Keep its package if available. The old part helps with identification, but a damaged hole may need a different repair fastener.
Read a screw size label
A label such as #12-14 x 1-1/2 in describes a screw. This is a label-reading example, never a recommended size for your roof.
- #12 is the screw gauge, a designation for its body diameter.
- 14 means threads per inch. Threads are the spiral ridges around the screw body.
- 1-1/2 in is the stated screw length.
Screw gauge and panel gauge describe different things. Do not match their numbers as though they were the same measurement.
The label may also name the point, head, metal, coating, and washer. A coating is a protective surface layer. These details matter even when the size line matches.
For a hex-head screw, the head has six flat sides. A driver or nut setter is the tool attachment fitting over that head. Head size describes the tool fit, not the threaded body diameter.
If you measure a loose sample, use the product drawing's length convention. Keep the endpoints and units in your note. A ruler can describe the sample without proving the right length for a new connection.
Tell the point types apart
Wood-grip screws commonly have a sharp point and threads intended to grip wood. Some have a small cutting notch near the tip. Self-drilling screws have a drill-shaped point that cuts a hole in metal before the threads engage.
Compare the point with the product drawing. A pointed tip alone does not tell you everything about its intended use. The pack must state whether the screw suits wood or metal and the actual layers being joined.
For steel supports, a drill point has a stated drilling range. Check the screw's technical sheet against the support material. Do not assume every self-drilling screw can drill through any steel thickness.
The listed Self-drilling roof screws with sealing washer, #12 x 1-1/2 in family contains self-drilling roof screws with sealing washers. If your roof needs a wood-grip part, that listing does not establish that the needed type is offered.
Choose the part in a practical order
- Name the connection. Write panel-to-wood, panel-to-steel, or sheet-to-sheet lap. Add where it belongs on the building.
- Identify the layers. Note the panel and receiving support. Include any spacer or other layer the screw must pass through.
- Find the panel's guide. Search the maker's website for the exact profile and installation instructions. Check downloads or technical information. Use old receipts or spare-panel wrapping to help identify the maker.
- Read the fastener section. Compare the required screw type with the package. Check diameter, thread, point, length, head, coating, and washer.
- Check the hole for replacement work. A stripped or enlarged hole changes the repair choice. Use How to Fix Leaking Metal Roof Screws before selecting that replacement.
- Prepare separate order lines. List roof screws and Stitch screws (lap screws) for panel side laps and trim separately when both are needed. Keep their labels with their containers.
Your building's drawings or the panel maker's installation instructions decide fastener spacing, pattern, penetration, and driving torque. They also decide requirements tied to supports, wind, and snow. If the roof cannot be identified, get help before inventing those requirements.
Use the document-to-catalog checklist
Compare one candidate at a time. Physical observations belong beside the product information, especially when the building has no original papers.
| Field | Your building or panel guide | Candidate pack or product sheet |
|---|---|---|
| Connection | Support attachment or sheet lap | Same intended job |
| Receiving material | Wood or steel | Stated application |
| Size label | Required diameter, thread, and length | Full designation |
| Point | Type suitable for the receiving material | Point drawing and drilling range |
| Washer | Required sealing type | Washer material and shape |
| Metal and coating | Compatible with panel and support | Actual material information |
| Driver | Head shape and tool instructions | Matching head and tool fit |
| Existing hole | Sound, stripped, enlarged, or uncertain | Repair use if needed |
| Quantity | Count from the roof's fastening requirements | Pack quantity recorded separately |
Mark missing information clearly. A matching photo cannot fill an absent drilling range or washer description.
Know what a seated washer looks like
A sealing washer sits beneath the screw head and seals around the roof hole. A properly seated washer contacts the sheet evenly without crushing or splitting.
An under-driven screw may leave a gap or a barely compressed washer. An over-driven screw may flatten, cut, or squeeze the washer out of shape. These are things you can look for, without choosing a driver setting by guesswork.
Use the screw's seating picture during installation. Keep the screw square to the panel and stop if it spins without gripping. Extra tightening does not repair missing grip.
After the part is selected, use How to count screws and closures for a metal roof for quantities. The useful result is a specific part for each connection, with its label and instructions close at hand.