How to Identify a Replacement Metal Building Girt
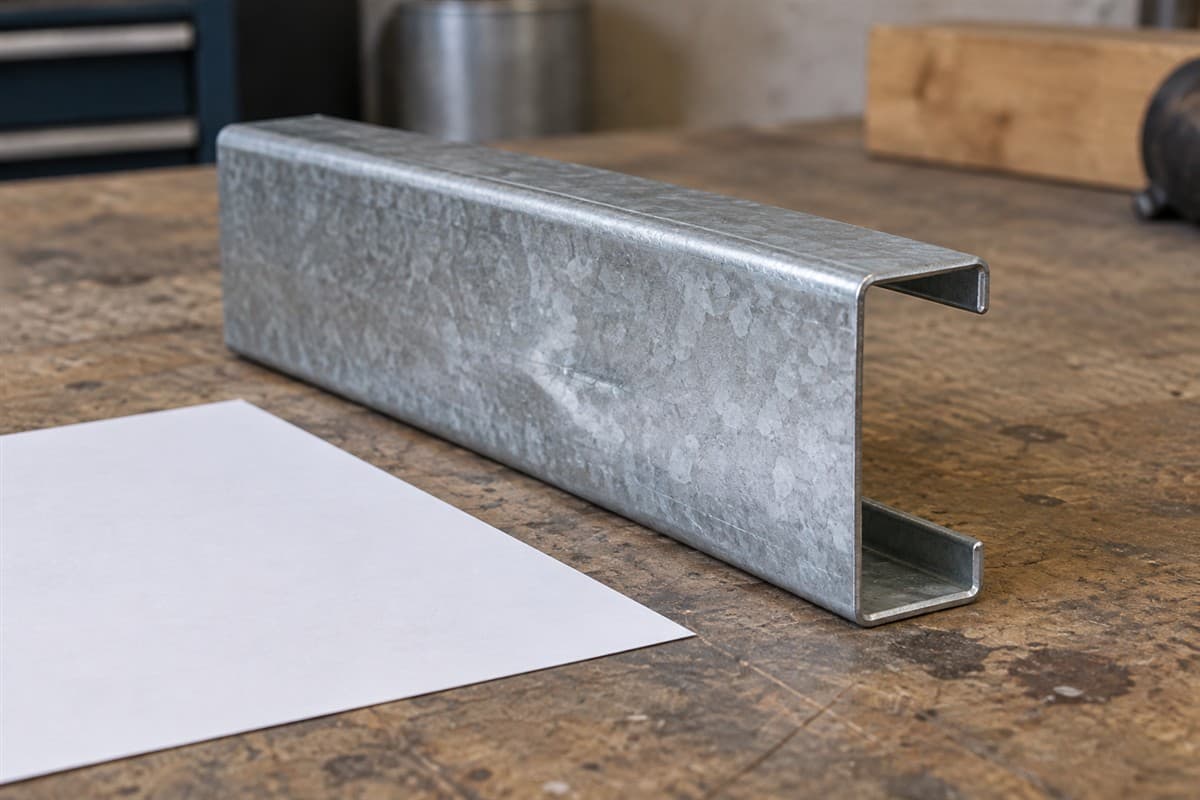
A bent wall support needs more than a matching length. Identify its location, section shape, part mark, and connections before choosing a replacement. You can gather much of that information from the floor and old paperwork.
A girt is a horizontal framing member that supports wall panels. Its section shape is the outline seen from its end. It is part of the building's structure. This job prepares a replacement request; it does not include removing the member.
If the wall is leaning, a connection has torn loose, or pieces are falling, keep clear. Have a steel-building repairer and engineer assess it before approaching the damaged area.
Locate the damage on one wall
Use a phone camera, notebook, pencil, and tape measure. You only need the tape for things you can reach safely. Do not climb the girt or push against it to inspect the damage.
Stand back and photograph the whole wall. Include a door, corner, or another fixed landmark. Sketch the wall on paper and circle the affected member. Write which side of the building you are looking at.
Then add a closer picture from a safe position. Show the bend, torn area, or other visible damage. Record what you see, such as “web bent near door.” Do not turn that observation into a claim that only one piece needs replacing.
The web is the broad middle face of the section. The flanges are its projecting ledges. Small return bends on their edges are called lips. Those words let you describe the damaged feature without guessing the repair.
Gather the original identity before comparing parts
- Look for a readable part mark. Photograph any printed or stamped code without scraping the surface. Copy every character into your notes.
- Find the wall framing page. Match the wall's landmark and location to its drawing. Use How to Find Purlins and Girts on Building Drawings if the pages are unfamiliar.
- Trace the mark to the parts list. Record the full section designation and listed length. Keep the page name beside them.
- Find an end-shape reference. Use a section drawing or a loose spare bearing the same mark. Do not remove installed steel for a sample.
- Photograph both connections. Take reachable views showing where the member meets the main frame. Mark an inaccessible end as hidden.
- Show nearby parts. Include wall panels, diagonal braces, and door framing in a wider view. A brace is a member that helps steady the structure.
- Record earlier changes. Note visible patches, extra holes, or an altered door opening. Label their age unknown if you cannot establish it.
The collection is complete when each photograph can be placed on your wall sketch. A folder full of close-ups without locations is harder to use.
Build a girt handoff record
Copy these fields into a single note. This is a practical record for the engineer or repairer who will define the replacement.
| Record field | Information to include |
|---|---|
| Wall location | Building face and fixed landmark |
| Affected piece | Row on your wall sketch and part mark |
| Visible damage | Bent, torn, rusted, detached, or unclear |
| Shape evidence | Section drawing or matched loose spare |
| Original dimensions | Exact parts-list entry or measured loose sample |
| Material information | Original thickness and steel grade, or unknown |
| First connection | Photo filename and visible changes |
| Other connection | Photo filename or hidden |
| Nearby framing | Brace and opening locations visible in the wide view |
| Repair history | Known changes and where the information came from |
| Replacement question | What must be established before ordering |
Write unknown where information is absent. Keep “measured from a spare” separate from “listed in the original parts table.” If the two disagree, retain both entries.
No drawings? Use evidence you can collect
Look for old building paperwork, material receipts, and spare-member labels. Those records may identify the original building maker. Ask for the wall framing pages and the parts entry for the affected area.
A nearby intact girt can help explain what an end shape looks like. It cannot prove the damaged piece has the same material or hole layout. Use it as a reference photograph and say exactly where it came from.
For a matching loose spare, use How to Measure a Steel Purlin. The same descriptive fields help record a C or Z wall member. Do not apply that method by loosening installed connections.
If the original identity stays uncertain, give the engineer your wall sketch and photographs. Ask what measurements the repairer should collect. That gives you a specific next action without pretending a rough tape reading settles the replacement.
Ask for a replacement specification you can compare
Have the engineer define the required member and connections. Ask for its shape, full dimensions, thickness, steel grade, length, holes, and finish requirements. Steel grade describes material properties. Ask the repairer how the wall and nearby parts will be supported during the work.
The building's own drawings decide member sizes, spans, connection patterns, overlaps, and loads. An engineer must resolve those requirements if drawings are missing or damage changes the repair.
Do not remove wall panels or loosen the girt as a trial step. This article gives no removal sequence, temporary support design, or connection repair method. Those depend on the building and damage.
Check the candidate against the complete request
The catalog lists 8-inch Cee purlin and 8-inch Zee purlin. Their names alone do not establish suitability as your replacement girt. Compare a candidate's actual section and hole drawing with the replacement specification.
Do not accept “same depth” as the whole answer. Keep the material, flange, lip, and connection fields in the comparison. Flag anything that remains unconfirmed before selecting the piece.
The useful result is a clear handoff: one wall sketch, identified photographs, recovered part information, and specific missing fields. Once the repair requirements are settled, you can compare real parts without turning a damaged wall into a trial fitting exercise.