How to Inspect a Rusted Metal Roof
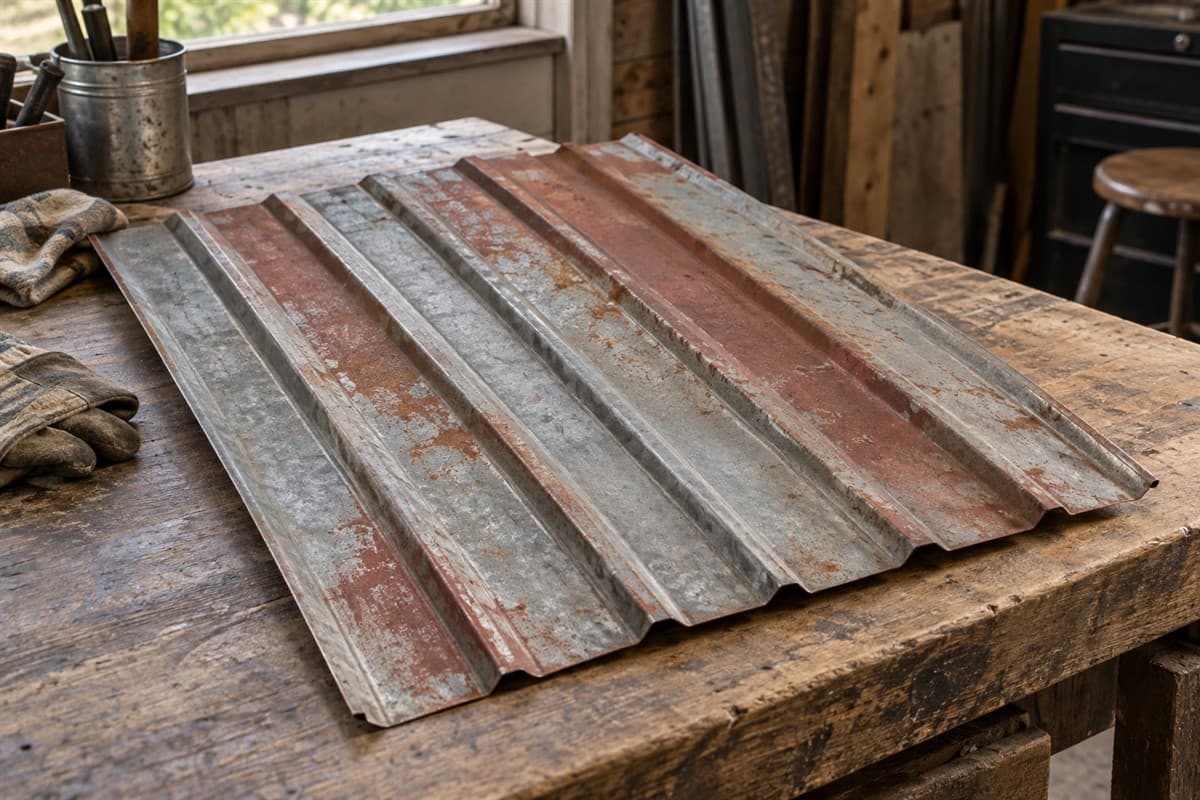
Start by locating the rust marks, not by choosing a paint or replacement sheet. Photograph the roof section, the marked panel, and the affected area. Keep holes, peeling finish, and loose debris as separate observations.
Rust-colored marks alone do not establish how much metal remains or whether a panel needs replacement. A useful inspection record helps a roofer decide what to examine closely. You can prepare that record from safe views without scraping the roof.
Map the visible condition from the ground
Draw each roof slope as a simple rectangle. Mark doors, corners, and any feature that helps identify the location. Give affected areas letters rather than describing the whole roof as rusty.
Use a phone camera with zoom or binoculars from the ground. Note which areas are hidden. Do not describe a concealed sheet end as sound simply because you cannot see it.
For roof inspection, use suitable fall protection and hire a roofer if safe access is beyond your skills.
Gather paper, a pencil, old roof photos, any loose spare sheet, and receipts or wrapping that identify the panel. Use gloves when handling a detached metal sample. Leave installed rusted metal undisturbed.
List what you can see: scattered dots, an edge line, a patch near a screw, or a broad marked area. Keep these descriptions free of repair conclusions. The same record should make sense before and after someone examines the roof.
Know the surfaces you are describing
The finish is the panel's outer surface treatment. A coating may include paint or a protective metal layer. Corrosion is deterioration of metal through reactions with its surroundings; rust is the familiar form associated with iron and steel.
A rib is a raised ridge in the sheet. A lap is where sheets overlap. These locations help describe where the marks occur without naming a cause.
Loose steel fragments from cutting or drilling can rust and stain the surface. That debris is called swarf. A stain around a fragment and deterioration of the panel itself are different possibilities. Do not decide between them from a distant photo.
For debris-focused work, use How to Remove Metal Shavings from Roof Panels. For discoloration concentrated at sheet ends, use How to Check Cut-Edge Rust on Metal Siding. Keep the overall roof map with those narrower records.
Build the condition record in a repeatable order
- Take a roof overview. Show the affected slope and a fixed feature. Put its photo name beside the roof map.
- Show the whole affected panel. Where safely visible, include its neighboring panels. This establishes whether the marking is isolated or spread across several sheets.
- Take a closer view. Show the marked area and adjacent unmarked surface in the same frame. Do not scrape away the finish for the photo.
- Record the location type. Write panel face, cut end, overlap, screw area, or nearby trim. Trim is bent metal finishing roof edges and junctions.
- List visible changes. Note peeling, flaking, holes, bent metal, or loose screws separately. Write unclear where the view does not resolve a feature.
- Add an inside view if available. From safe floor access, record stains or visible holes beneath the same area. Keep hidden surfaces marked not seen.
- Compare earlier photos. Record dates and the same location. Say no earlier photo if you do not have one.
If the area is safely accessible on a detached sample, put a ruler beside it. Measure its visible extent in both directions. Those dimensions describe the observation; they do not establish remaining strength.
Do not bend, press, or punch a panel to test whether it is still strong. Leave that assessment to the person planning the repair. An intact-looking area can also hide surfaces you have not seen.
Use the corrosion photo record and escalation card
Create one row per affected area. Keep the action column separate from the visual description.
| Area | Photo set | Observation | Next step |
|---|---|---|---|
| Panel face | Roof overview, whole sheet, close view | Dots, patches, or peeling | Identify debris and finish condition |
| Screw area | Whole location and nearby sheet | Rust mark, washer condition, loose screw | Check fastener and surrounding metal |
| Sheet end | Context plus close edge view | Edge line, lifting finish, or hole | Assess extent and hidden overlap |
| Trim junction | Roof edge and separate close view | Stain, trapped debris, or damaged metal | Inspect the junction and water route |
| Underside | Safe inside overview | Fresh wet mark, hole, or not seen | Relate it to the outside area |
| Serious visible damage | Wide view plus clear detail | Tear, perforation, or loose panel | Have a roofer assess before disturbance |
Perforation means a hole through the metal. Treat holes, loose sheets, and widespread damaged metal as reasons for a close professional assessment. A record does not certify the roof safe to walk on.
Choose maintenance or replacement after the inspection
Find the panel and finish information in old papers or spare packaging. Search the maker's website for inspection, maintenance, and repair instructions. Tell the roofer when the material cannot be identified.
Do not wire-brush or paint the marks before the condition has been assessed. Cleaning and coating methods depend on the actual finish and damage. Photograph the starting condition so the work can be compared later.
Ask which areas need cleaning, finish repair, sheet replacement, or more inspection. Request the reason for each choice. Keep any hidden condition unanswered until it is examined.
If a sheet needs replacement, compare 26-gauge PBR panel and 26-gauge R-panel with its actual end shape. Use How to Choose a Replacement Metal Roof Panel for the selection details. A similar color does not establish the correct panel.
Your building's drawings or the panel maker's instructions decide support requirements, fastening patterns, overlaps, and wind or snow requirements. The condition record supplies none of those numbers. It is finished when the damaged locations are findable and the next work is specific.