How to Remove Metal Shavings from Roof Panels
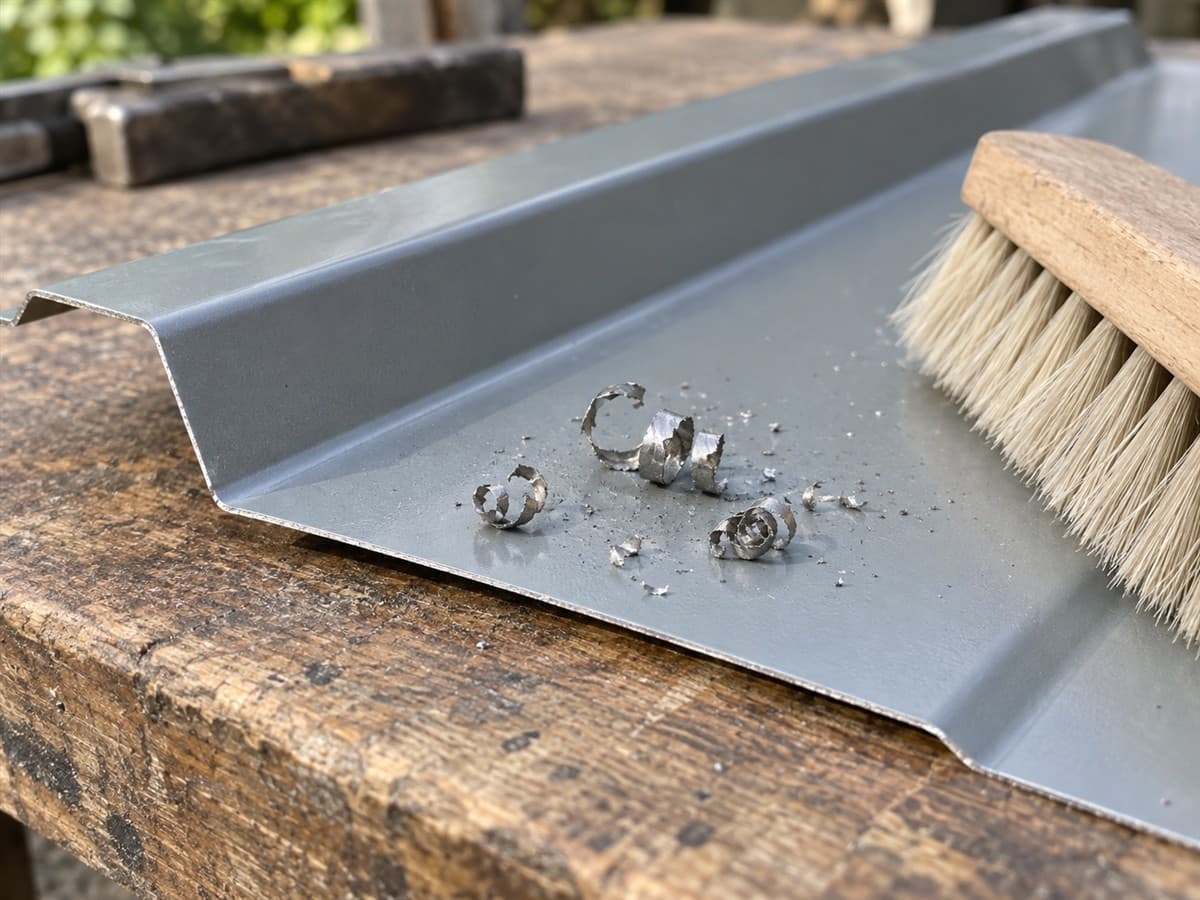
Remove loose metal shavings with the gentle method allowed by your panel's care instructions. A clean soft-bristle brush is a common starting tool. Collect the debris, inspect the surface again, and stop if particles are stuck to the coating.
Small steel fragments can rust and leave brown marks on painted metal. Do not wait for those marks before dealing with visible debris. Do not assume every brown dot is a loose shaving, either.
Recognize loose debris before choosing a cleaner
Swarf means the small metal chips or shavings made by cutting or drilling metal. It can include curls, short slivers, and fine particles. Roofing screw installation can also leave metal debris.
Look from a safe position with a phone camera or flashlight. A detached offcut, a leftover panel piece, is useful for a bench inspection. You do not need to climb onto the roof to learn what the fragments look like.
For roof cleaning, use suitable fall protection and hire a pro if safe access is beyond your skills.
Note where the particles occur. A pile beside recent cutting and scattered dots across the sheet are different observations. Photograph them before cleaning, with a wider view showing their location.
Leave sharp debris alone with bare hands. Wear gloves for handling loose metal and eye protection when needed for the cleaning method. Do not rub a cloth hard across a pile of sharp particles.
Find the finish care instructions first
Search old receipts, spare wrapping, and product labels for the panel and finish names. The finish is the outer surface treatment protecting and coloring the sheet. Its care instructions matter when choosing cleaning tools.
On the maker's website, look under maintenance, care, or technical downloads. Find the section about drilling chips, metal filings, swarf, or rust stains. A stain-removal method and a loose-debris method may be different.
Gather a clean soft brush, a way to collect the particles, a phone camera, and any materials allowed by that guide. If washing is permitted, follow its cleaning and rinsing directions. Do not substitute a household chemical because the stain looks familiar.
The first aim is to remove loose material without damaging the coating. If the guide is missing, a roofer or the panel maker can help identify a suitable method. Keep chemical treatment on hold until the finish is known.
Clean loose particles in small areas
- Photograph the starting surface. Show the debris and its location. Keep this picture for comparison after cleaning.
- Check the brush. Make sure the bristles are soft and free of grit or metal. A dirty tool brings debris back onto the surface.
- Choose a collection direction. On a bench sample, work toward a container or collection sheet. On an installed roof, plan collection without pushing particles into joints or gutters.
- Brush gently as the care guide allows. Move loose fragments off the surface. Do not scrub at a fragment that stays attached.
- Collect and remove the debris. Keep it away from clean panels and work areas. Do not leave the swept material beside another sheet.
- Inspect the cleared area. Compare it with the starting photo. Record remaining particles, stains, scratches, or other visible changes separately.
- Use further cleaning only as directed. Follow the finish guide for remaining marks. If it does not cover them, get advice before continuing.
Avoid wire brushes, steel wool, and abrasive pads. They can damage the panel coating. Do not dig at a spot with a knife to decide whether it is rust.
Do not blow particles beneath covering metal. Flashing is metal covering roof edges or junctions. Debris hidden under it has not been removed from the roof.
Complete the debris and care lookup checklist
This checklist links the observation to the method. Write the care-guide page beside the relevant line.
| Check | Answer to record | What it changes |
|---|---|---|
| Recent metal work | Cutting, drilling, screw work, or unknown | Where to inspect for debris |
| Particle condition | Loose, attached, stained, or unclear | Gentle removal or further advice |
| Panel identity | Product and finish name, or unknown | Which care guide to use |
| Tool allowed | Soft brush or another named method | What to gather before cleaning |
| Collection route | Where removed particles will go | Avoids moving debris into another joint |
| After-cleaning view | Photo of the same cleared area | Separates removed debris from remaining marks |
| Unfinished issue | Attached particle, damaged finish, or unexplained stain | Specific question for the maker or roofer |
If a fragment does not move under the gentle allowed method, write attached. Do not call it harmless. Hot particles from unsuitable cutting methods can become embedded in the coating, so forcing them off may create further damage.
Keep cleanup separate from panel replacement
Loose debris does not by itself prove that the sheet needs replacement. Remaining stains do not establish the panel's strength. If you see damaged coating, holes, or broader deterioration, use How to Inspect a Rusted Metal Roof to build a condition record.
For cut-end marking, use How to Check Cut-Edge Rust on Metal Siding. Keep that edge question separate from scattered chips on the panel face.
If more metal work is planned, use the panel maker's allowed cutting method and include cleanup in the work sequence. This page does not choose a cutting tool or describe a new fastening pattern. Your building's drawings or the panel maker's instructions decide any fastening changes.
Before finishing, look at nearby trim and the next sheet from a safe position. Record any visible debris still there. Save the cleaned-area photo and the method used. The job is complete when loose particles are collected and remaining marks have a clear next step.