How to Plan a Lean-To on a Metal Building
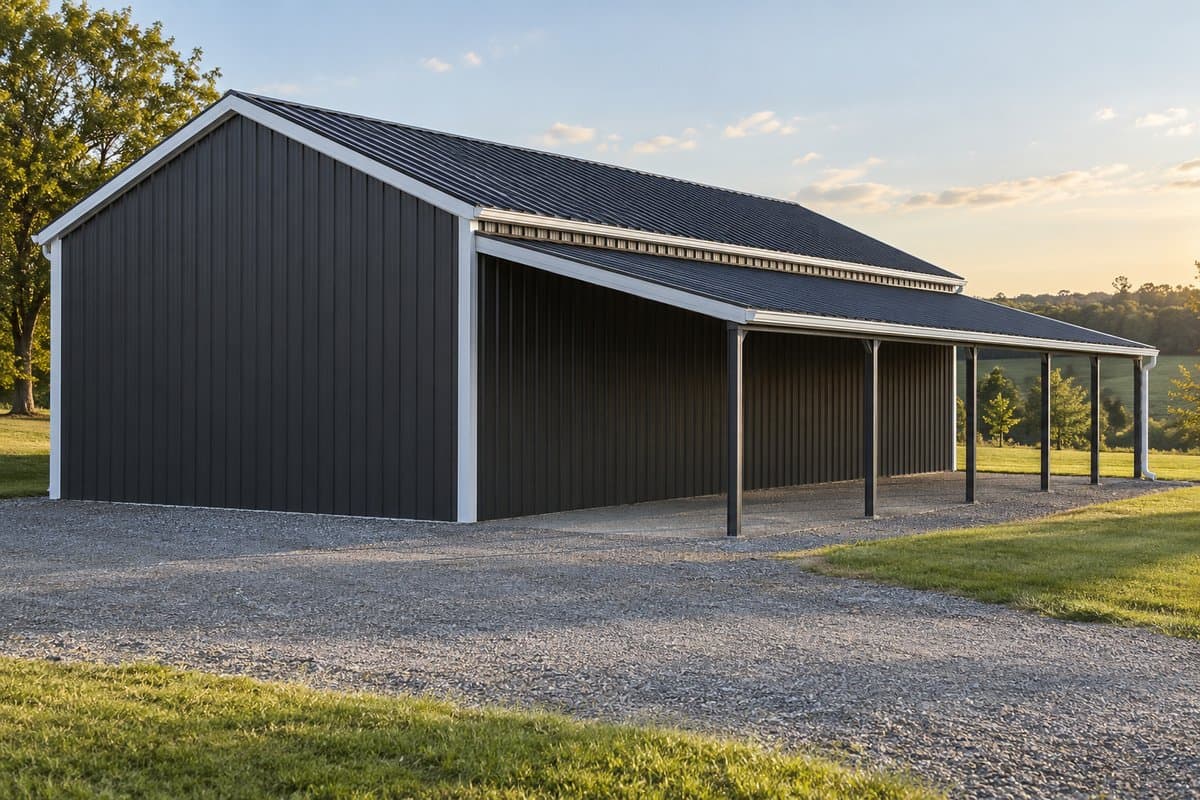
Plan the lean-to from the site and existing building before picking panels. Make a ground sketch, recover the original building information, and have an engineer settle the support arrangement. Then prepare a separate materials list for the addition.
A lean-to has a single roof slope beside another building. An attached addition needs a design for how the two structures meet. Looking at a similar barn cannot establish what your building can support.
Use suitable fall protection for roof work and hire a pro if you cannot reach the area safely.
Start with what you need the covered area to do
Write the intended use first. Will the space shelter equipment, provide a covered walkway, or become an enclosed room? List the equipment or access needs in plain words. Tell the designer about possible future changes too.
Sketch the existing wall and the proposed covered area on paper. Add doors, windows, outside equipment, and the path vehicles use. Label the wall and nearby corner so your photographs match the sketch.
Use a tape measure to record reachable ground distances between fixed landmarks. Write the units beside each reading. These are site observations, not final construction dimensions. Mark the boundary of the area you want without setting post locations yourself.
Photograph the full wall from outside and the visible framing from inside. Include the low roof edge, gutters, door openings, and any damage. Do not remove siding to see where an attachment might go.
Work through planning in this order
- Gather the building's identity. Look for the original order number, stored drawing set, and old construction records. Photograph a reachable identification plate if one exists.
- Recover the structure information. Ask the original building maker for framing and foundation drawings. A foundation is the base that carries the building into the ground.
- Mark site limits. Put visible drains, utilities, access paths, and property boundaries on the sketch. Identify anything whose position needs professional confirmation.
- Ask the local building office about the proposal. Describe the addition's location and use. Ask what permits and site information it needs before work starts.
- Have an engineer assess the support arrangement. Give them the sketch, existing records, and condition photographs. Ask whether an attached or separately supported scheme is appropriate.
- Have the roof-to-wall junction worked out. The junction is where the new roof meets the old wall. Ask the roofer to coordinate it with the wall covering and selected roof panel.
- Settle drainage. Show where water leaves both roofs and where it should go at ground level. Include the old gutter arrangement in that discussion.
- Prepare the materials list from the finished design. Keep the addition's framing, panels, edge pieces, and fasteners separate from any repairs to the existing building.
Complete each step before treating the next one as final. You can collect product information early. You should not turn a preliminary sketch into an order for structural parts.
Use a preflight with clear stopping points
This planning card shows what you can gather and what must be settled before ordering. Keep it with your site sketch.
| Planning item | Owner's useful preparation | Stop before this decision |
|---|---|---|
| Intended use | Equipment and access list | Final layout without designer review |
| Existing structure | Building identity and original drawings | Attachment to existing framing |
| Site | Ground sketch and visible obstacles | Excavation or foundation placement |
| Condition | Wide and close damage photos | Assuming the old frame is suitable |
| Support arrangement | Questions for the engineer | Choosing structural members |
| Roof junction | Wall and roof-edge photographs | Choosing flashing from a generic name |
| Drainage | Old gutters and proposed water path | Final outlet arrangement |
| Materials | Separate existing and new lists | Ordering with unresolved dimensions |
Beside each stop, write who is answering the question. Add the answer and its drawing reference when it is settled. Leave unfinished fields visibly blank.
Why the existing frame needs assessment
An attached lean-to can add demands to the existing frame and foundation. Removing existing wall supports can also affect the structure. That is why the engineer needs more than a panel list and an outside picture.
Do not attach new framing to wall panels. Do not choose an existing horizontal member as an attachment point because it is easy to reach. Ask the engineer to show the intended support and connection arrangement.
The addition's drawings decide member sizes, spans, support locations, connection patterns, overlaps, and wind or snow requirements. The panel maker's installation instructions decide whether the selected panel suits the roof arrangement and how it is installed.
If there are no original drawings, begin with the building identity and photographs. Ask the engineer what a site inspection must establish. Missing paperwork changes the information-gathering job; it does not make a neighboring barn's details applicable.
Keep weatherproofing separate from structural attachment
Flashing is shaped material used to manage water at a joint or edge. It does not establish the structural connection between buildings. A roof can have an attractive edge cover while its attachment still needs engineering review.
Ask the roofer to show how the new roof meets the wall covering. Include the ends and corners of that junction. Use Headwall vs Sidewall Flashing: How to Tell Them Apart to describe its orientation accurately.
Do not assume an old gutter stays untouched. Put its location on the sketch and ask how the finished design handles water from both roofs. The listed Gutter and Downspout are candidates only after their required shapes and arrangement are established.
Build the shopping list from settled requirements
Use 26-gauge PBR panel as a panel candidate if its actual instructions permit the designed use. Compare 8-inch Cee purlin or 8-inch Zee purlin only with the structural members specified for the addition. None of these links is a complete lean-to kit.
For order organization, continue with How to Order Panels for a Lean-To Roof. It keeps new panels apart from replacement panels on the existing building. Use How to measure and order metal panels by length for the measuring and ordering method once the roof arrangement is settled.
Before choosing parts, revisit the preflight card. Every unanswered structural or junction question should have a named next action. That leaves you with a workable plan instead of a pile of parts selected around an attachment nobody has checked.