How to Order Panels for a Lean-To Roof
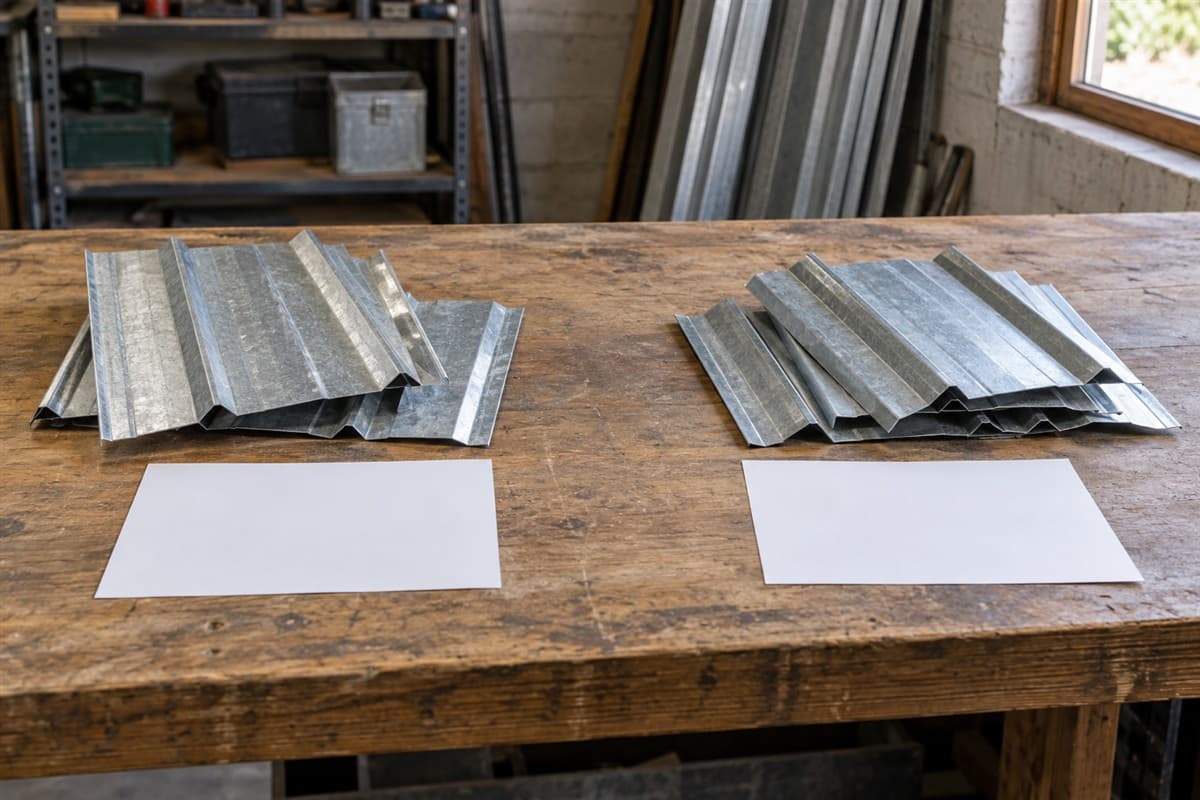
Give the old roof and the new lean-to their own order records. Even if both look alike, they may need different panel lengths or edge parts. Keep each confirmed requirement attached to its roof section until the final list is checked.
A lean-to has one roof slope beside another building. A roof section here means one area you are ordering for. Examples are the existing barn roof and the new addition. These labels organize the order; they do not define the framing design.
Use suitable fall protection for roof work and hire a pro when you cannot measure safely.
Settle the roof arrangement before taking order lengths
Start with the addition's finished drawings and actual panel instructions. If support, attachment, or roof-to-wall details are unresolved, complete How to Plan a Lean-To on a Metal Building first.
The addition's drawings or panel maker's installation instructions decide spans, support arrangements, overlaps, fastening patterns, and wind or snow requirements. Do not work out those choices from a spare panel or online calculator.
You can still prepare the order sheet while questions are being answered. Write pending beside an unresolved field. Keep it out of the final quantities until you have an answer.
Gather a notebook, phone, pencil, the measuring guide, and the relevant roof pages. Use a tape measure for safe ground checks and loose panel samples. Arrange professional measuring for roof surfaces you cannot reach safely.
Create two records before filling either one
Call the first record “Existing roof” and the second “New lean-to.” Put those names on your sketches and photograph filenames. Add a fixed landmark, such as the corner beside the large door.
For the old roof, state the work scope. It may be untouched, partly repaired, or replaced in a defined area. If no old panels are being replaced, write “no panel order” on that record. Do not leave an empty row that could later be mistaken for missing information.
For the new roof, identify the designed roof area. Keep preliminary site measurements apart from the final panel measurements. Label each reading by where it came from.
Cut length means the length of an individual ordered sheet. Coverage width means the width it covers after the required joint is formed. Overall width is the width of the loose sheet. Keep those fields separate.
Fill the order records in this sequence
- Name each area. Label the old roof, new roof, and any separately ordered wall areas on the sketch.
- Confirm each profile. A profile is the panel's cross-sectional rib and edge shape. Identify the old panel from a sample or exact original information. Confirm the selected new panel against its own instructions.
- Enter the required thickness and finish. Copy the actual panel requirements. Do not assume the addition must use every attribute of the old roof.
- Gather final length information. Use How to measure and order metal panels by length for the measuring method. Keep each reading attached to its named roof area.
- Separate different cut lengths. Make one order line for each distinct length and panel specification. Write the quantity on that same line.
- List each edge condition. Include the low edge, sloping side edges, and roof-to-wall junction. Attach their detail references before selecting trim.
- Assign closures to the correct profile and location. A closure is a shaped strip that fills a panel's rib openings. Use one where the installation detail calls for it. Record its required shape and orientation.
- Cross-check the lists together. Confirm that every order line belongs to one named area. Look for duplicates and unanswered fields before combining totals.
Use the measuring guide for arithmetic. This record's job is preventing old and new requirements from being mixed together.
Use this two-section ordering record
Make a copy for each separate panel length within a roof section. Do not squeeze several lengths into one ambiguous cell.
| Order field | Existing roof | New lean-to |
|---|---|---|
| Work scope | Untouched or defined repair area | Designed new roof area |
| Location | Landmark and marked sketch | Landmark and marked sketch |
| Profile evidence | Sample or original profile drawing | Selected panel's full drawing |
| Thickness information | Required replacement specification | Required new-roof specification |
| Finish reference | Existing finish record and chosen match | Chosen actual finish reference |
| Cut length | One length for this order line | One length for this order line |
| Quantity | Sheets at that exact length | Sheets at that exact length |
| Coverage reference | Exact panel information | Exact panel information |
| Edge parts | Existing edges affected by work | New edges and wall junction |
| Closure requirement | Profile and position | Profile and position |
| Missing field | Question and who will answer | Question and who will answer |
Write the units next to each length. Add a date to your measuring note so later changes are visible. If a drawing changes the roof arrangement, revisit every affected order line.
Compare parts without assuming the roofs share a system
The listed 26-gauge PBR panel and 26-gauge R-panel are panel candidates. Their names alone do not establish a match with the old sheets or suitability for the new roof. Compare the complete profile and intended-use information.
Use How to Match Old Metal Roof Panels for the existing-roof sample. A similar rib view is not enough to establish edge fit.
For Foam closure strips for PBR and R-panel, confirm the exact profile and closure position against the relevant panel detail. Do not use an old closure as the only reference for the addition. Keep the required fasteners on a separate list tied to each roof's instructions.
Catch the mistakes before combining quantities
Do not copy an old sheet's measured length onto the new roof line. Do not treat overall sheet width as coverage. Do not order roof-to-wall flashing from a generic trim name without its actual detail.
If two order lines share a product but differ in length, keep them separate. If every specification matches, you can combine the purchasing total while retaining each area's allocation.
Read the finished records aloud against the sketch: this panel, this length, this quantity, this location. A second person should be able to place every line without guessing. That is the check that makes a combined parts list usable when the old roof and addition meet.