How to Prepare Metal for Roofing Butyl Tape
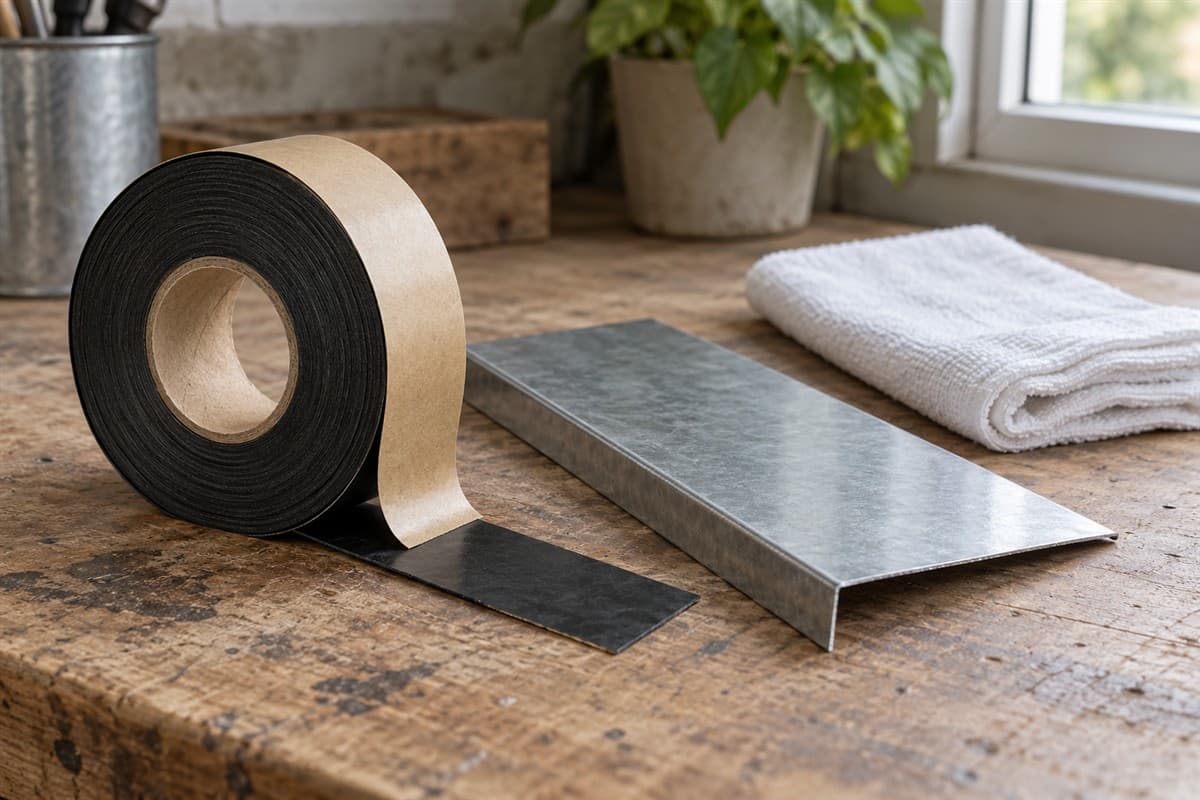
Before applying roofing butyl tape, make the joint surfaces clean, dry, and free of loose material. Check both faces that the tape will touch. Dirt hidden under the upper sheet matters just as much as dirt on the visible sheet.
Butyl tape is a flexible sealing material supplied as a strip on a roll. It helps seal specified joints. It does not replace the screws or other parts holding those joints together.
This page covers preparation before placement. For the full joint sequence, use How to Use Butyl Tape on a Metal Roof. Start there too if you have a leak but have not identified the joint that needs work.
Read the roll instructions before opening the roof joint
Find the exact tape's product label and application sheet. Search its maker's website using the product name or number from the packaging. A general tape video cannot tell you which cleaners suit that product and your panel finish.
Find the panel maker's instructions for the same joint. A lap is where sheets overlap. Trim is bent metal finishing an edge or junction. Different laps and trim connections can have different sealing requirements.
Look for the required tape form, width, thickness, contact surfaces, and assembly sequence. Check the application conditions and whether the product can remain exposed. Keep any missing answer beside the product name before choosing it.
For roof work, use suitable fall protection and hire a pro if safe access is beyond your skills.
Your building's drawings or the panel maker's instructions decide overlap dimensions, tape position within the connection, fastening patterns, and driving torque. Do not guess these from the width of an old dirty tape mark.
Set out only the tools the surface needs
Gather clean soft cloths, a soft brush for loose debris, gloves, and the cleaning materials permitted for your finish. Use any eye protection required by the cleaning product. Keep its directions nearby.
If old sealant needs removal, find the finish maker's method before choosing a scraper or chemical. Sealant is material used to close a joint against water or air. A stubborn old deposit is not permission to scrape through the panel's coating.
Use a bench sample to understand the surface and cleaning method when one is available. Do not loosen installed roof sheets until you have the access, instructions, and parts needed to finish the joint.
Keep clean cloths separate from cloths carrying removed dirt. Set the unopened roll on a clean surface. Leave its release liner, the removable paper protecting the sticky tape face, in place until the placement step calls for removal.
Prepare the contact faces in this order
- Identify the tape path. Find the contact area on the joint drawing. Mark its location on paper rather than adding a line across the roof coating.
- Look at both contact faces. Check for dust, oil, water, old sealant, peeling finish, and loose metal particles. Record what needs removal.
- Remove loose debris gently. Use the method permitted in the panel care guide. Collect particles rather than spreading them into another joint.
- Remove old residue as directed. Follow the panel and tape instructions for the material involved. If they do not describe it, get that answer before proceeding.
- Clean with the permitted product. Follow its label for use and removal. Do not mix cleaners or substitute a chemical from an unrelated repair.
- Let the surfaces dry. Inspect the whole tape path, including places that were hidden beneath the mating sheet. Do not trap visible moisture in the joint.
- Recheck the finish. Stop if the contact area is peeling, loose, or damaged. Tape stuck to loose paint has not established a sound connection to the metal.
- Keep the prepared area clean. Avoid touching the tape path with dirty gloves. Recheck it if work is delayed or debris lands on it.
Each step has a visible finish point: debris removed, cleaning completed, surface dry, and coating sound. A quick glance at the outward-facing panel alone does not finish the preparation.
Use the surface-ready card
Keep this card beside the actual application sheet. Complete one card for each joint, with a short answer for every blank.
| Question | Write your answer | Proceed when |
|---|---|---|
| Which joint is being sealed? | Location and drawing page | Tape path is identified |
| Which tape is specified? | Product name and form | Exact application sheet is available |
| What finish will it touch? | Panel finish from records | Cleaning method suits that finish |
| What residue was present? | Dust, oil, old sealant, or other | Removal method is known and completed |
| Are both faces dry? | Observation after cleaning | No moisture remains on the contact path |
| Is the coating sound? | Intact or damaged | Loose material is not being covered |
| Are conditions suitable? | Check against the tape sheet | Product's stated conditions are met |
| Can assembly follow placement? | Next step and needed parts | Joint can be completed as instructed |
If a row remains unanswered, name the missing information. For example, ask which cleaner removes this residue without harming this finish. Do not cover the uncertainty with extra tape.
Place the tape after the surface is ready
Apply the specified tape along the path shown in the joint instructions. Avoid stretching it. Follow the product's sequence for pressing it into contact and removing the liner. Then assemble the joint in the required order.
Check for contamination, displaced tape, or liner left between the sheets before closing the joint. Use the instructions for any tape junctions. Do not invent extra layers or a different compression method.
The catalog entry Butyl tape sealant awaits confirmation. Its family name does not establish the exact form your connection needs. Compare the confirmed product information with your surface-ready card before selecting it.
The common mistakes are simple: cleaning only one face, taping over damp metal, stretching the strip, and using a cleaner without checking the finish. Preparation is complete when the surfaces and the product instructions agree, and the next assembly step is ready.