How to Use Butyl Tape on a Metal Roof
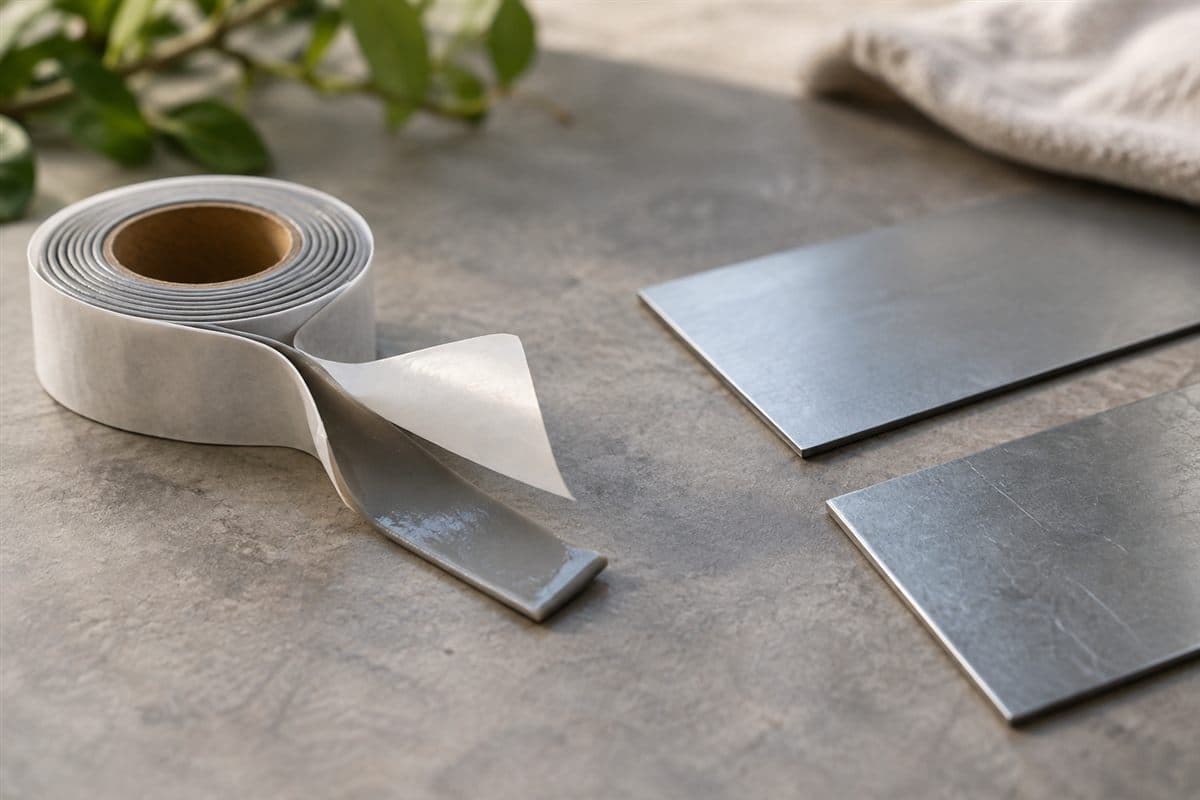
Butyl tape goes between the metal faces of a joint that calls for it. Clean and dry those faces, lay the strip along the required path, then bring the pieces together. Keep the tape protected until you are ready to close the joint.
Butyl tape is sticky sealant supplied in a strip. A sealant is material used to seal a joint. Many butyl products stay tacky rather than hardening into a skin. They need the right location and handling.
For roof work, use suitable fall protection and hire a roofer if you cannot open and close the joint safely.
Identify the joint before peeling the backing
A side lap joins long panel edges. An end lap joins sheet ends. Flashing is formed metal directing water at an edge or junction. Tape instructions can differ between these locations.
Look at the pieces themselves. Name the two metal faces that will touch the tape. Is this a panel edge, a sheet-end joint, or trim meeting a panel? A trim piece is bent metal covering an edge or junction.
If you know the panel maker and profile, find its installation guide on the maker's website. Search downloads or technical information for the exact panel name. Find the drawing for the joint you are working on.
For an older barn without records, start with the panel shape and available samples. How to Match Old Metal Roof Panels helps identify it. Do not copy a tape path from a different roof simply because its ribs look similar.
Use the joint-purpose decision table
This table keeps tape use tied to the joint, rather than the nearest visible drip.
| Situation | What to check | Decision to make |
|---|---|---|
| Long panel-edge joint | Side-lap instructions for the profile | Tape type and path, if required |
| Sheet-end joint | End-lap drawing | Sealing method and assembly order |
| Trim meeting a panel | Drawing for that trim location | Which faces contact sealant |
| Closure junction | Foam and sealant instructions together | Separate parts needed |
| Open crack or hole | Damage around the opening | Repair the damage before choosing tape |
| Old sealant at a leak | Condition of joint and panel coating | How to clean and rebuild the joint |
A row may lead to a repair other than tape. An exposed hole and a joined pair of metal faces are different problems. Tape does not restore a torn sheet or a screw's missing grip.
Gather the roll and preparation tools
Bring the selected tape, gloves, clean cloths, finish-safe cleaning materials, and the cutting tool allowed for the tape. Keep the roll on a clean surface. Have the pieces and assembly tools ready before uncovering the sticky face.
The Butyl tape sealant listing has single-bead and double-bead forms. A bead is a line of sealant. Choose the form called for at the joint. More beads do not automatically improve it.
Read the tape's handling instructions and check its compatibility with the panel finish. The finish is the sheet's surface coating or treatment. A cleaner suitable for bare metal may not suit a coated panel.
Check the product's application and storage conditions. Tape can change consistency with temperature. Do not borrow another product's temperature limits or assume a cold, stiff roll is ready to use.
Apply the tape in this order
- Arrange the metal pieces. Check that they fit before applying tape. Locate the faces that will touch the strip. Do not use extra sealant to compensate for bent or mismatched parts.
- Remove dirt and loose residue. Wipe away dust and debris. Use only cleaning materials suitable for the panel coating and tape. For old sealant, follow the product's removal instructions rather than scraping aggressively.
- Dry the contact faces. Check for moisture before continuing. Let cleaning residue and water clear completely. Tape should not trap dampness between the pieces.
- Lay out the tape path. Find that path on the panel's joint drawing. Compare it with the real pieces before peeling the liner. A liner is the release backing protecting the sticky strip.
- Place the strip without stretching it. Peel the liner as the product directs and press the tape onto the first face. Keep it aligned with the required path. Avoid dirty gloves on the exposed sealant.
- Inspect the strip before covering it. Look for gaps, folds, dirt, or pulled-thin sections. Follow the product's instructions for joins and damaged areas. Do not pile extra strips over a mistake.
- Bring the second piece into place. Remove any remaining liner at the instructed stage. Keep the pieces aligned so the tape is not dragged out of position.
- Fasten the joint and inspect it. Use the required assembly order and fasteners. Check for shifted pieces or displaced tape. Take a photo before the joint hides the strip if you need a record.
Your building's drawings or the panel maker's installation instructions decide overlap dimensions, tape position, fastening patterns, and driving torque. Use the tape product's instructions for its width, thickness, and handling. No generic number replaces those choices.
Catch the mistakes while you can still see them
Stretching tape can leave a thinner strip. Dirty gloves can contaminate it. A strip placed on wet metal can trap moisture. Check these things before bringing the pieces together.
Do not assume extra layers provide extra protection. Too much sealant can interfere with the joint. Driving harder can also over-compress tape instead of correcting a poor fit.
Non-skinning butyl stays tacky at the surface. It is not a broad exposed roof coating. Do not smear it across a visible hole as a substitute for repairing the metal.
For a leak near a screw, use How to Fix Leaking Metal Roof Screws to inspect the washer and hole first. If you cannot separate an old joint without damaging the panels, a roofer should handle that opening and repair.
Keep the tape choice with the parts list
Write the joint name, tape form, product instructions, and roll quantity on the list. Keep photos of the prepared faces and strip path together. You can make those notes in a notebook; no special software is needed.
Use How to Check a Metal Building Parts List to check the tape beside the other required parts. The job is ready when the pieces fit, the surfaces are clean and dry, and the right strip is ready for that joint.