How to Read Metal Roof Screw Sizes
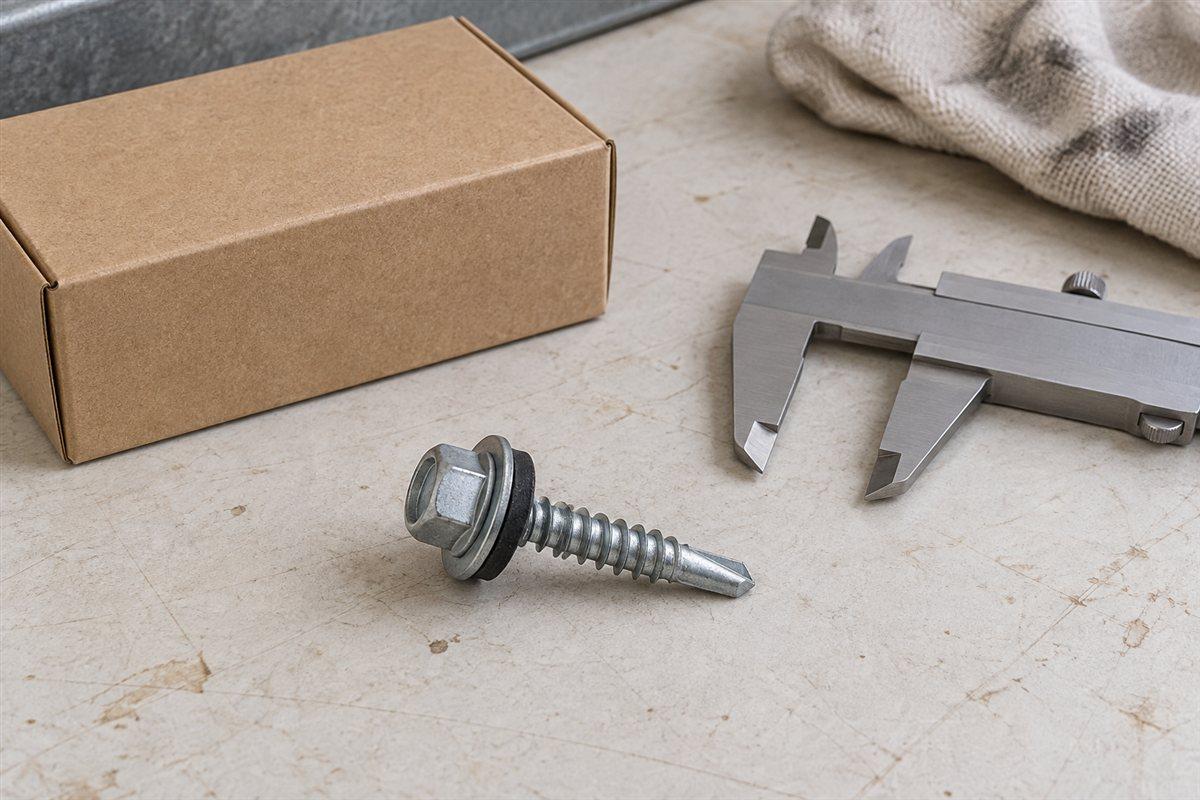
A screw size label describes a part. It does not tell you that the part belongs on your roof. Read diameter, thread count when stated, and length as separate fields. Then check the point, washer, and intended receiving material.
This distinction helps when an old bag contains mixed screws or an online listing leaves something out. You can decode a clear label and measure a spare. You should finish with a complete part description, rather than a guess based on overall appearance.
Break the label into three fields
Consider this hypothetical label: #12-14 x 1-1/2 in. It is an example of notation, not a recommended screw size.
The #12 is the numbered diameter designation, sometimes called screw gauge. It describes the screw's size across its threads. It is not the panel's thickness gauge, a head measurement, or a drill-point number.
The 14 means threads per inch in this example. Threads are the spiral ridges around the screw. Thread count describes how closely those ridges are spaced.
The 1-1/2 in is the stated length. The x separates length from the earlier fields. For an ordinary raised hex head, length is generally measured below the head to the tip. Use the part drawing if its measuring endpoints differ.
A shorter label may omit thread count. Missing information is still missing; do not copy a thread count from a similar photograph.
Use the unbranded label decoder
Put the actual label above this table. Underline each field on paper and copy it into the matching row. Leave absent fields blank until you find the technical sheet.
| Field | Hypothetical wording | Plain meaning | Check separately |
|---|---|---|---|
| Diameter | #12 | Numbered screw diameter | Match the required screw type |
| Thread count | 14 | Threads per inch | Confirm the pack actually states it |
| Length | 1-1/2 in | Stated distance to the tip | Read the part's measuring drawing |
| Point | Self-drilling | Tip includes drilling features | Find point type and stated use |
| Head | Hex | Six-sided driving head | Match the tool to the head |
| Washer | Sealing washer | Flexible seal beneath the head | Confirm washer construction |
| Application | Metal to metal | Receiving-material description | Read the specific material limits |
Only the first three hypothetical fields form the example size string. The remaining rows show other information you need to collect. They are not attributes automatically supplied by that string.
Write unknown beside any missing attribute. Keep the label decoder with the screw photograph so another person can inspect both.
Measure a spare screw on the bench
Use a ruler, a caliper, and good light. A caliper is a measuring tool with jaws that close around a part. A thread gauge is a small tool whose teeth match thread spacing. Use one only if you know how to read its markings.
- Choose a sound loose sample. Set aside bent screws or badly worn points. Note whether the sample came from a pack or a removed repair part.
- Find the length endpoints. For a usual raised head, align the ruler below the head and read to the tip. Do not include the top of the head in that ordinary measurement.
- Check the washer against the drawing. A captive washer stays on the screw. If it hides the starting point, use the technical drawing instead of forcing it off.
- Measure across the outside of the threads. Close the caliper gently across opposite thread crests, the outermost ridges. Avoid measuring only the smooth shaft or the grooves between threads.
- Copy the units with the reading. Keep inches and millimeters distinct. Do not silently round a near match into a named size.
- Compare with the exact part sheet. Use your measurement as an identification check. Read the stated nominal size, meaning its named size, from the matching specification.
On a short screw, counting threads by eye can be awkward. Use a suitable thread gauge or get the count from the part sheet. Do not stretch a rough count into a confident identification.
Separate size from the work the screw must do
A panel screw joins the panel to its support. A stitch screw joins thin sheets at a lap, where their edges overlap. Keep these roles apart even if two screws share a head color or fit the same driver. Use How to Spot Overdriven Metal Roof Screws to inspect visible washer seating.
For tip identification, use Self-Drilling vs Self-Tapping: How to Tell Them Apart. For the broader selection job, use How to Choose Metal Roofing Screws. This page decodes the size after you have identified the screw family.
Your building's drawings or the panel maker's installation instructions decide fastening patterns, necessary penetration, and driving torque. Screw length is not chosen by adding a general allowance from an unrelated roof chart.
If an old roof has enlarged holes, identifying the original diameter does not settle the repair size. Record the original part, then follow the panel maker's repair guidance. Use How to Fix Leaking Metal Roof Screws for that repair workflow.
Compare a listing without filling its gaps
The catalog lists Self-drilling roof screws with sealing washer, #12 x 1-1/2 in as a self-drilling roof screw with a sealing washer. It also lists Stitch screws (lap screws) for panel side laps and trim for sheet laps and trim. Both entries await confirmation.
Do not transfer the hypothetical label's thread count to either listing. The catalog's shorter size description cannot establish an unstated point type, drill capacity, or receiving-material limit.
Before selecting a candidate, compare the complete label, washer, point, and application with your notes. Keep unanswered details beside that candidate rather than deleting them from the list. If appearance matters, use How to Match Metal Roof Screw Colors after settling the part type.
Once the correct types and required fastening pattern are known, use How to count screws and closures for a metal roof. A clear size description and a clear quantity calculation belong on separate lines.