How to Install Eave Trim on a Metal Roof
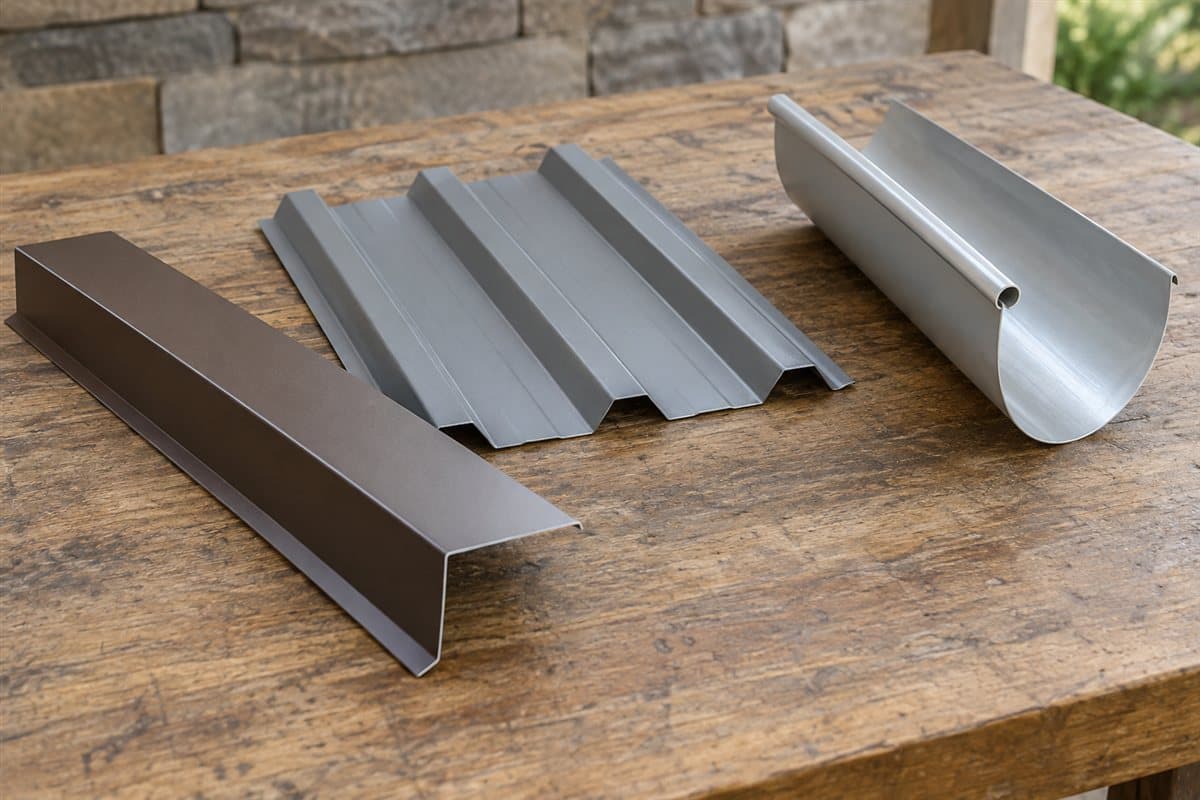
At the low roof edge, follow the path water will take. It should leave the panel onto the intended edge flashing or gutter. Eave trim belongs in that path, fitted to the panel and the edge beneath it.
The eave is the low roof edge. Eave trim, also called eave flashing or drip trim in some guides, is bent metal finishing that edge. Its exact shape and order of assembly depend on the roof system.
Many exposed-fastener details place eave trim before the panels. These panels have visible screw heads. Check the matching detail before starting; an existing roof may need panel edges lifted to replace trim hidden beneath them.
For roof work, use suitable fall protection and hire a roofer if you cannot work safely.
Draw the low-edge layers from the side
Begin with a safe side view or an existing photograph. Mark the panel, trim, wall face, and gutter if present. A fascia is the board or metal face along the roof edge. Record whether the trim covers that face or finishes above it.
If the roof has underlayment, a protective layer below the panels, find how it meets the eave in the guide. Do not assume its edge belongs wherever an old damaged layer happens to end.
Find the panel profile name on receipts, wrapping, or spare material. A profile is the panel's end shape. Search its maker's technical pages for the eave installation detail. If the profile is unknown, use How to Match Old Metal Roof Panels.
Compare a no-gutter detail with a gutter detail only to understand the difference. Use the version that matches your building. A gutter changes the receiving water path and introduces its own support connections.
Check the shapes before collecting quantities
Use a tape measure, pencil, straightedge, gloves, and eye protection. Have metal-cutting snips, hand shears for thin sheet, and the specified driver ready. Add the required sealing materials from the matched instructions.
Place a loose trim piece beside a loose panel sample. Identify the leg that sits beneath or beside the panel and the face that directs water outward. A leg is a flat portion of the trim between bends.
Measure the existing loose trim across its individual flat legs if you are trying to identify a replacement. Sketch every bend. These readings identify the old shape; they do not establish the correct attachment or panel overhang.
A closure is a shaped strip that fills gaps in the panel profile. If the eave detail shows one beneath the panel, compare its orientation and shape with the drawing. Do not add foam just because a gap is visible.
Assemble a matched eave detail in stages
The steps below describe a common exposed-fastener sequence with trim placed before panels. Use your guide's order where it differs.
- Inspect the receiving edge. Find loose material, rust damage, or decayed wood. Repair an unsound edge before hiding it beneath new trim.
- Set the gutter work order. Read how its supports and rear edge relate to the roof layers. If a gutter blocks trim replacement, plan its removal and refitting before opening the roof edge.
- Fit the first loose trim piece. Check its face against the edge and its lower exit against the intended drainage path. Mark the fit without driving fasteners.
- Prepare its corner end. Transfer the matched detail's cut and fold onto the loose piece. Cut on the bench and keep metal chips away from the roof.
- Prepare the edge layers. Position underlayment, tape, or other layers in the sequence shown. Follow each sealing product's surface-preparation instructions.
- Attach the eave trim. Use the stated fastener type and positions. Check that fastening does not twist the face or reverse the intended water exit.
- Continue along the edge. Form, seal, and join neighboring pieces as the guide shows. A lap is the area where one piece overlaps another.
- Place closures and roof panels. Follow the matched eave arrangement for the closure and panel edge. Do not make up a new overhang to reach a misplaced gutter.
- Check the completed junction. Look for crushed closures, blocked exits, unsealed required joints, and loose chips. Keep a final side photo with the original sketch.
Your building's drawings or the panel maker's installation instructions decide overlaps, panel overhang, fastening patterns, driving torque, and support requirements. Gutter support spacing must also come from the building's own drawings or installation instructions. No general edge sketch supplies those numbers.
Complete the eave-junction shape checklist
Use this checklist to keep roof-edge identification separate from gutter design.
| Checkpoint | What to look at | What finishes the check |
|---|---|---|
| Panel end | Profile and edge arrangement | Panel name plus matching eave detail |
| Trim section | Roof-facing leg, outer face, lower bend | End sketch compared with candidate shape |
| Underlayment | Its position at the edge, if present | Layer order in the same roof guide |
| Closure | Profile and face beneath the sheet, if required | Sample compared with the detail |
| Gutter junction | Panel exit, trim exit, and gutter rear edge | One side sketch showing all three |
| Gutter supports | Where the support connection goes | Separate instructions for those connections |
| Downward route | Gutter outlet and downspout location | Visible route recorded without guessing capacity |
If one row is unresolved, name the missing fact. For example: gutter rear edge hidden by old trim. That is more useful than writing drainage checked.
Compare the relevant catalog families
The catalog lists Eave trim and Foam closure strips for PBR and R-panel. It also lists Gutter and Downspout. All are pending confirmation. Compare their confirmed shapes and intended connections with your edge sketch before selecting them.
Do not hang a gutter from trim merely because both are metal. Do not cover blocked drainage with more sealant. Do not copy the assembly order from a different panel system.
Use How to Install Rake Trim on a Metal Roof for the sloping edge meeting the low corner. If the upper panel ends meet a wall, use How to Choose Headwall Flashing for a Metal Roof. Use What trim pieces does a metal building wall need? for the wall edges beneath the roof. Keep the finished eave checklist with that corner's parts list.