How to Match Old Metal Roof Panels
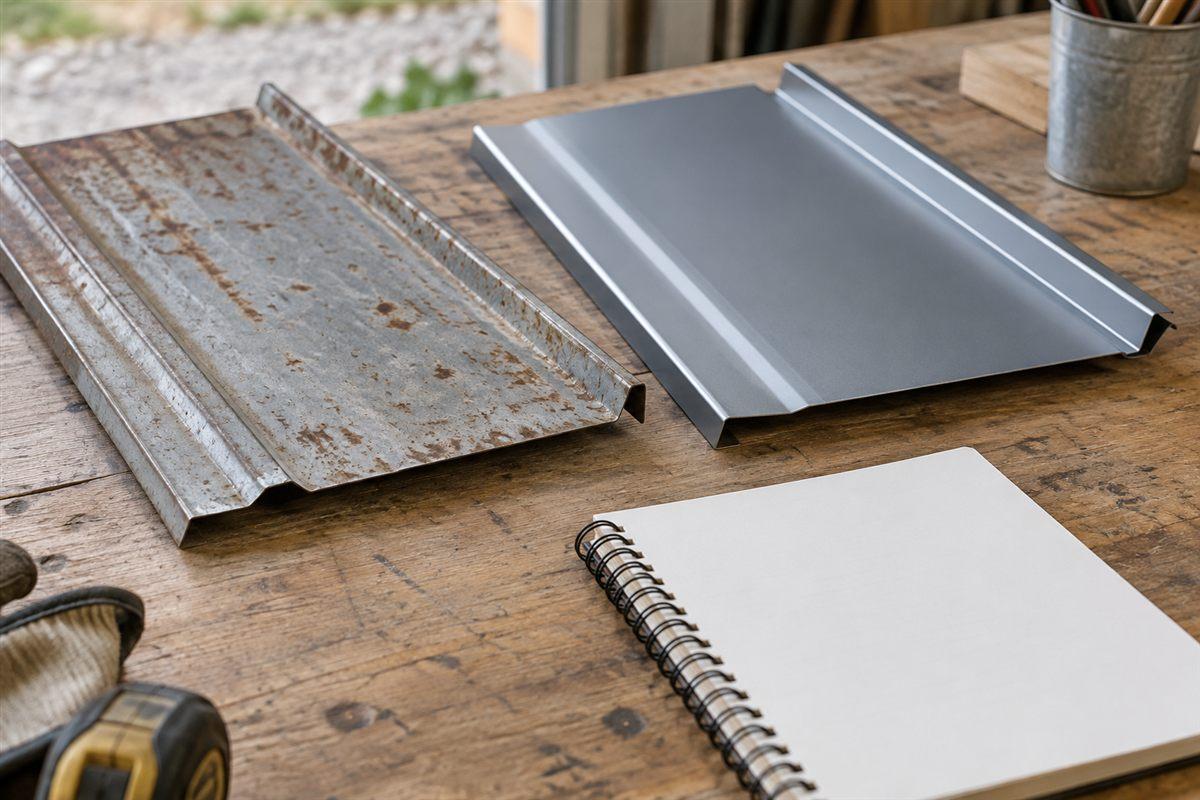
An old barn may have no panel label and no surviving drawings. You can still start with the metal itself. Look at the ribs, measure their shape, and photograph both long edges. Those details give you a useful basis for comparing replacement sheets.
A profile is the shape seen straight across a panel's end. Ribs are the raised ridges running along the sheet. The flat areas, small ridges, and edge bends belong to that profile too. Color comes later.
For roof work, use suitable fall protection and hire a roofer if you cannot reach the part safely.
Find a sample without opening the roof
Look for a spare sheet in the barn or a leftover piece near the original materials. A leftover piece is an offcut. An undamaged loose sample is easier to measure than an attached roof sheet.
If you have no sample, start with ground photos and any safely visible panel ends. Ask a roofer to collect close views where access is difficult. Do not loosen a sound roof just to find out what its edges look like.
Bring a tape measure, ruler, pencil, cardboard, phone camera, and gloves to a clear bench. Metal edges can be sharp. Support the sample so its own weight does not bend it while you measure.
Look through old receipts, spare-panel wrapping, and repair notes for a product name. If you find the panel maker, search its website for the named profile and installation guide. Look under downloads or technical information. A drawing of the panel end is more useful here than a finished-roof photo.
No paperwork? Keep going with the physical sample. Write unknown beside the maker's name rather than guessing it.
Take measurements that describe the sheet
- Pick an intact section. Avoid crushed ribs, torn edges, and flattened bends. Mark damaged areas on your sketch so someone else knows which readings to trust.
- Measure large-rib spacing. Put the tape across the ribs. Measure from one large rib's center to the next rib's center. Repeat elsewhere on the sample and record the units.
- Measure rib height. Rest a straight ruler across the rib top. Measure down to the nearby flat sheet. Keep the ruler square to the sample so a tilted reading does not exaggerate the height.
- Draw the small ridges. Count the smaller ridges between the large ribs. Sketch their shape and position. These features can separate panels that look alike from a distance.
- Sketch both long edges. View the sample from its end. Draw the left edge, then the right edge. Include any flat extension, small channel, or folded return. A return is an edge folded back toward the sheet.
- Record overall width. Measure the loose sheet from edge to edge. Label that reading overall width. Coverage width means the width covered after neighboring sheets overlap. Keep the two measurements separate.
These are identification measurements. Required overlaps, support distances, and fastening patterns come from your building's drawings or the panel maker's installation instructions.
Assemble the photo kit and edge trace
Use this photo checklist to make your measurements understandable. Put each photo number beside its matching sketch or reading.
| Photo | What to show | Note to add |
|---|---|---|
| Whole sample | Complete loose piece on the bench | Where it came from and which face was outdoors |
| Straight end view | Large ribs and small ridges | Rib spacing and height |
| First long edge | Close view of every bend | Left edge from your chosen viewpoint |
| Second long edge | Opposite edge from the same viewpoint | Right edge from that viewpoint |
| Scale view | Ruler beside the measured feature | Measurement endpoints and units |
| Building context | Roof section from the ground | Where the replacement belongs |
| Existing joint | Clear available view of neighboring sheets | Which edges overlap |
Take another photo without the ruler if it hides a bend. Keep a wide view as well as close views. A useful close-up should still be traceable to its sample.
For a loose piece, hold cardboard beside the end and trace its outline. Keep your fingers away from the cut edge. Mark the outdoor face and both edges on the trace. Add measured dimensions because a photo or printout may change scale.
Compare the whole profile with a candidate
Set the candidate's end drawing beside your trace. Compare rib spacing, rib height, small ridges, and both side edges. Work across the sheet in the same direction each time.
R-panel and PBR can have similar main faces. PBR has a purlin bearing leg, an extra flat extension at the underlapping edge. A purlin is a roof support member. The extension rests on that support beneath the neighboring panel edge.
Use R-Panel vs PBR: How to Tell Them Apart to examine that difference. The relevant product candidates are 26-gauge PBR panel and 26-gauge R-panel. A familiar name does not prove that a new sheet will join an old one.
Ask for the candidate's full profile drawing if its listing shows only the middle ribs. Send your end photo, edge trace, and readings together. The question is specific: do both new edges match the existing joints?
Never force a sample into place to hide a mismatch. If the old shape cannot be identified, a roofer can help decide whether adjoining sheets need replacement too.
Turn the match into an order line
Once the shape is settled, use How to measure and order metal panels by length for sheet length and quantity. Keep the profile drawing beside that worksheet.
List the panel name, thickness designation, finish, length, and quantity separately. A thickness designation is often called gauge. Do not estimate it by eye or assume a weathered color will match a fresh finish.
Before choosing the replacement, check your packet once more. Does it show both edges? Were the measurements taken on intact metal? Are overall width and coverage labeled differently? A clear packet makes the next conversation about the actual part, even when the old barn has no drawings.