Rivets vs Stitch Screws: How to Choose for Metal Trim
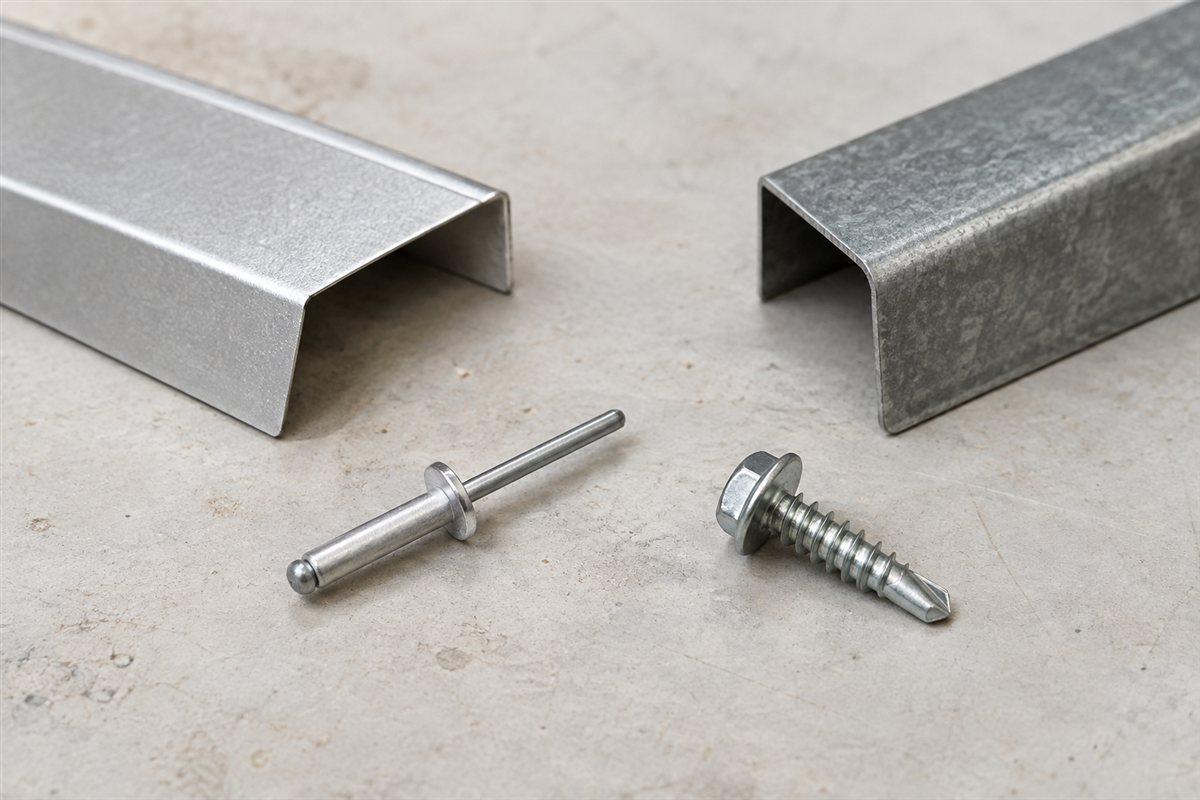
Use the fastener shown for the actual trim joint. A rivet and a stitch screw can both join thin metal, but they are not automatic substitutes. Start by identifying what the connection joins and whether it is exposed to water.
Trim is bent sheet metal that finishes an edge or junction. A stitch screw joins overlapping thin sheets. A blind rivet is set with a pulling tool from one accessible side. Its long stem is called the mandrel.
The choice includes the hole, the materials, and the layers being joined. Head appearance alone leaves those questions unanswered.
Name the joint before comparing parts
Look at the location from a safe position. Is one trim piece overlapping another? Is the trim attached to a panel? Does the connection need to reach a framing support?
A lap is the area where one sheet overlaps another. Label the two sheets at that lap in your notes. If a support sits behind them, record whether the connection is meant to grip it.
Do not choose a thin-sheet joining fastener for a support connection just because it reaches the hole. Use the panel's installation guide to identify each fastening role separately.
For roof work, use suitable fall protection and hire a roofer if you cannot reach the joint safely.
Understand what each part needs
A stitch screw makes a threaded connection. Some types have a drill point; others need hole preparation. Read the exact screw description rather than assuming all short screws behave alike.
A blind rivet goes into a prepared hole. The setting tool pulls the mandrel and forms the rivet behind the sheets. A suitable breakstem rivet leaves its body in the joint when the excess stem breaks away.
Grip range is the combined sheet thickness a rivet is intended to clamp. It is not the rivet's overall length. Measure an accessible stack of matching loose material or read the actual sheet information before comparing that range.
Do not use a hole diameter from another rivet's packet. Hole requirements belong to the selected rivet's instructions and the joint detail. A hole that is already enlarged needs a repair decision before either candidate is chosen.
Compare the joining details side by side
Use this table for one joint at a time. The last column is deliberately practical: it tells you what to bring back to the parts comparison.
| Decision | Blind rivet | Stitch screw | Information to gather |
|---|---|---|---|
| Setting method | Pulling tool forms the body | Driver turns the threads | Required tool and clear working space |
| Hole preparation | Specified prepared hole | Depends on the exact point | Hole instructions for the selected part |
| Sheet stack | Must fit the stated grip range | Must fit the stated application | Combined layers and material details |
| Water exposure | Ordinary rivets are not automatically watertight | Check the washer and joint seal requirements | Whether the detail calls for a seal |
| Materials | Check body and stem materials | Check screw material and coating | Materials of both sheets being joined |
| Later removal | Requires removing the formed fastener | Can be unscrewed, with the hole still needing inspection | Whether future access matters |
| Permission to substitute | Must be stated for that joint | Must be stated for that joint | Fastener callout in the panel guide |
The table compares questions, not connection strength. It does not rank every rivet above or below every screw. Keep unanswered fields visible until the actual part information fills them.
Follow the chosen method without changing the joint
Gather gloves, eye protection, a ruler or caliper, and the part instructions. A caliper measures thickness with closing jaws. Use metal-cutting snips, hand shears for thin sheet, only where trimming is part of the joint instructions.
- Match the joint illustration to the location. Check that it shows the same panel and trim arrangement. Keep trim-to-trim and trim-to-support work separate.
- Lay out the loose pieces. Compare their bends and the intended overlapping faces. Do this before making holes.
- Mark the required connection locations. Your building's drawings or the panel maker's installation instructions decide fastening patterns and overlaps. Transfer those requirements; do not invent a new pattern.
- Prepare the joint as instructed. Include any specified tape or sealant before closing a joint that would hide it. Keep the material surfaces clean as the product instructions require.
- Use the selected tool. For a rivet, fit the tool's matching nosepiece, insert the rivet, and set it as instructed. For a screw, use the matching driver and control its seating.
- Inspect the finished connection. Look for gaps, damaged sheet, a poorly formed rivet, or a distorted screw washer. Stop if the fastening action does not produce the illustrated result.
Driving torque comes from your building's drawings or the panel maker's installation instructions. The rivet's own instructions decide its hole and tool requirements. A bench comparison does not establish either value.
Keep the catalog choice narrow
The catalog lists Pop rivets for trim for trim and Stitch screws (lap screws) for panel side laps and trim for laps and trim. Both entries are pending. Confirm rivet grip range, materials, hole requirements, and the screw's full description before selecting a candidate.
Do not assume the listed rivet is a sealed type or that every stitch screw has a sealing washer. The catalog does not establish those attributes.
Use Stitch Screws vs Panel Screws: Which Do You Need? if the screw's role remains unclear. For identifying wall edges and trim families, continue with What trim pieces does a metal building wall need?. Keep this joint comparison with the relevant trim line on your parts list.