Vertical vs Horizontal Metal Siding: How to Choose
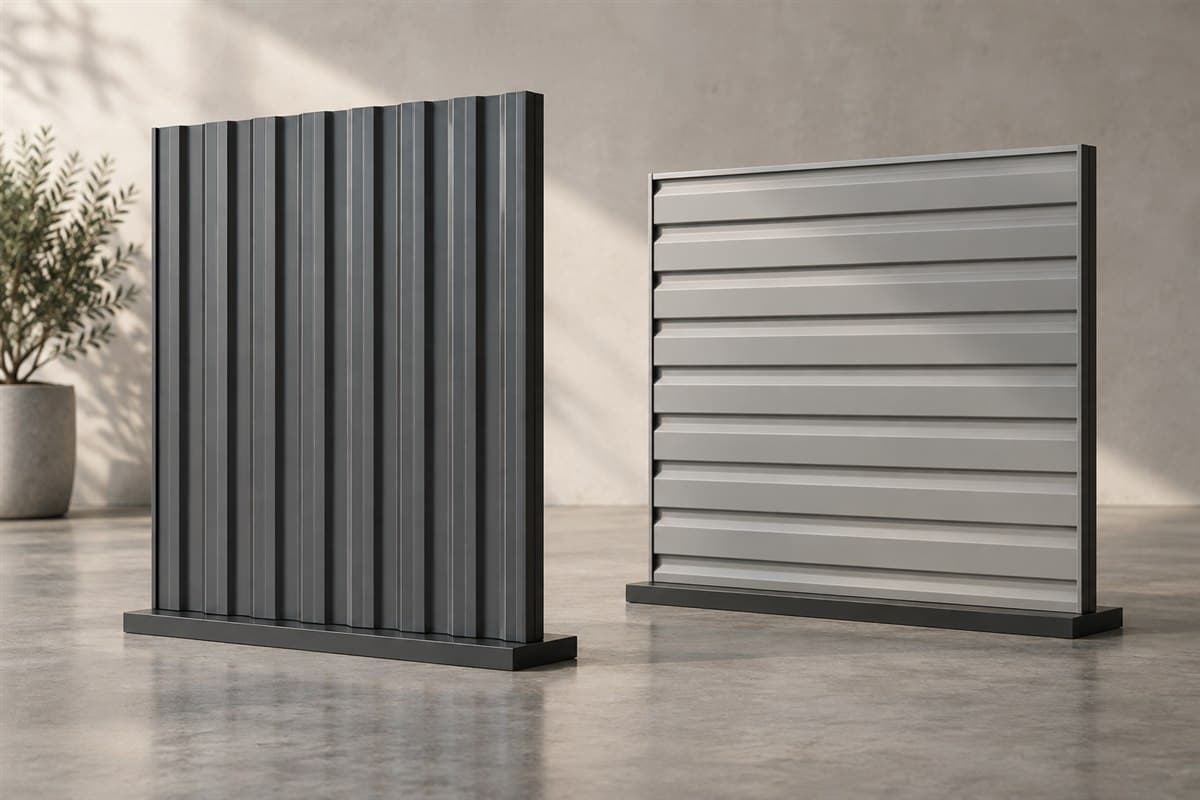
Choose a rib direction that the exact panel and wall arrangement support. Then compare the appearance. Vertical siding has ribs running up and down. Horizontal siding has ribs running side to side.
Turning a loose sheet is easy. Turning the wall system is a different decision. It changes how the sheet crosses its supports and where its joints end. A roof-and-wall label alone does not confirm both wall orientations.
Identify the direction you actually want
Use a photograph of the proposed wall. Draw vertical lines on one copy and horizontal lines on another. Include doors, windows, corners, and any lower color band. Keep these as appearance sketches.
If replacing existing siding, photograph its rib direction first. Look at the wall from inside and note the direction of its supports. A girt is a framing member supporting wall panels. Record visible girts without loosening anything.
Gather a tape measure, notebook, phone, and any building papers. No cutting or screw removal is needed for this comparison. Safely reachable wall dimensions are enough to start the sketch.
For an old building without records, write down what is visible and what is hidden. Do not fill the support information from a similar building's photo. Ask an engineer to resolve structural changes if the preferred orientation needs them.
Find an orientation statement for the exact panel
Look for the panel maker's wall installation guide, product sheet, and wall-joint drawings. Match the exact profile name. Profile means the sheet's end shape, including ribs and edge bends.
Search within the instructions for wall, vertical, horizontal, side lap, and end lap. A side lap joins the long edges of neighboring sheets. An end lap joins their short ends. Rotating a sheet changes the direction of those joints.
Some panel products have instructions covering both wall directions. That fact does not extend to every product with a similar rib shape. If the chosen sheet's horizontal use is unclear, ask for a written explanation and the matching wall details.
Do not decide that horizontal use is allowed because you saw a finished building online. Its sheet, edge shape, support arrangement, and joint treatment may be different.
Compare both layouts on the same questions
| Decision | Vertical layout | Horizontal layout |
|---|---|---|
| Rib direction | Up and down | Side to side |
| Support crossing | Check against the actual wall framing | Recheck after rotating the sheet layout |
| Long-edge joints | Show their positions on the sketch | Show their positions after rotation |
| Short-end joints | Identify any required end connections | Identify ends and joints across wall width |
| Door and window cuts | Mark affected sheets | Redraw affected sheets for this direction |
| Corners | Match vertical-layout edge details | Obtain the matching horizontal-layout details |
| Lower color band | Resolve its junction with upper sheets | Resolve band and joint positions together |
| Permission to proceed | Exact panel instructions and wall plan | Exact panel instructions and wall plan |
This comparison avoids a blanket claim that one direction is stronger or suits every climate. Both columns need a complete wall plan.
Fill in an orientation decision record
Use these steps after the appearance sketch. Keep supporting pages with the record rather than relying on a verbal yes.
- Name the chosen sheet. Write its exact product name, profile, gauge label, and intended wall use. Do not record only metal siding.
- State the desired direction. Write ribs vertical or ribs horizontal. Add the photograph or sketch that shows it.
- Record the instruction evidence. Save the page stating the permitted use. Add the relevant wall-joint drawings. If the direction is not stated, mark unresolved.
- Record the actual supports. Describe their visible direction and material. Let the building assessment determine suitability. Do not infer it from the fact that old sheets remain standing.
- Locate each joint. Mark where full sheets end and where neighboring edges meet. Keep raw wall dimensions separate from final cut lengths.
- List the changed trim. Compare base, corner, top, door, and window details for the chosen direction. Note any part whose shape is not established.
- Set the next action. Choose keep investigating, proceed with the resolved wall plan, or use the other permitted layout. Give the reason beside the choice.
The original record ties your visual preference to the instructions and building. It does not calculate support capacity or a new fastening pattern.
Settle framing and water paths before ordering
Take spans, loads, overlaps, fastener spacing, and patterns from the building's drawings or panel maker's installation instructions. If rotating the panels calls for new framing, have an engineer decide that arrangement.
Existing roof or wall sheets may contribute to the building's bracing. Bracing helps keep the structure steady. Do not remove a wall covering or rotate its attachment plan until that role is understood.
Read the joint drawings as a path from the exposed surface to the outside edge. Identify where water can leave and where a seal is called for. Ask for clarification if you cannot follow the drawing. Do not place sealant everywhere as a substitute for the right joint.
Corner and opening details need the same attention as broad wall areas. Turning a panel can change the shape meeting a doorway. Do not rotate an existing trim piece and assume it still closes the joint correctly.
Use the resolved layout to choose parts
The catalog includes 26-gauge PBR panel and 26-gauge R-panel. Those links identify candidate sheets. They do not establish that either can be used horizontally on your wall. Confirm intended use and orientation for the exact item before selecting it.
Use What trim pieces does a metal building wall need? to organize the edge list. Use How to measure and order metal panels by length after the orientation and joint layout are settled. If you choose a permitted vertical PBR layout, How to Install PBR Metal Siding on a Wall explains the work sequence.
Avoid calling horizontal cheaper, vertical stronger, or either direction easier without comparing the actual job. Also avoid using a panel photo as installation evidence. Your finished record should connect the chosen appearance to a permitted sheet, a suitable wall plan, and resolved edge details.