How to Replace Damaged Metal Siding Panels
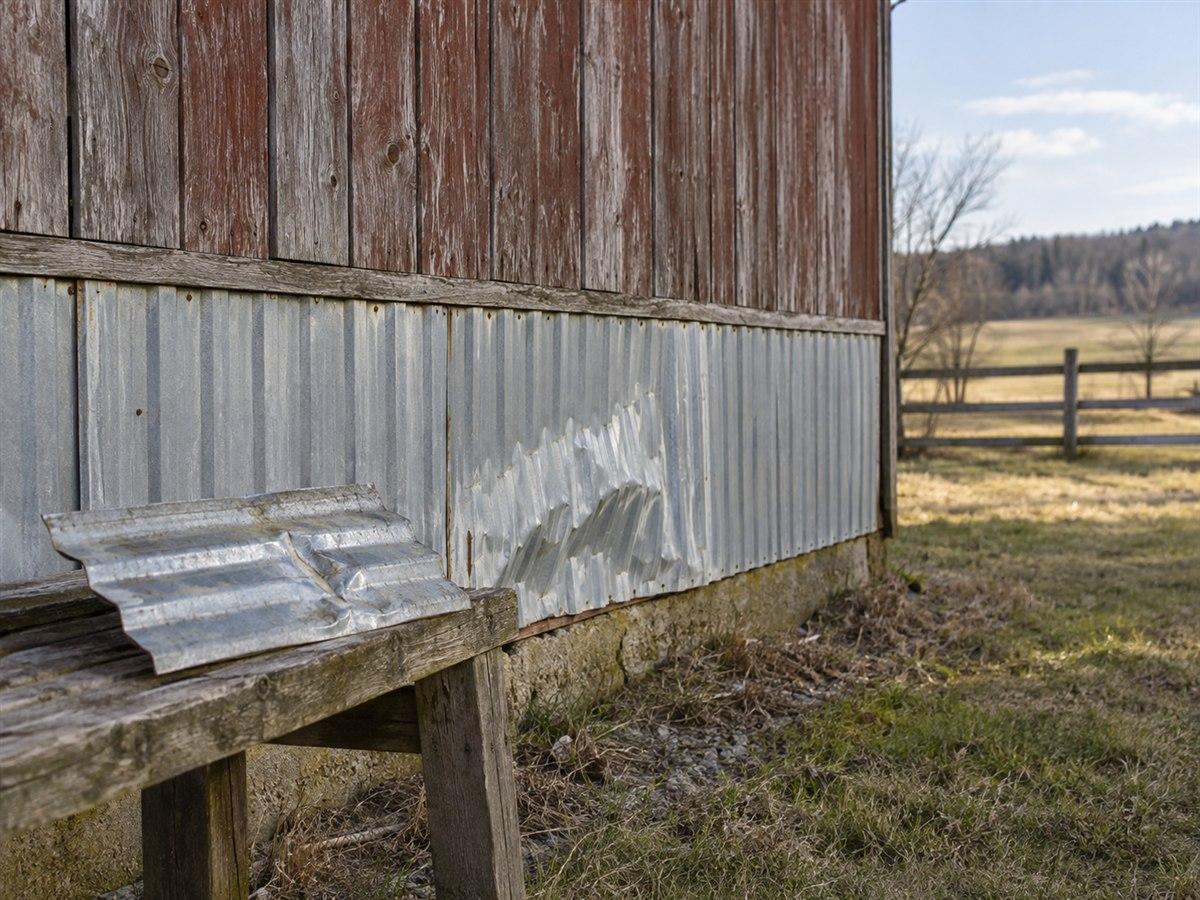
A damaged wall sheet can be replaced after you match its shape and establish how it comes out. Start by mapping the damage. Check the nearby trim, panel joints, and framing before undoing screws.
For a simple sheet replacement, the broad order is identify, measure, prepare, release the adjoining parts, replace, and inspect. The exact removal order depends on the wall. Some metal wall panels contribute to the building's bracing, so do not treat every sheet as decoration.
Find the limits of the damage
Choose one wall and give it a name, such as road side or wall beside the shed. Photograph the whole wall straight on. Add close pictures of the damaged area from safely reachable positions.
Gather gloves, a phone camera, notebook, tape measure, flashlight, and a straightedge. Later work may need a screw driver, suitable metal cutter, and safe access equipment. Choose those after you know the job.
Inspect the same area from inside if it is visible. Look for bent framing, wet material, and damage around the panel attachment points. A girt is a framing member supporting wall panels. A diagonal rod, cable, or angle may be part of the bracing.
If framing is bent, the wall has shifted, or bracing appears damaged, keep the work at inspection stage. An engineer must assess that area. Do not loosen a brace to free a sheet.
Draw a wall damage map
Make a simple rectangle for the wall. Draw doors, windows, corners, and the main panel joints. Number the visible sheets from left to right as seen outside. Add your photo filenames beside the damage.
Use this map key:
| Mark | Meaning | What to record |
|---|---|---|
| D | Dent | Location and whether the panel joint is affected |
| H | Hole or tear | Close photo and visible damage behind it |
| J | Damaged joint | Which two sheet numbers meet there |
| T | Damaged trim | Corner, opening edge, or wall bottom |
| F | Framing concern | Interior photo and inspection needed |
| U | Unclear | Hidden edge, blocked view, or unknown panel identity |
Add a proposed replacement boundary after inspection. The boundary may include one sheet, adjoining trim, or a larger area. Keep observed damage and planned work as separate marks.
This map is the original aid for the job. It gives you a parts scope without assuming that a dent automatically requires replacement.
Match the sheet before measuring its replacement
Use an intact spare piece if available. Compare the profile, which is the panel's end shape, and both long edges. A side lap is the overlapping joint between neighboring sheets. The new lap edges must be checked against the old ones.
Use How to Match Old Metal Roof Panels for the sample photos and measurements. Its shape checks also help identify a wall sheet. Do not choose by rib height or color alone.
Find the panel maker's wall installation instructions. Search the name from old packing, receipts, or building papers. If records are missing, send sample photos and the wall map when asking for identification.
Measure safely accessible existing parts, but keep installed length separate from the new cut length. Trim can hide sheet ends. Use How to measure and order metal panels by length after the exposed end conditions are understood.
Carry out a limited sheet replacement in order
Only proceed once the wall's structural role and removal method are resolved. Use a siding professional if the sheet is large, difficult to handle, or above safe working reach.
- Prepare the matching materials. Confirm the replacement sheet, suitable new fasteners, and any trim or seals that must change. Check everything before exposing the wall.
- Read the affected joints. Identify which sheet edge overlaps and which sits underneath. Mark the trim that covers the damaged sheet. Use the maker's removal guidance to decide what is released first.
- Prepare access and handling. Clear the area on both sides. Protect nearby contents and arrange help to control the freed sheet. Do not attempt removal in wind that prevents safe handling.
- Release the required covering parts. Remove the trim and adjoining fasteners identified by the repair plan. Support loose pieces. Keep reusable trim out of the traffic route.
- Remove the damaged sheet. Follow the planned sequence without bending a neighbor's lap edge. Keep clear of sharp edges and do not pry against wiring or framing.
- Inspect the exposed area. Check supports, old holes, insulation, and hidden wetness. Stop for a new assessment if the damage extends behind the sheet. Do not conceal that finding with the replacement.
- Position and fasten the new panel. Follow the wall instructions for alignment, lap direction, seals, and attachment. Use the building's drawings or panel maker's instructions for fastening patterns, overlaps, and support requirements.
- Refit the specified trim and inspect. Look for open joints, distorted metal, missed supports, and leftover chips. Remove sharp waste and save final photos beside the map.
An old hole that will not hold its screw needs a specific repair decision. Do not keep driving a screw that spins. Do not guess a larger repair fastener.
Keep trim and color on the parts list
Compare 26-gauge PBR panel only if the identified replacement is PBR. The catalog description does not establish a match to your old wall. Keep exact edge and finish checks in the job record.
If an affected corner needs new material, compare Outside corner trim with its existing shape and wall detail. Jamb trim concerns the side of a door or window opening. Neither is an automatic substitute for another bent trim piece.
For the general edge list, use What trim pieces does a metal building wall need?. For visible color differences, read How to Match Old Metal Roof and Siding Colors.
Avoid flattening a crushed lap to force a new sheet into place, reusing damaged sealing parts, or removing neighboring sheets before understanding their role. Keep the map beside the final parts list. It should show exactly what changed and any hidden problem that still needs attention.