How to Install PBR Metal Siding on a Wall
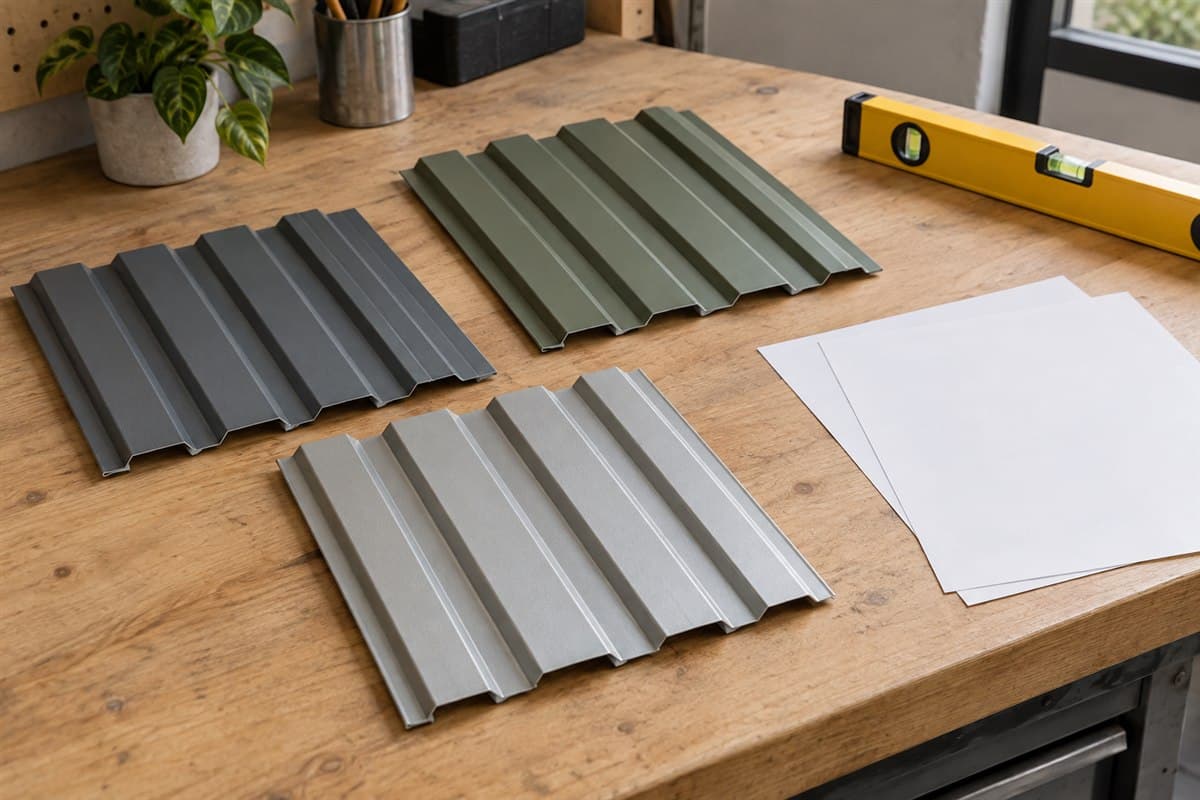
Begin with a sound, ready wall and the installation guide for the exact PBR panel. Fit the trim that belongs behind the sheets, establish a straight starting line, and install panels in the guide's order. Finish the exposed edge trim afterward where the detail calls for it.
PBR is a ribbed panel family with a purlin bearing leg, a flat extension at one long edge. The roof term remains in its name when the panel is used on walls. Confirm that your chosen product's instructions cover the proposed wall use.
Lay out the job before opening a bundle
Gather a tape measure, spirit level, suitable marking tool, notebook, gloves, eye protection, suitable cutter, and screw-driving tool. A spirit level checks whether a line is level or upright. Use safe access equipment for work above ground reach.
A girt is a framing member carrying wall panels. Look at the wall from inside and outside. Check for damaged girts, crooked framing, diagonal braces, wires, and pipes. Structural damage needs attention before cladding, the outer wall covering, is installed.
Do not drill new holes in the building frame or move bracing to simplify the panel layout. If the wall is being altered, have an engineer resolve the structural work first.
Search the panel maker's website for its exact wall guide and trim drawings. Match the profile drawing, which shows the sheet's end shape, to your sample. Open the wall pages rather than copying a roof fastening picture.
Complete the wall instruction checklist
Use this before cutting panels. Save the relevant page beside each answer.
| Item | What the instructions must answer |
|---|---|
| Wall use | Is this exact panel intended for the wall application? |
| Orientation | Which direction do the ribs run? |
| Supports | What framing and condition does the wall need? |
| Base | Which trim goes beneath the sheet ends? |
| Openings | How do head, side, and lower trim meet the panels? |
| Side joint | Which edge overlaps, and what sealing is required? |
| Sheet ends | How are any end joints supported and closed? |
| Fasteners | Which type suits the panel and support material? |
| Final edges | Which trim goes on after the sheets? |
Use the building's drawings or panel maker's installation instructions for fastener spacing and patterns, overlaps, spans, and load requirements. If those answers are missing, get them resolved before attaching sheets.
The checklist is not a replacement fastening schedule. It is a way to ensure you have the right instructions open at the bench.
Establish a true starting point
Do not use a leaning old corner as your only guide. Check upright alignment with the level. Plumb means vertical. Mark a plumb reference line where the first panel's specified edge will sit.
Check the wall's lower reference and its upper boundary too. Compare safely measured heights at several positions. On an end wall beneath a sloping roof, the required top cuts can vary. Make a sheet-by-sheet layout before cutting.
Keep required end clearances and trim allowances separate from raw wall measurements. The installation detail determines how the sheet meets those parts. Use How to measure and order metal panels by length for the length and coverage worksheet.
Install the wall in a controlled sequence
- Prepare the wall and access. Complete any structural repairs first. Clear stored materials and protect services. Arrange enough help to handle each sheet without losing control.
- Fit the trim placed behind panels. Follow the base and opening details. Check that water paths remain open where the instructions require them. Do not assume every trim piece goes on at the end.
- Prepare the first sheet. Check its identity, finish face, length, and lap edges. If cutting is required, use How to Cut Metal Roofing Without Damaging the Finish at a separate work station.
- Position it against the reference. Align the specified edge with the plumb line. Check the lower and upper ends against their details. Support the sheet while checking it.
- Attach it using the wall pattern. Use the specified screws for the support material. Hold the driving tool square to the attachment surface and follow the washer instructions. Do not crush the panel to pull it into line.
- Fit the next sheet's side joint. A side lap is the overlap along neighboring long edges. Nest the intended edges without forcing them. Apply seals only where the wall guide calls for them.
- Check alignment as you continue. Compare the growing run with your reference and layout. Stop if sheet ends drift or the joint will not sit correctly. Fix the cause before installing more panels.
- Complete openings and exposed trim. Follow the relevant corner and opening details. Do not cut a new structural opening as part of fitting the cladding.
- Clean and inspect. Remove metal chips from sheets and ledges. Look for open joints, distorted sheets, damaged washers, and sharp scraps.
Do not continue driving a screw that spins without gripping. Do not add unplanned screws to flatten a bulge. Both findings need correction using the repair or installation instructions.
Know when to pause
| Finding | Next action |
|---|---|
| Girt or brace damaged | Stop panel work and have the structure assessed |
| First sheet will not align | Recheck the reference, sheet shape, and trim position |
| Unknown fastening pattern | Obtain the exact wall requirements before attachment |
| Hidden wire or pipe in the work area | Have the service made safe by the appropriate trade |
| Lap edges do not nest | Recheck profile and orientation before forcing anything |
This pause table addresses visible problems. It does not certify the wall's strength after installation.
Compare only the parts the layout needs
Start with 26-gauge PBR panel if its documentation confirms the intended wall use. For bottom edges, compare Base trim. For openings, compare Jamb trim at the sides and Head or sill trim where the detail identifies it.
These links are candidate parts, not a complete kit. Use What trim pieces does a metal building wall need? to organize the edge list. Keep missing shapes or specifications unresolved rather than swapping a similar-looking trim piece.
The main beginner mistakes are following a crooked corner, copying a roof attachment pattern, and fitting all trim last. Settle the wall details first. Then each sheet has a clear position and a clear next check.