How to Plan Metal Wainscot on a Building Wall
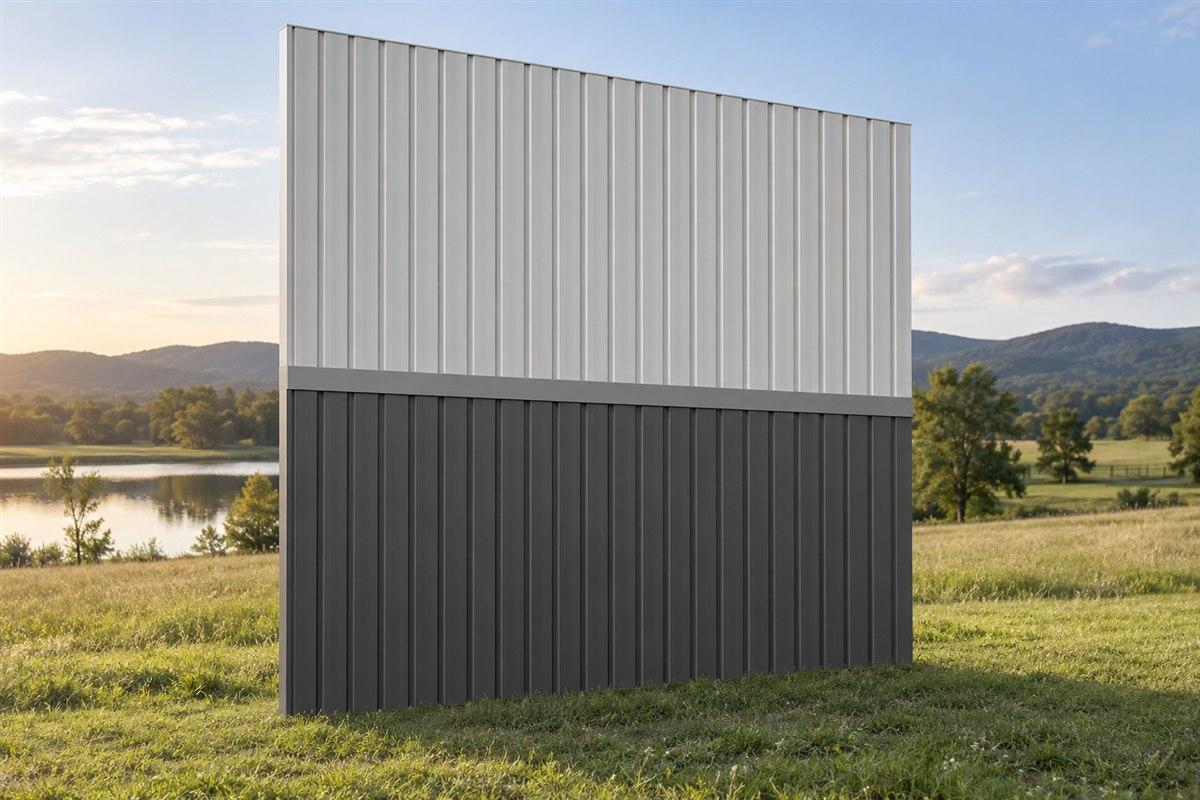
Metal wainscot is the lower band of a wall finished separately from the area above. On a two-color metal wall, the band creates a horizontal junction between upper and lower sheets. Plan that junction before choosing panel lengths.
You need three separate decisions: the lower finish, the upper finish, and how the two meet. A sketch can settle the appearance. A wall detail must settle the support, attachment, and water path.
Decide whether you mean paint or separate panels
A single continuous sheet painted in two colors is different from two separate sheets meeting at a trim piece. Say which arrangement you want. Do not order short lower sheets if your plan uses continuous panels.
For separate panels, the joining trim is often called transition or wainscot trim. It is folded metal at the finish change. Names vary, so ask for a cross-section drawing showing its actual shape and location.
A cross-section is a cut-through view of the joint. It should show the upper sheet, joining trim, lower sheet, and framing. It helps you see what sits behind what without guessing from the finished wall's appearance.
Do not assume roof transition trim has the wall shape you need. Similar names do not establish the same use. Keep the actual drawing with your parts list.
Draw the band across each wall
Gather a notebook, phone camera, tape measure, and spirit level. A spirit level helps check a horizontal reference. Begin with photographs taken straight toward each wall.
- Sketch each wall separately. Include corners, doorways, windows, and changes in ground level. Give every wall a simple name.
- Choose a proposed visual line. Draw the top of the lower color band. See how it meets doors and corners. Keep it marked proposed until the wall detail is settled.
- Choose a fixed reference. Use a known building feature for your notes. Record how the proposed line relates to it. Do not follow uneven soil as though it were a level line.
- Measure the visible wall areas. Record heights to the proposed line and from it to the upper boundary where safely reachable. Label these wall dimensions, not final cut lengths.
- Mark every interruption. Note places where the band meets openings, steps, attached buildings, or different cladding. Cladding means the outer wall covering.
- Compare the inside framing. Photograph visible support positions without altering them. Ask how the proposed joint will be supported. Do not choose its height solely because it looks convenient.
If the barn already has wainscot, measure and photograph the existing junction first. Do not assume the new lower panels will use the old trim unchanged.
Use a two-finish ordering record
Make one record per wall. Keep the upper and lower panels separate even if their profile matches.
| Field | Upper area | Lower band | Junction or edge |
|---|---|---|---|
| Panel identity | Profile and intended use | Profile and intended use | Exact joining detail |
| Finish | Color code and coating | Color code and coating | Separate trim finish |
| Raw wall measurements | Upper boundary to proposed line | Proposed line to wall bottom | Line length and interruptions |
| Final cut lengths | From settled wall layout | From settled wall layout | Actual trim lengths |
| Openings | Which sheets meet openings | Which lower sheets meet openings | How trim meets each opening |
| Corners | Upper corner treatment | Lower corner treatment | How horizontal trim ends there |
| Instructions | Panel guide page | Panel guide page | Joint drawing and attachment notes |
Write unknown in any missing field. This record prevents the lower band's finish or length from being copied onto the upper sheets by mistake.
Do not subtract a guessed trim allowance from every wall height. The joint drawing determines where each sheet starts and stops. Use How to measure and order metal panels by length to turn the settled layout into panel quantities.
Resolve the joint before cutting
Ask what supports the sheet ends at the junction. A girt is a wall framing member supporting panels. A proposed finish change may need a different framing arrangement than a continuous sheet wall.
The building's drawings or panel maker's installation instructions decide support spans, fastening patterns, overlaps, and load requirements. If adding wainscot would change the framing or bracing, have an engineer assess that work. Existing metal wall sheets can contribute to building stability.
Ask for the installation order in plain words. Some joint details place lower panels first, then the transition trim, then upper panels. Use that sequence only when the exact wall detail calls for it. Do not borrow a drawing from a different panel family.
Follow the cross-section to see how water leaves the joint. Check its treatment at corners and doors too. A long straight section may be clear while an end remains unresolved. Do not improvise end cuts or sealant placement to fill that gap.
Compare the finishes together
Use physical samples of the upper panel, lower panel, and trim. Put them in the same daylight. Screens can change displayed color, so keep actual sample labels with your selection.
If some old sheets will remain, use How to Match Old Metal Roof and Siding Colors. Decide whether the new band should blend with the old surface or show a deliberate contrast. Do not describe a visible mismatch as an exact match.
Select the parts without substituting shapes
Compare 26-gauge PBR panel for either wall area only if the chosen PBR information supports that use. Base trim concerns the wall bottom. Outside corner trim concerns an outer corner. Neither replaces the joining trim between upper and lower sheets.
The catalog lists a rake transition item but does not confirm it as your wall wainscot trim. Leave that part unresolved until its shape and intended use are established. Do not order it by name alone.
Use What trim pieces does a metal building wall need? for the wider edge list. Keep your two-finish record as the job-specific addition. Avoid choosing the band height from a picture, cutting installed sheets before checking bracing, or merging both finishes into one order line. Finish the joint plan first, then the panel list.