How to Check a Metal Building Parts List
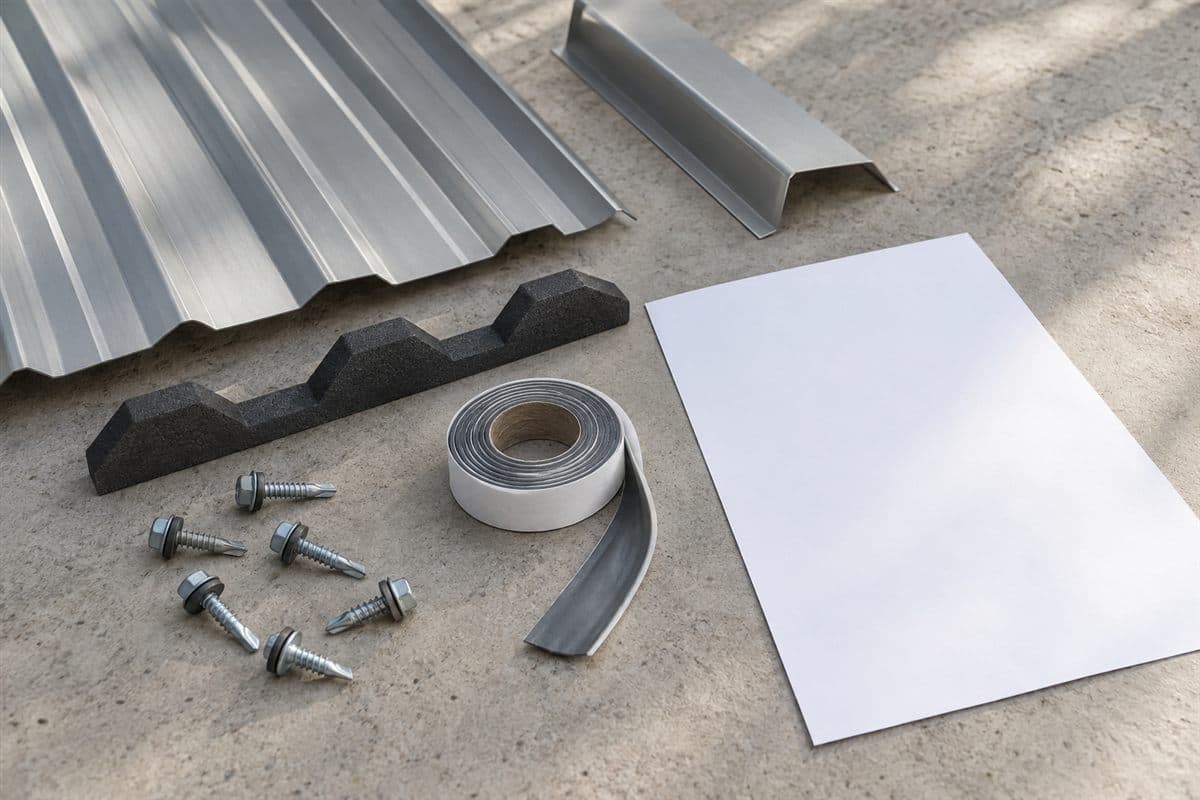
A useful parts list tells you what each item is, where it belongs, and how many you need. Check those questions one line at a time. You can find missing pieces with a notebook, photos, and the measurements you already collected.
For an older barn, you may have samples instead of drawings. Keep those samples and sketches beside the list. Use the panel's installation guide for the connections that need instructions.
Checkout is not open yet. Use this checklist to prepare the list and resolve questions before purchasing becomes available.
Put the working records in one place
Gather panel measurements, trim sketches, screw labels, closure photos, and tape information. Add building drawings or repair notes if you have them. A plain sheet of paper or a simple document on your computer is enough.
Write the date at the top. Name the roof sections and walls in the same way across every note. For example, panel A should mean the same damaged sheet on the sketch and replacement list.
Keep the panel maker's guide with the records. Find it through the maker's website downloads or technical pages. Old receipts and spare-panel wrapping may identify the panel. If it remains unknown, use How to Match Old Metal Roof Panels to build the matching packet.
If two notes disagree, mark the difference instead of averaging them. An unclear length or screw type needs a specific answer. It should not disappear because most of the list is complete.
For roof measuring or work, use suitable fall protection and hire a roofer if you cannot reach the location safely.
Check each family in a clear order
- Give every line a location. Name a roof section, wall, edge, or joint. A line saying spare trim also needs a reason and a known part type.
- Identify the panels. Check their profile, the end shape, and gauge, the thickness designation. Add finish, length, and sheet quantity as separate fields.
- Separate the cut lengths. A cut length is one sheet's finished length. Give each different length its own quantity. Write units beside every reading.
- Match trim by location and shape. Trim is bent metal finishing an edge or junction. Use Metal Roof Trim Names: How to Identify Each Edge to name roof edges, then compare the bends.
- Split the screw roles. Panel screws fasten sheets to supports. Stitch screws join sheets at a lap, where they overlap. Keep each full screw label and quantity separate.
- Name closure orientation. A closure is a shaped strip filling panel-profile gaps. Record the matching panel and inside or outside type, along with its location.
- Tie tape to a joint. List the required tape form and the joint using it. Do not add a generic roll as an answer to an unidentified leak.
- Mark unanswered fields. Write missing or conflicting beside incomplete lines. Keep each question short enough that another person can answer it directly.
Your building's drawings or the panel maker's installation instructions decide overlaps, fastening patterns, support requirements, and driving torque. They also decide wind or snow requirements. This list checks your selections without supplying design numbers.
Use the final reconciliation worksheet
Reconciliation means comparing records to find missing or conflicting information. This worksheet does that for one item family at a time.
| Family | Fields to check | Unfinished example | What finishes the line |
|---|---|---|---|
| Panels | Profile, gauge, finish, length, quantity, section | Panels for rear roof | Separate measured lengths and counts with units |
| Trim | Location, shape, finish, length, quantity | Edge trim | Named edge plus matching end sketch |
| Support screws | Receiving material, full label, washer, quantity | Roof screws | Specific type and count from the required pattern |
| Lap screws | Sheet joint, full label, quantity | Same screws for seams | Separate stitch-screw selection and count |
| Closures | Profile, orientation, location, strip length, quantity | Foam strips | Correct face and profile for each location |
| Tape | Joint, form, product requirements, quantity | Some sealing tape | Tape type tied to the joint instructions |
Add a status beside each row: ready, missing, or conflicting. Ready means the required fields agree. It does not mean a listed product is available for immediate purchase.
Next to an unfinished line, write the exact question. Which closure face fits under this panel? What units are these panel lengths in? Does this screw pack state wood or metal use?
These examples show how to ask clearer questions. They do not prescribe any installation choice. Attach the relevant photo or label so the person helping can see the same part.
Recheck counts without repeating the whole measuring job
Use How to measure and order metal panels by length for panel length and coverage work. Coverage is the width covered after the panel joint is formed. It differs from the loose sheet's overall width.
Keep that worksheet beside the sheet quantity. Recheck that each count belongs to the correct length and section. Do not combine different lengths into one total marked panels.
Use How to count screws and closures for a metal roof for accessory counts based on the required fastening and closure locations. Keep the calculation with each line. A pack quantity and a job quantity answer different questions.
If you plan extra pieces, name them separately and say why. Do not hide spare parts inside a rounded total. Do not invent a fastening pattern just because the screw count is unfinished.
Compare candidates with the actual list
The listed 26-gauge PBR panel, Self-drilling roof screws with sealing washer, #12 x 1-1/2 in, Foam closure strips for PBR and R-panel, and Butyl tape sealant are useful candidates when their types match the job. Compare each with the corresponding line rather than assuming a product family covers every variation.
The roof-screw listing contains self-drilling screws with sealing washers. It does not establish an unlisted wood-grip type or damaged-hole repair. The closure listing needs the correct profile and orientation. The tape listing needs the right form for the joint.
Some entries await confirmation. Keep questions about missing attributes or availability next to those lines. A complete measurement sheet cannot answer an absent product specification.
Make the saved list readable to someone else
Read the list once without the photos beside it. Can you locate every part? Does each length have units? Are support screws and lap screws separate? Then attach the photos and worksheets again.
Save a dated copy after the checks. If a length, part, or repair scope changes, reopen the affected lines. Compare them again rather than changing a total without checking its parts.
Your finished list should show specific selections and explicit remaining questions. That is useful preparation even when an old building has no original drawings.