Side Lap vs End Lap: How to Tell Them Apart
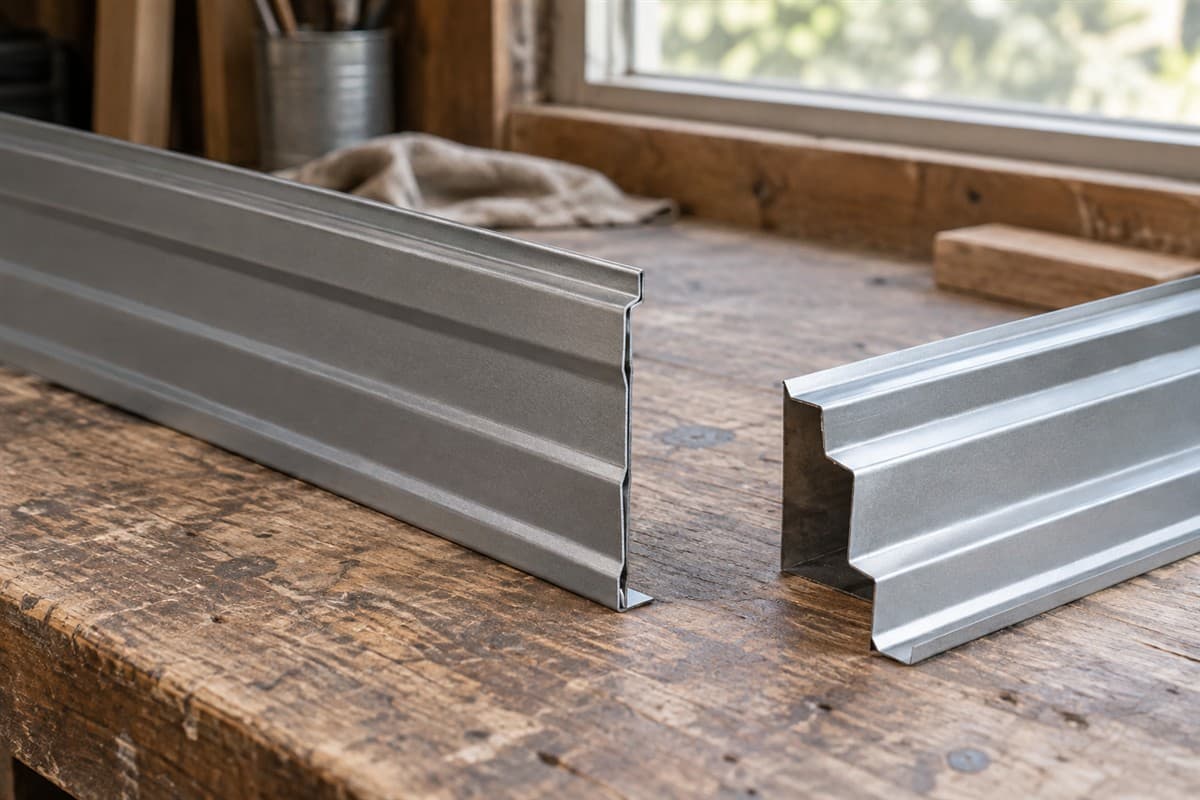
A side lap joins neighboring panels along their long edges. An end lap joins the short ends of panels extending along the same roof run. Follow the sheet edges and rib direction to identify the joint.
Both are laps, places where one sheet overlaps another. Naming them correctly helps you find the right drawing and select the right accessories. The name alone does not tell you the required overlap, tape location, or screw pattern.
Follow a panel before following a seam
A rib is a raised ridge formed into the sheet. A seam is the line where sheets meet. On a typical ribbed roof panel, the ribs run along the sheet's length.
Find a whole panel in a ground-level photograph or a loose spare sheet. Mark its long edges and short ends on paper. If you cannot see the short ends because trim covers them, leave those boundaries uncertain.
The eave is the low roof edge. The ridge is the high line where roof slopes meet. Mark them on your sketch when they apply. A wall panel uses the same long-edge and short-end distinction without needing those roof labels.
For roof inspection, use suitable fall protection and hire a pro if safe access is beyond your skills.
Gather a phone camera, pencil, paper, and an intact sample if available. You do not need to separate installed sheets to name their joint. Existing photos and a profile drawing may show enough.
Make two joint sketches in words
Use these sketch instructions as the original identification aid. They show panel boundaries, not installation dimensions or fastening locations.
Side-lap sketch: draw two tall rectangles next to each other. Add lengthwise rib lines within each rectangle. Mark the shared long edge as the side lap. Draw a second small end view showing one edge shape above the other, using the exact panel drawing.
End-lap sketch: draw two tall rectangles in line, one above the other on the page. Continue their rib direction through both rectangles. Mark the meeting short ends as the end lap. Label which rectangle is uphill on a roof.
Beside each sketch, add the photo name and panel name. Leave blank any edge shape you cannot see. Do not invent a screw row to make the sketch look complete.
| Identification clue | Side lap | End lap |
|---|---|---|
| Edges involved | Neighboring long edges | Meeting short ends |
| Direction relative to long ribs | Runs along them | Crosses them |
| Sheets being connected | Beside one another | Continuing the same run |
| Useful view | Panel end outline and long seam | Sheet ends and uphill/downhill context |
| Drawing to find | Side-joint section | End-joint detail |
An end outline, also called a profile, shows the sheet's bends when viewed from its short end. A section is a drawing sliced through a joint so you can see the hidden layers.
Identify the installed joint step by step
- Choose one seam to examine. Give it a location on your roof or wall sketch. Keep nearby trim joints separate.
- Follow the ribs. Note whether the seam runs along them or crosses them. Record unclear if the photo does not show this.
- Find the sheet boundaries. Look for two panels beside each other or two panels continuing the same run. Confirm this before naming the lap.
- Mark the outer sheet. Write which visible edge lies above the other where you can actually see it. Do not pry open the joint.
- Add its surroundings. Show the roof edge, wall, or nearby trim. This helps locate the same joint in the installation guide.
- Match the joint drawing. Compare the sheet shapes and surrounding parts, rather than choosing a page because it contains the word lap.
The basic roof end lap places the uphill sheet over the downhill sheet. That explains the direction to look for. It does not supply the required installation arrangement for your panel.
Where side and end laps meet, mark the intersection as its own location. Do not assume instructions for an isolated side lap fully explain that intersection. Find the joint-intersection detail if the guide provides one.
Find the exact instructions for that joint
Search the panel maker's website using the panel name and installation manual. Check that the guide covers roof or wall use, as appropriate. Look under side lap, side joint, end lap, or panel installation.
Compare the panel's end shape with your sample. Use R-Panel vs PBR: How to Tell Them Apart if the side-edge identity is uncertain. A familiar family name does not prove that two old and new edges join.
Read the notes attached to the joint drawing. Identify the named screw role and sealing material. Stitch screws join thin sheets; panel screws fasten sheets to supports. The correct role comes from the connection, not from which head color looks right.
Your building's drawings or the panel maker's installation instructions decide overlaps, fastening patterns, tape position, and support requirements. Take those details from the matching joint. Never copy a numerical schedule from a different profile.
Keep the shopping list tied to the sketch
The catalog entries Stitch screws (lap screws) for panel side laps and trim and Butyl tape sealant await confirmation. Compare their confirmed specifications with the joint's requirements before selecting either. A side-lap label does not prove that every stitch screw or tape fits it.
Use Stitch Screws vs Panel Screws: Which Do You Need? for screw roles and How to Prepare Metal for Roofing Butyl Tape for surface preparation. Leave counts to How to count screws and closures for a metal roof after the required pattern is known.
Avoid calling every roof seam a side lap. Avoid copying an end-lap seal into a long-edge joint. Your finished sketch should show which edges meet, which guide explains them, and which accessory details remain unresolved.